
Implementing an efficient search system is one of the best ways to improve user experience and content accessibility on your WordPress website. If you’re using Crocoblock, you can easily build a search filter that scans post titles and returns accurate results—without writing complex code.
With the right combination of JetSmartFilters, JetEngine, and Elementor, you can create a clean, user-friendly search functionality tailored to your website’s needs.
This guide walks you through each step—from plugin setup to query configuration—so you can successfully implement a title-based search on any page, archive, or listing.
Step 1 — Install and Activate Required Plugins
Make sure the following plugins are installed and active:
- Elementor Pro — required for theme builder & dynamic layouts
- JetEngine — creates custom post types, custom fields & listings
- JetSmartFilters — enables advanced search and filtering options
Once installed, confirm that JetEngine Listings are enabled in Crocoblock settings.
After installing the plugin, you can create a meta box using JetEngine and add meta fields to any post type you want.
Based on the meta field ID from that meta box, we can then create a search query using the meta ID.
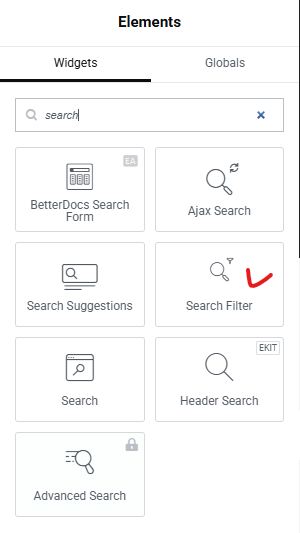
Step 2: Create a Search Filter
- Go to JetSmartFilter: Navigate to the WordPress Dashboard and go to Smart Filtersunder the JetPlugins section.
- Add New Filter: Click on “Add New” to create a new filter.
- Choose Filter Type: Select “Search” as the filter type to enable a search bar for entering keywords.
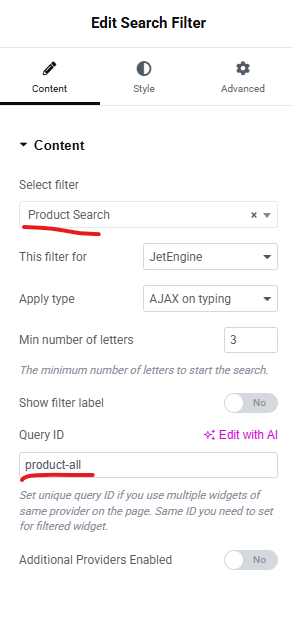
- Choose Search by Custom Field: Set the search type to “By Custom Field (from Query Variable).”
- Set Query Variable: In the “Query Variable” field, enter a custom variable name, such as p-title, artist_name. This variable will hold the search term.

- Assign the Filter to Content: Under the “Filter for” section, select the post type or taxonomy you want to filter.
- Save Changes: Click “Publish” to save your new filter.
Step 3: Add Created Search Filter in Archive Page
- Open Your Page in Elementor or Gutenberg: Navigate to the page where the filter will be used.
- Add the Smart Filter Widget: Drag and drop the Smart Filter widget onto the page.
- Link the Filter to the Grid: Connect the filter to the Listing Grid or content display you want to filter.
- Style the Filter: Customize the appearance of the filter to match your website’s design.
By leveraging JetSmart Filters and configuring query variables, you can easily implement a powerful title-based search feature on your WordPress site. This setup enhances content discoverability, enabling users to quickly find relevant posts or products. With proper styling and configuration, this feature not only improves functionality but also aligns with your website’s design for a cohesive user experience.