Table of Contents
- Step 1: Install Required Plugins
- Step 2: Create a Custom Blog Listing Using JetEngine
- 1. Go to JetEngine > Listings
- 2. Choose the Listing Source
- 3. Design the Blog Listing Template
- Example Layout for Blog Listing:
- 4. Style the Blog Listing
- 5. Publish the Blog Listing
- Step 3: Create a Blog Archive Template Using Elementor
- 1. Navigate to Elementor Theme Builder
- 2. Choose the Archive Type
- 3. Add the Listing Grid to Display the Blog Posts
- 4. Inject alternative listing items field
- 4. Customize the Blog Archive Page Layout
- 5. Add Pagination (Optional)
- Step 4: Set Conditions for the Archive Template
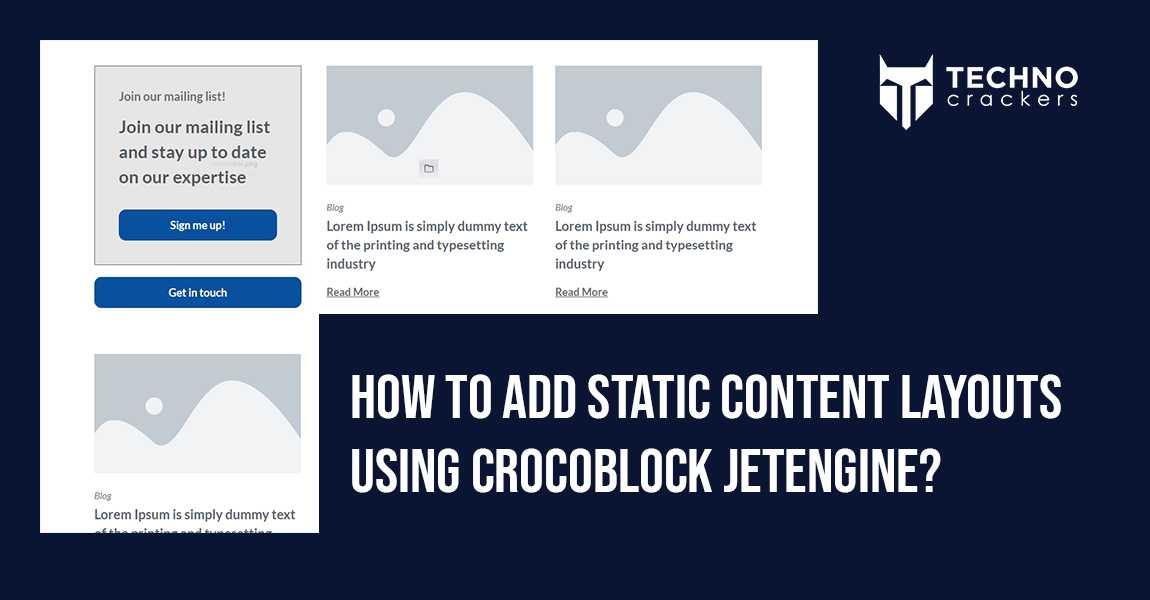
Adding a static layout before your blog listing can make a big difference if you want to enhance your blog’s layout using Crocoblock and Elementor. In this guide, you’ll learn how to integrate a static layout seamlessly before your blog posts using Crocoblock’s JetEngine and Elementor’s powerful theme builder tools. By following these steps, you can design a fully customized, engaging blog archive page that not only showcases your content but also highlights important static elements at the top.
Let’s dive in and start building your custom blog listing layout.
Step 1: Install Required Plugins
Make sure the following plugins are installed:
- Elementor Pro (required for the theme builder functionality).
- JetEngine from Crocoblock (for creating the blog listing).
Step 2: Create a Custom Blog Listing Using JetEngine
NOTE: Follow this step for static layout
First, create a listing template for your blog posts, which will be used to dynamically display posts on your archive page.
1. Go to JetEngine > Listings
- Navigate to JetEngine > Listings in your WordPress dashboard.
- Click Add New.
2. Choose the Listing Source
- Set the Listing Source to Posts.
- Choose Post as the post type (since it’s for blog posts).
- Select Elementor as the Listing Item Layout.
- Click Create Listing Item.
3. Design the Blog Listing Template
- You will be redirected to the Elementor editor. Here, you can design how each blog post will appear in the archive.
- Use the following dynamic widgets for blog content:
- Dynamic Field: For the post title, excerpt, or any custom fields.
- Dynamic Image: For the featured image.
- Dynamic Meta: For post metadata such as author, date, or categories.
- Dynamic Link: To link to the full blog post.
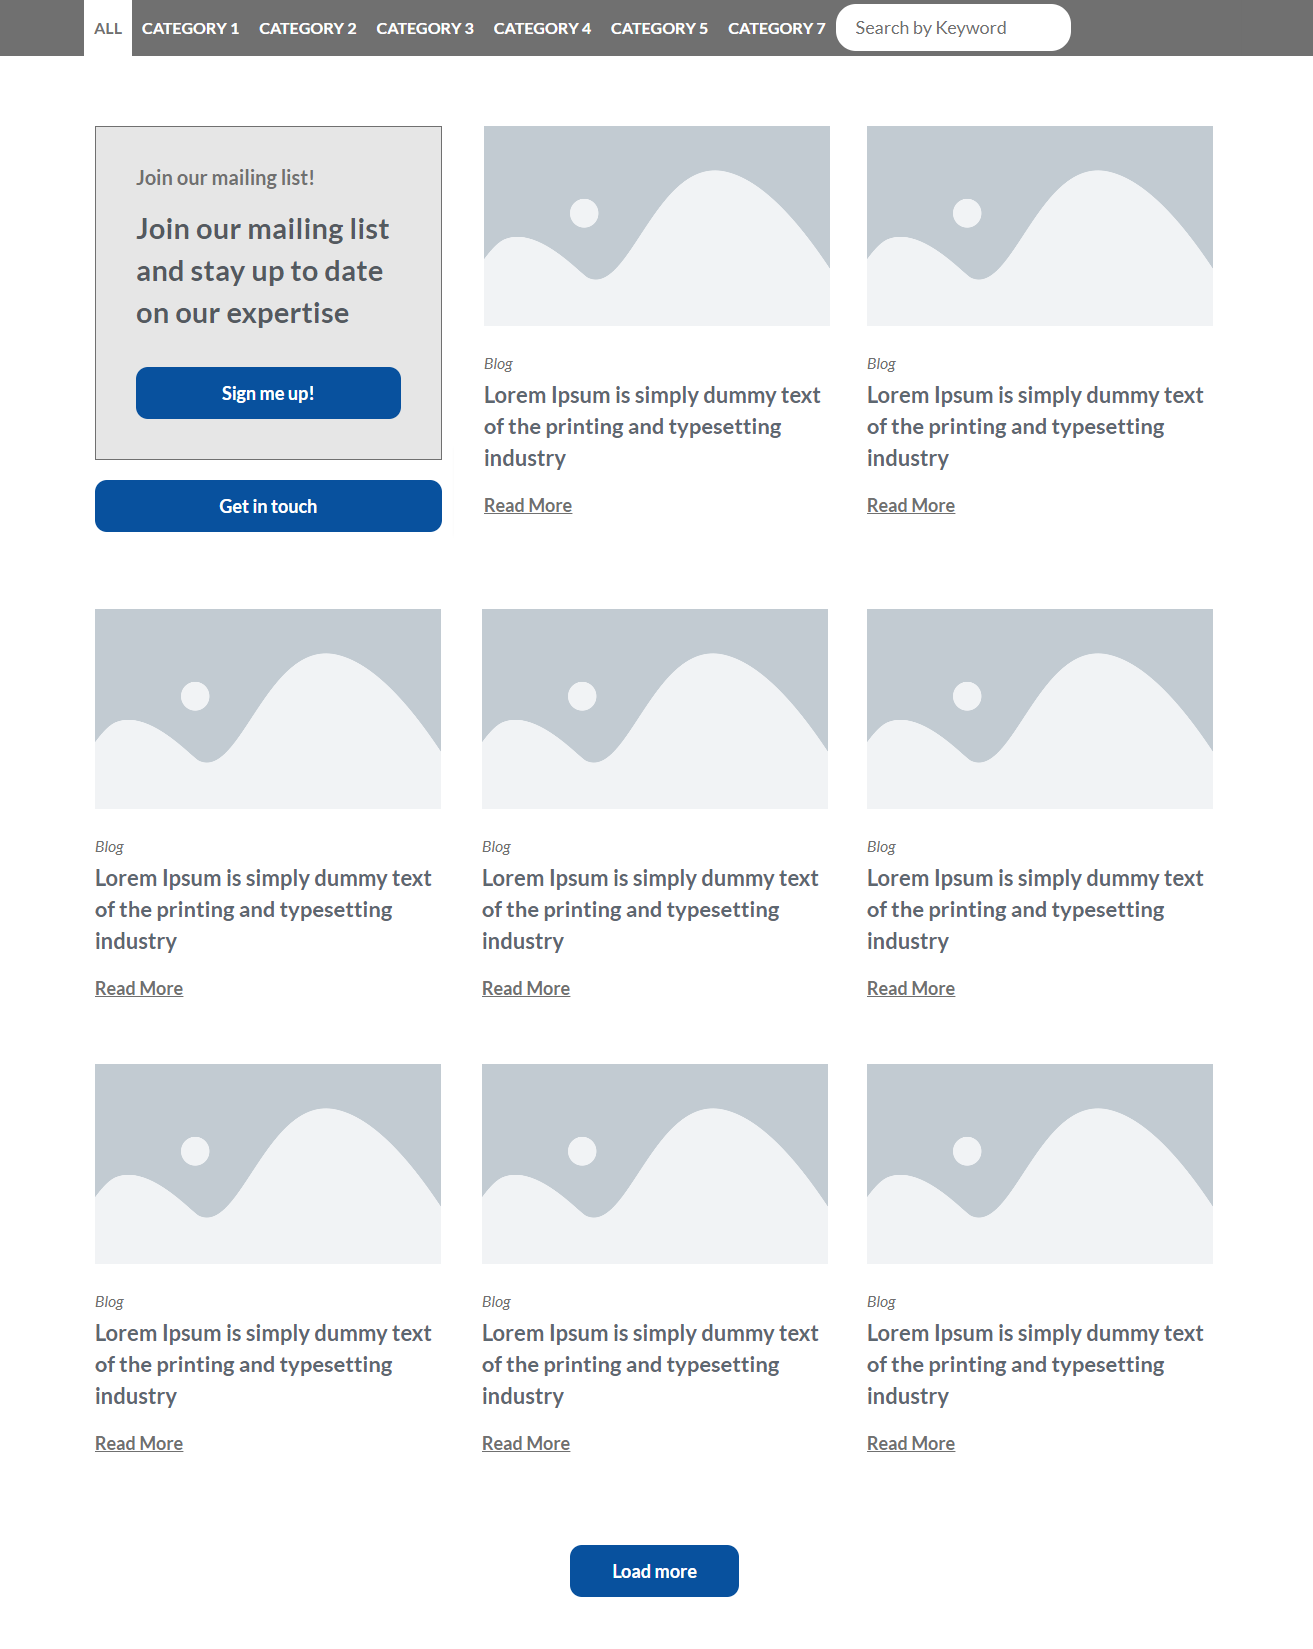
Example Layout for Blog Listing:
- Featured Image (Dynamic Image)
- Title (Dynamic Field for Post Title)
- Excerpt (Dynamic Field for Post Excerpt)
- Meta Data (Dynamic Meta for Author, Date, Category)
- Read More Button (Dynamic Link for Full Post)
4. Style the Blog Listing
- Style each element using Elementor’s design options (spacing, typography, colors).
- Ensure your design is responsive for different screen sizes (desktop, tablet, and mobile).
5. Publish the Blog Listing
- After finalizing the design, click Publish.
Step 3: Create a Blog Archive Template Using Elementor
Now that you have your custom blog listing, you can use Elementor’s theme builder to create an Archive Template where this listing will be displayed.
1. Navigate to Elementor Theme Builder
- Go to Templates > Theme Builder from the WordPress dashboard.
- In the Theme Builder, go to the Archive tab.
- Click Add New Archive.
2. Choose the Archive Type
- Choose Archive as the type of template you want to create.
- Give it a name (e.g., “Blog Archive Template”).
3. Add the Listing Grid to Display the Blog Posts
- Once in the Elementor editor, add the Listing Grid widget to the page.
- Under Select Listing, choose the Blog Listing template you created in JetEngine.
- This will automatically display your blog posts according to your created custom layout.
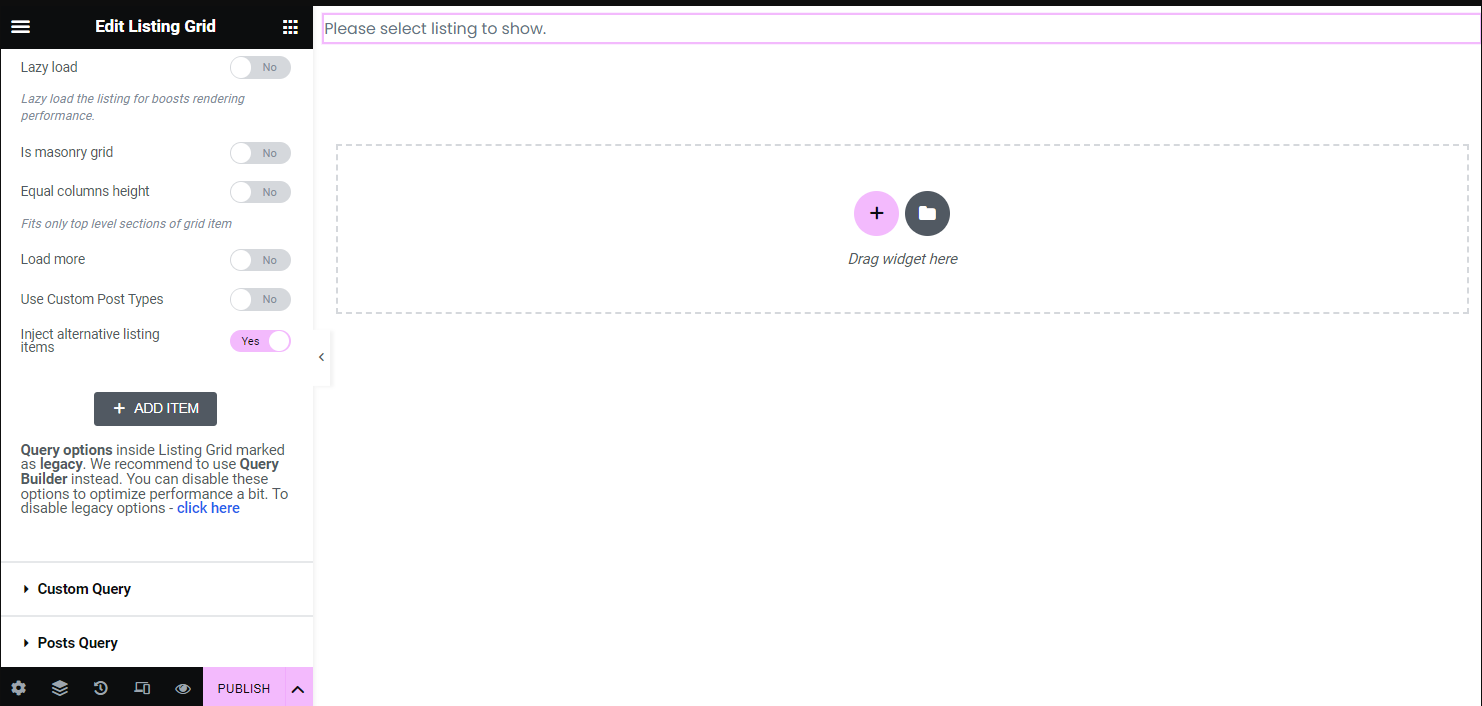
4. Inject alternative listing items field
- To customize the new item, one should click the “Add Item” button.
- Under Select Listing, choose the Static Listing template that you created earlier in JetEngine.
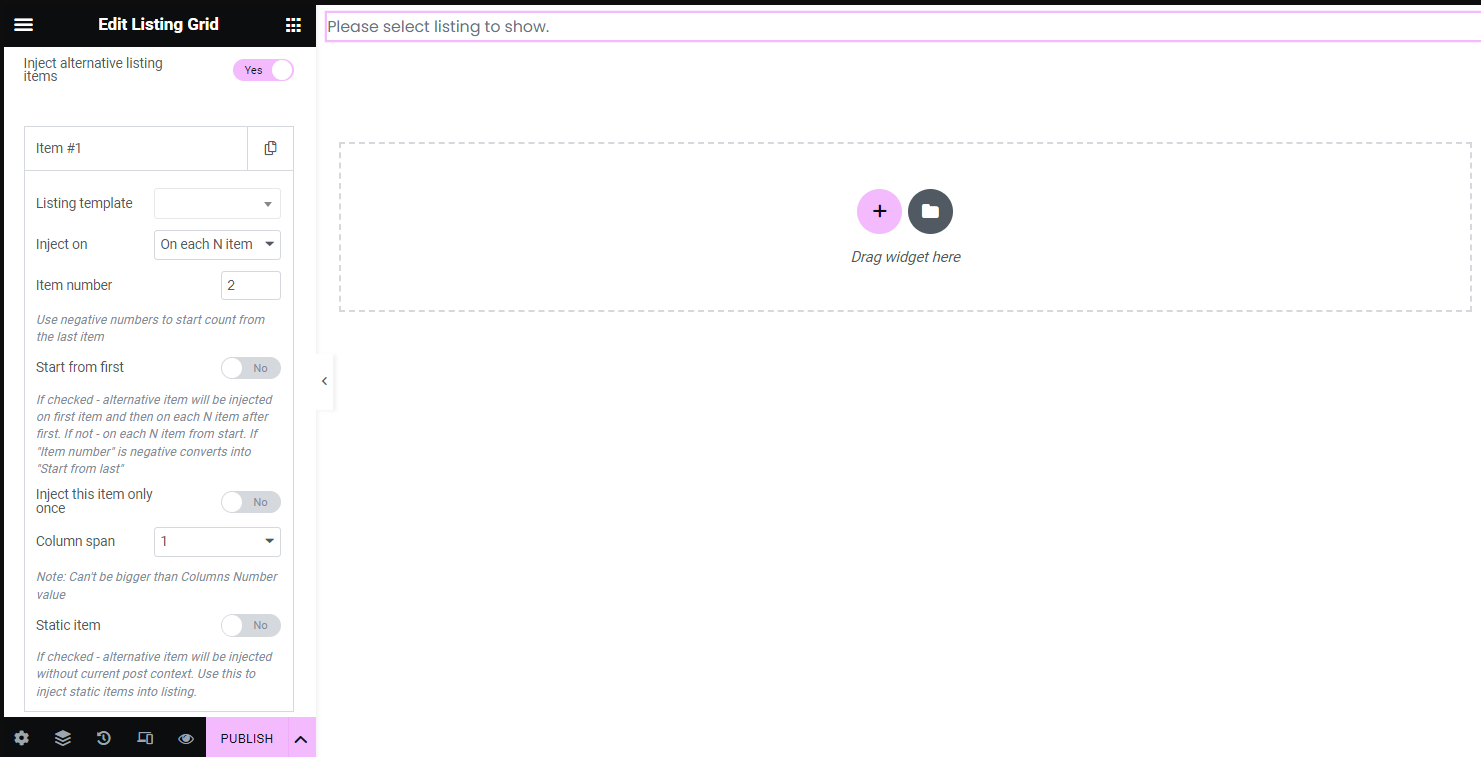
- This will automatically display your blog posts according to your created custom layout.
4. Customize the Blog Archive Page Layout
- You can further customize the layout by adding static content at the top of the page.
- Heading: Add a heading like “Our Blog” or “Latest Articles”.
- Text: Add a brief description or introduction to your blog section.
- Banner: Use the Image widget for a banner or static image.
- You can also adjust the layout of the blog listing by controlling the number of columns, post count per page, etc.
5. Add Pagination (Optional)
- You may want to add pagination at the bottom of the blog listing if you have many posts.
- In the Listing Grid widget settings, enable pagination and choose whether to display numbered pages or use a “Load More” button.
Step 4: Set Conditions for the Archive Template
Once the design is complete, set the conditions for applying the template to your blog archive page.
1. Set Display Conditions
- Click Publish in Elementor.
- Elementor will prompt you to set the display conditions.
- Set the condition to apply the template to All Archives or Post Archives.
- Click Save & Close.
Wrapping up,
By implementing a static layout before your blog posts using Crocoblock’s JetEngine and Elementor, you ensure that your blog archive is both visually appealing and highly functional. This approach allows you to maintain control over your design while offering an improved user experience with dynamic elements.
With just a few steps, you can create a polished, professional-looking blog that stands out and keeps visitors engaged. Happy designing!
If you want expert help setting this up—or need a fully optimized, high-performing WordPress website—our team at TechnoCrackers can build, customize, and automate everything for you. Book a Free Consultation today and let’s create a powerful, conversion-ready website tailored to your business.