Table of Contents
- What Is the Divi 5 Payment Button Module?
- How to Add the Payment Button Module in Divi 5
- Understanding the Payment Button Settings
- Setting Up PayPal Payments
- Add the PayPal Account Information
- Choose the PayPal Environment
- Set the Payment Amount
- Select the Currency
- Add Return and Cancel URLs
- Add a Payment Description
- Setting Up Stripe Payments
- Add a Stripe Product Name
- Add the Stripe Checkout URL
- Open the Payment Page in a New Tab
- Customize the Payment Button Text
- Customize the Button Design
- PayPal vs. Stripe in the Divi 5 Payment Button
- When Should You Use the Payment Button?
- Divi 5 Payment Button: A Simple Way to Add Payments
Adding a payment option to a WordPress website often means setting up a full eCommerce system or installing an additional payment plugin. Divi 5 makes simple payment collection easier with its new Payment Button module.
The Payment Button module lets you create a payment button directly in the Divi 5 Builder and connect it with PayPal or Stripe. Depending on the selected provider, you can configure the payment details, amount, currency, checkout information, and redirect URLs.
In this tutorial, we’ll walk through the Divi 5 Payment Button module and show you how to configure it for both PayPal and Stripe.
Note: The Payment Button is designed for simple payment use cases. If you need a complete store with products, inventory, orders, shipping, and fulfillment, you’ll still need a dedicated eCommerce solution.
What Is the Divi 5 Payment Button Module?
The Payment Button is a new Divi 5 module that allows you to add a payment button to your page.
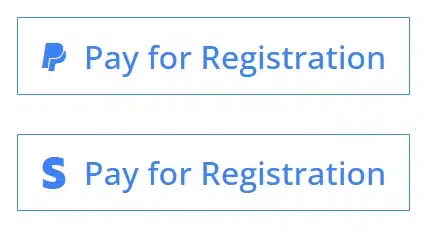
Instead of building a complete checkout experience, you can place a simple button such as:
Pay Now
Visitors can click the button and continue to the configured payment or checkout flow.
The module currently provides options for two payment providers:
- PayPal
- Stripe
This makes it useful for simple payment scenarios where you don’t need a complete WooCommerce-style store.
How to Add the Payment Button Module in Divi 5
First, open the page where you want to add the payment button with the Divi 5 Visual Builder.
Add a new section, row, or column where you want the button to appear.
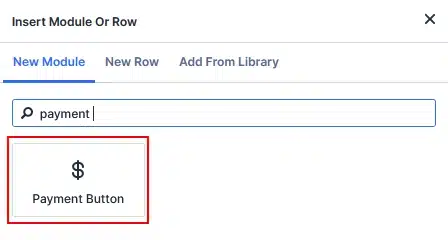
Then click Add New Module (+).
Search for:
Payment Button
Select the module to add it to your page.
Once added, Divi 5 will display the Payment Button settings in the module panel.
Understanding the Payment Button Settings
The Payment Button module includes several settings that allow you to configure the payment provider and button behavior.
The main settings are organized into sections such as:
- Payment
- Text
- Elements
- Loop
- Order
- Meta
For this tutorial, we’ll focus mainly on the Payment and Text settings.
Setting Up PayPal Payments
To configure PayPal, open the Payment settings and select:
Provider → PayPal
The PayPal settings will then appear.
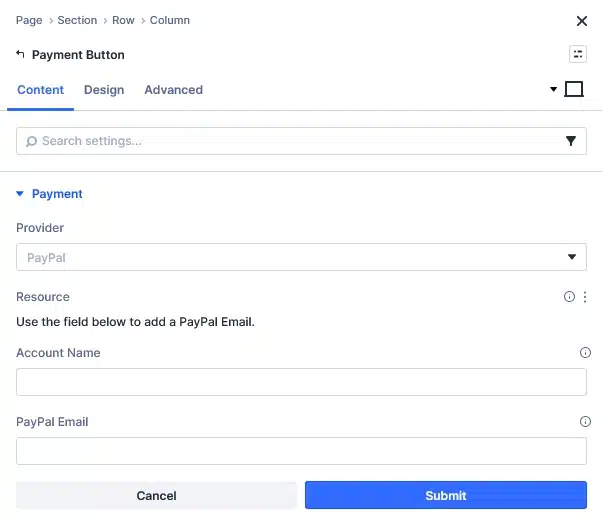
The module provides fields for configuring the PayPal payment.
Add the PayPal Account Information
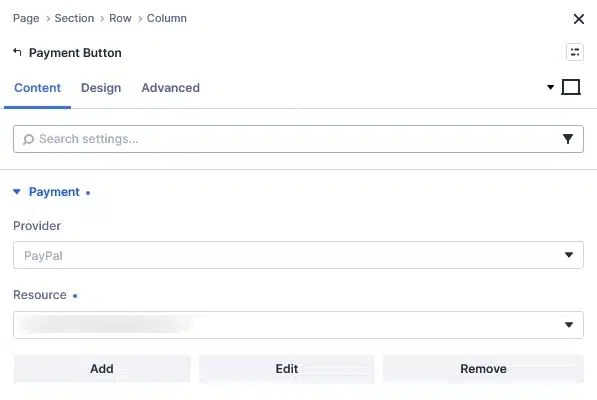
Under the PayPal resource settings, you can enter the account information required by the module.
The available fields include:
Account Name
Enter the name associated with the PayPal account.
PayPal Email
Enter the PayPal email address that will receive the payment.
These details allow the Payment Button to be connected to the intended PayPal account.
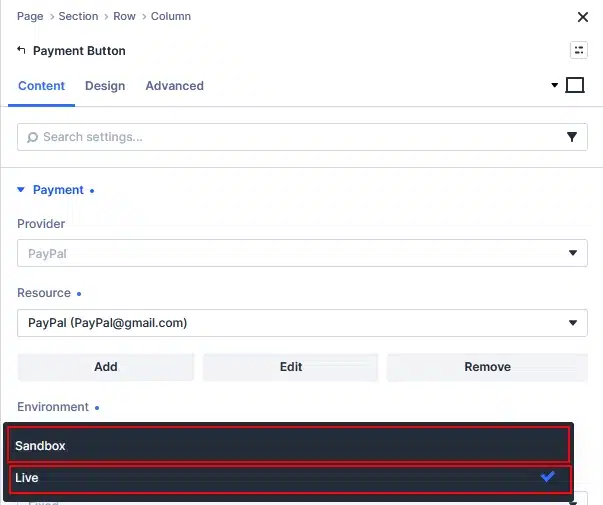
Choose the PayPal Environment
The module also provides an Environment option.
You can use the available environment setting to determine whether you’re configuring the button for testing or live payments.
When setting up a payment button for the first time, use the appropriate testing environment if you want to verify the payment flow before accepting real payments.
Once your setup has been tested, configure the button for your live payment environment when you’re ready to accept real payments.
Set the Payment Amount
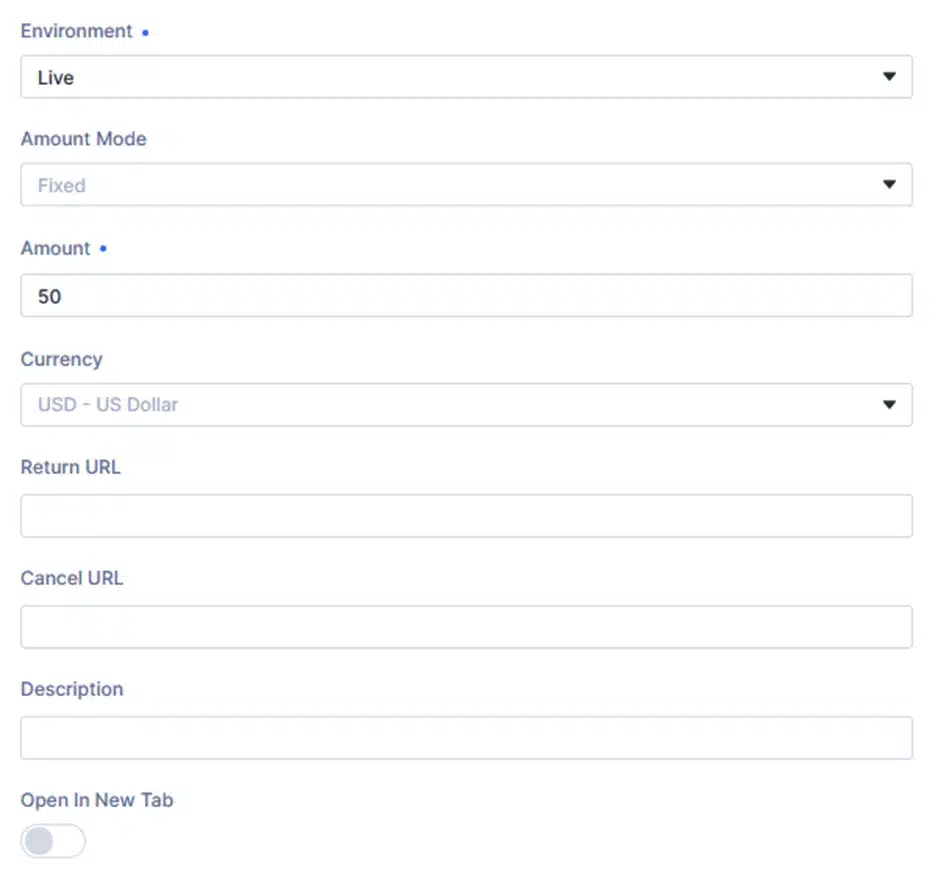
Divi 5 also provides an Amount Mode setting.
For example, you can select:
Fixed
When using a fixed amount, you can enter the amount that the visitor should pay.
For example:
Amount: $10.00
This is useful for simple payment buttons where everyone pays the same amount.
Select the Currency
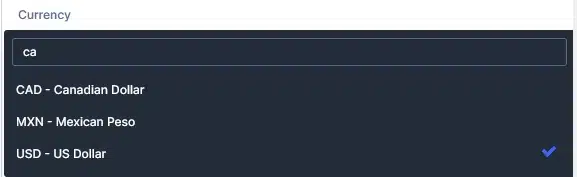
Next, select the currency you want to use for the payment.
For example:
USD – US Dollar
Choose the appropriate currency for your payment setup.
Add Return and Cancel URLs
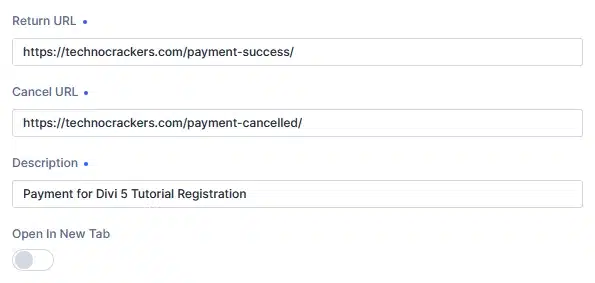
The PayPal settings also include fields for:
- Return URL
- Cancel URL
The Return URL can be used to specify where visitors should go after completing the payment flow.
The Cancel URL can be used for the destination when a visitor cancels the payment.
You can use these fields to create a smoother experience after the payment process.
Add a Payment Description
The Description field allows you to provide additional information about the payment.
For example, you could describe what the payment is for.
This can be useful when the payment button is being used for a specific service, registration, donation, or other simple payment scenario.
Setting Up Stripe Payments
The Payment Button module can also be configured to use Stripe.
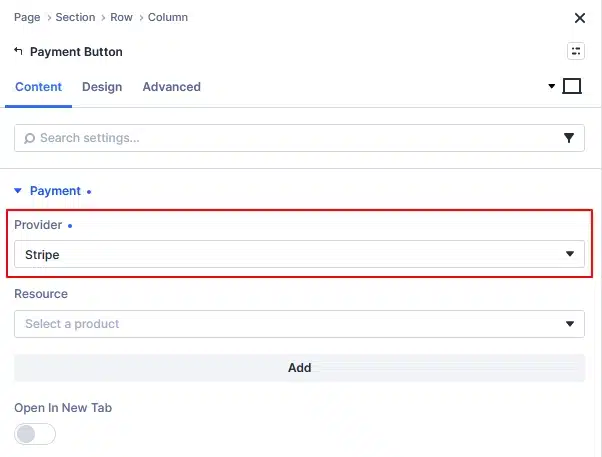
Open the Payment settings and change the Provider to:
Stripe
The available Stripe settings are different from the PayPal options.
Add a Stripe Product Name
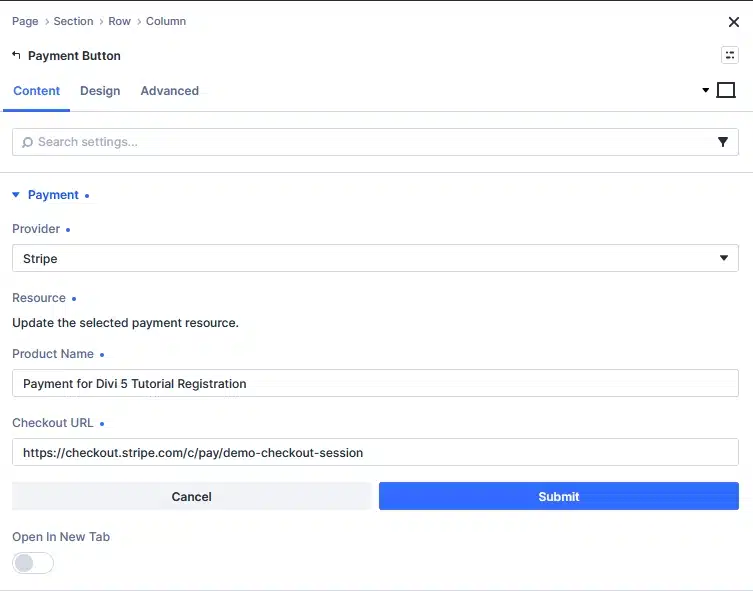
When Stripe is selected, you’ll see a Product Name field.
Enter the name of the product, service, or payment that the button represents.
For example:
Website Consultation
or
Divi 5 Training
Use a name that clearly describes what the visitor is paying for.
Add the Stripe Checkout URL
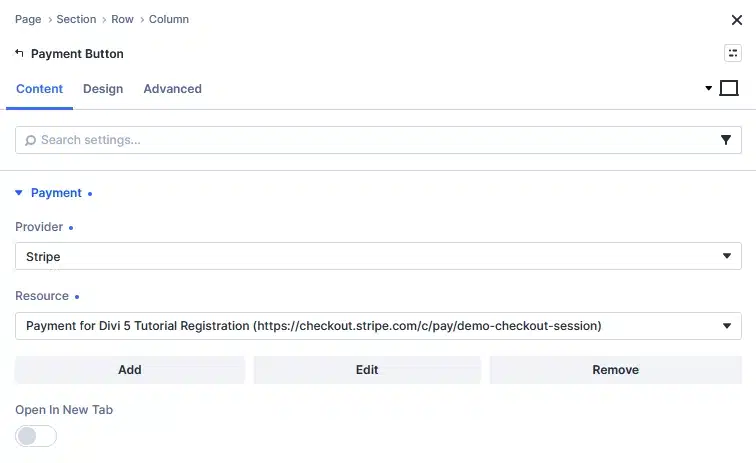
The Stripe configuration includes a Checkout URL field.
Enter the appropriate Stripe Checkout URL into this field.
The Payment Button can then direct visitors to the configured Stripe checkout experience when they click the button.
Open the Payment Page in a New Tab
The module also includes an Open In New Tab option.
You can enable this option if you want the payment destination to open in a separate browser tab.
This gives you control over how visitors leave the current page when they click the payment button.
Customize the Payment Button Text
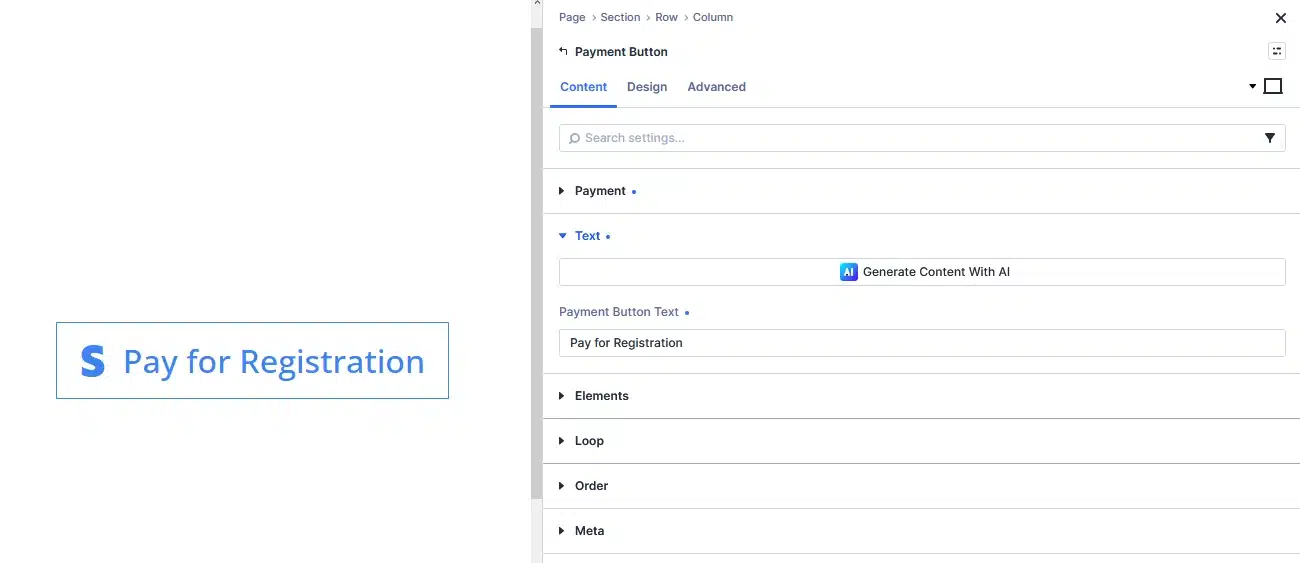
After configuring the payment provider, you can customize what appears on the button.
Open the Text settings.
Instead of the default:
Pay Now
you could use text such as:
- Buy Now
- Make a Payment
- Pay for Registration
- Donate Now
- Complete Payment
- Purchase Now
Choose text that clearly communicates the action visitors will take.
Customize the Button Design
Once the payment functionality is configured, you can use the Design tab to style the button to match your website.
Depending on the available design settings, you can customize the appearance of the button, including its typography, spacing, borders, and other styling options.
This allows the Payment Button to fit naturally into your existing Divi 5 design rather than looking like a separate payment element.
PayPal vs. Stripe in the Divi 5 Payment Button
The module provides different configuration options depending on the selected provider.
| Setting | PayPal | Stripe |
|---|---|---|
| Provider | PayPal | Stripe |
| Account Information | Account Name & PayPal Email | — |
| Product Information | Description | Product Name |
| Payment Amount | Amount Mode & Amount | Checkout URL |
| Currency | Available | — |
| Return URL | Available | — |
| Cancel URL | Available | — |
| New Tab | Available | Available |
The exact configuration you need depends on how you plan to use the payment button.
When Should You Use the Payment Button?
The Payment Button is useful when you only need a simple way to send visitors into a payment flow.
For example, you could use it for:
- Service payments
- Event registrations
- Simple product payments
- Donations
- Consultation fees
- Membership payments
- One-time payments
- Small business payment pages
It can be especially useful when you don’t need features such as product catalogs, inventory management, shopping carts, shipping, or order management.
Divi 5 Payment Button: A Simple Way to Add Payments
The new Payment Button module provides a straightforward way to add payment functionality directly to a Divi 5 page.
You can select PayPal or Stripe, configure the required payment details, customize the button text, and style the button to match your website.
For simple payment requirements, this can save you from setting up a complete eCommerce system just to add a single payment option.
Whether you’re collecting a service payment, registration fee, donation, or another simple payment, the Divi 5 Payment Button gives you a convenient starting point for adding payments to your website.
The basic workflow is simple:
Add Payment Button → Choose PayPal or Stripe → Configure Payment Details → Customize Button → Publish
With these options, Divi 5 makes it easier to add a simple payment action directly into your website design.