Table of Contents
- What You Can Create with Divi 5
- Step 1: Open Your Page in the Divi 5 Builder
- Step 2: Add the Before/After Image Module
- Step 3: Add the Before Image
- Step 4: Add the After Image
- Step 5: Add Before and After Labels
- Step 6: Preview the Before & After Comparison
- Step 7: Customize the Module Design
- Before & After Image Comparison in Divi 5
- Why Use Divi 5’s Before/After Image Module?
- Final Thoughts
Showing the difference between two images is a great way to highlight transformations, redesigns, renovations, photo edits, and other visual changes on your website. With Divi 5, you can now create an interactive before-and-after image comparison directly from the builder without installing an additional plugin.
Divi 5’s Before/After Image module lets you add two images, display them side by side, and allow visitors to drag the comparison slider to see the difference. You can also add custom Before and After labels.
In this guide, we’ll show you how to create a before-and-after image comparison in Divi 5.
What You Can Create with Divi 5
The Before/After Image module provides a simple way to compare two versions of an image.
For example, you can use it to show:
- Before and after website redesigns
- Home renovation projects
- Photo editing results
- Interior design transformations
- Landscaping projects
- Product improvements
- Construction projects
- Image restoration results
The best part is that you can create this comparison without using a third-party plugin.
Step 1: Open Your Page in the Divi 5 Builder
First, open the page where you want to add the before-and-after comparison.
Click Enable Visual Builder or open the page with the Divi 5 Visual Builder.
Then add a new section or use an existing section where you want to display the comparison.
Step 2: Add the Before/After Image Module
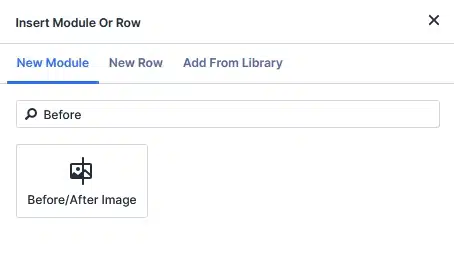
Click the Add New Module (+) button inside your column.
Search for the Before/After Image module and select it.
Once the module is added, Divi 5 will display the Before/After Image settings.
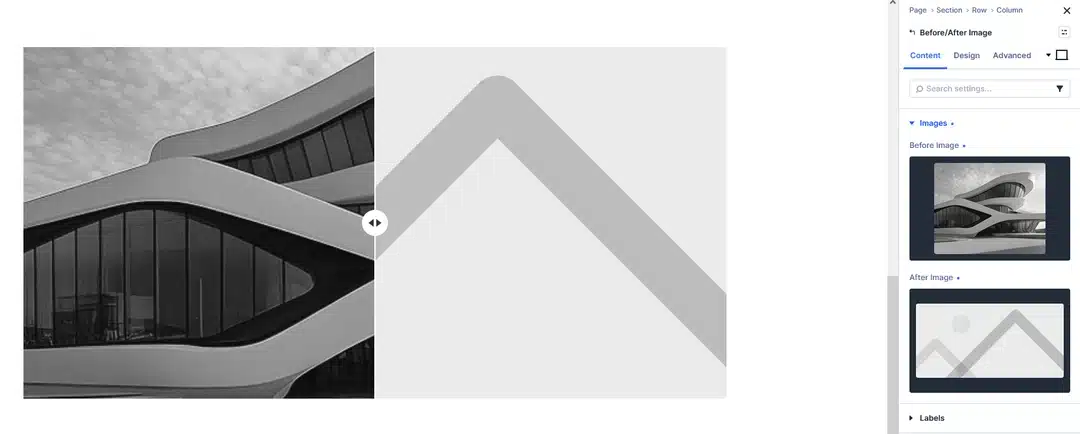
The module provides separate options for adding your Before Image and After Image.
Step 3: Add the Before Image
Under the Images settings, select Before Image.
Upload or select the image you want to use as the original or starting version.
For example, you could use a black-and-white image as your Before image.
Make sure the image has a suitable size and aspect ratio so that it displays properly in the comparison.
Step 4: Add the After Image
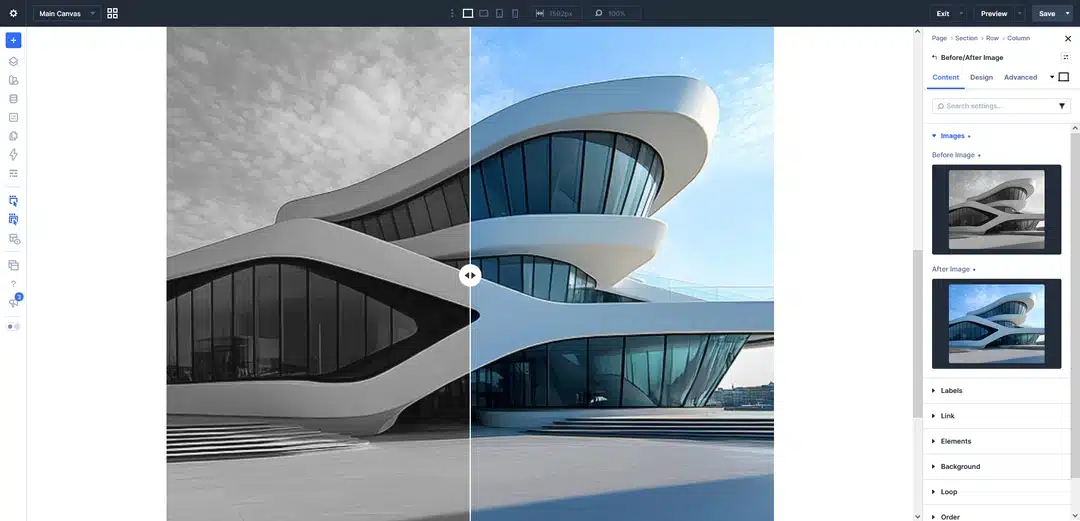
Next, select the After Image option.
Upload or choose the image that represents the final version.
For the best comparison effect, use images with the same dimensions and similar framing.
This allows the two images to align correctly when visitors move the comparison slider.
Step 5: Add Before and After Labels
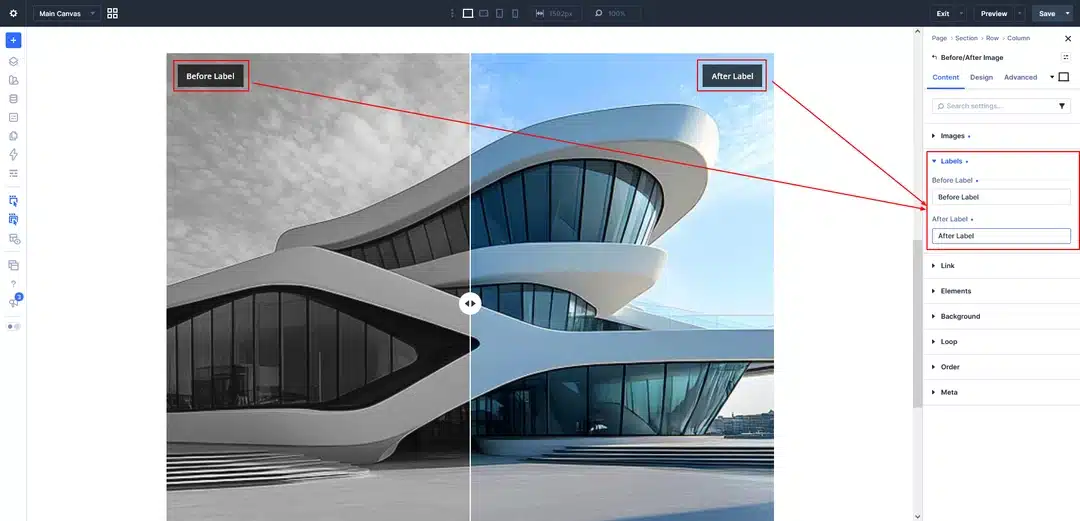
Divi 5 also allows you to add labels to make it clear which side represents the original image and which represents the final version.
Open the Labels settings.
Here, you’ll find:
- Before Label
- After Label
The default labels are Before and After, but you can change them to anything you want.
For example:
- Original / Updated
- Old / New
- Before / After
Previous / Current
Step 6: Preview the Before & After Comparison
Once you’ve added both images and configured the labels, preview the module on the page.
You will see a vertical comparison line between the two images with a draggable handle in the center.
Visitors can drag the handle from left to right to reveal more of the Before or After image.
This creates an interactive way for visitors to compare both versions without needing to display two separate images.
Step 7: Customize the Module Design
After adding the images and labels, you can use Divi 5’s Design settings to customize the appearance of the module.
Depending on your design, you can adjust options such as:
- Spacing
- Borders
- Image presentation
- Label styling
- Typography
- Module sizing
- Other available design settings
This allows you to match the Before/After Image module with the rest of your website.
Before & After Image Comparison in Divi 5
After completing the setup, your module can look similar to this:
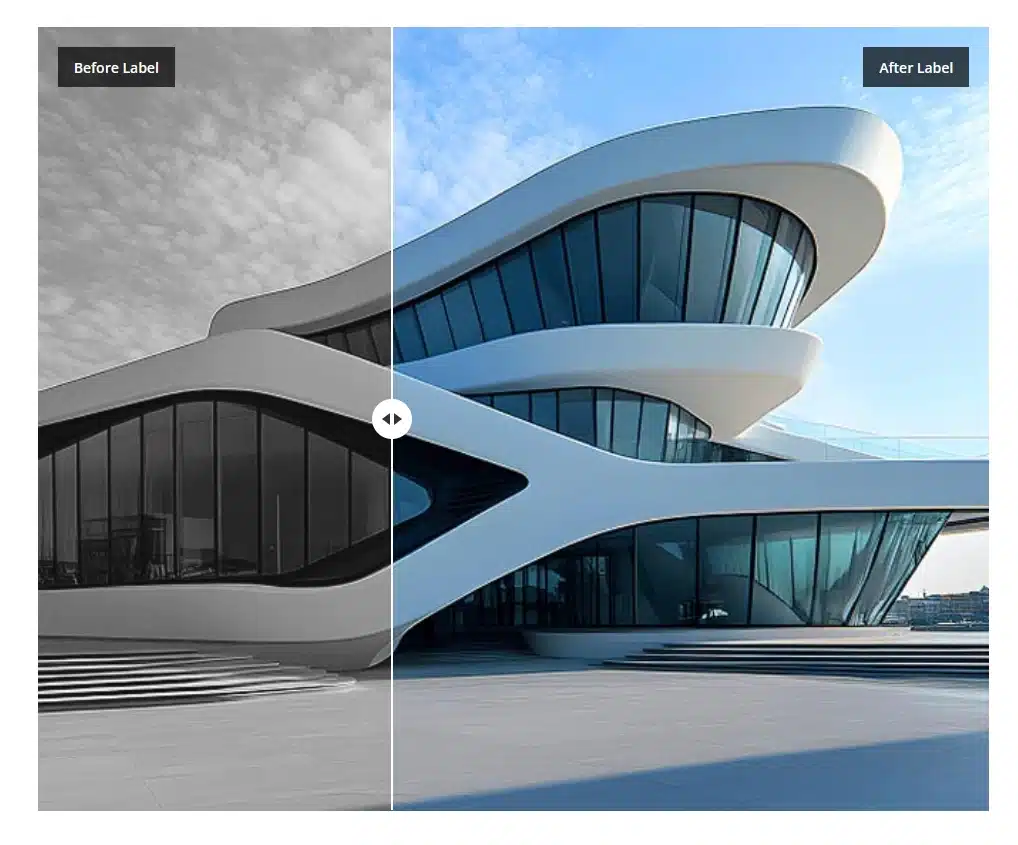
In our example, the left side displays the Before image while the right side displays the After image. The slider in the center allows visitors to interactively compare both images.
Why Use Divi 5’s Before/After Image Module?
The Before/After Image module makes visual comparisons much easier and more engaging.
Instead of placing two images next to each other, you can let visitors interact directly with the images and reveal the transformation themselves.
It is especially useful for websites that need to showcase visual results, such as:
- Construction companies
- Home improvement businesses
- Designers
- Photographers
- Creative agencies
- Landscaping companies
- Architects
- Marketing agencies
And because the functionality is available directly in Divi 5, you don’t need to install another plugin just to create a simple before-and-after comparison.
Final Thoughts
Divi 5 makes it easy to create interactive visual comparisons with its Before/After Image module. Simply add your Before and After images, customize the labels, and let visitors drag the slider to compare the two versions.
The module is simple to set up and can be useful for any website that needs to showcase a transformation or visual difference.
With Divi 5, you can create a clean and interactive before-and-after image comparison without relying on an additional plugin.