Table of Contents
Elementor’s new Atomic Loop element makes it easier to display dynamic content in a repeating layout. You can use it to create post grids, product listings, custom post type listings, and other dynamic content layouts.
In this guide, we’ll show you how to create an Atomic Loop, customize its layout, and display dynamic content using Elementor’s Atomic Elements.
Note: Make sure the Elementor Atomic Editor/Atomic Elements feature is enabled before following this tutorial.
What Is the Elementor Atomic Loop?
The Atomic Loop element allows you to create a reusable layout for dynamic content.
For example, you can use it to display:
- Blog posts
- Products
- Custom post types
- Other dynamic content
Instead of designing every post card individually, you create one loop template, and Elementor automatically uses that design for each item.
How to Create an Atomic Loop in Elementor
Step 1: Open a Page with Elementor
First, open any page and click Edit with Elementor.
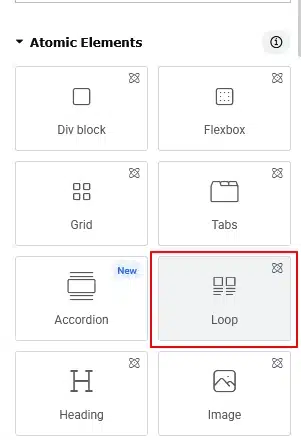
Once the Elementor Editor opens, you will find the Loop element under Atomic Elements.
Step 2: Add the Loop Element
Drag the Loop element onto your page.
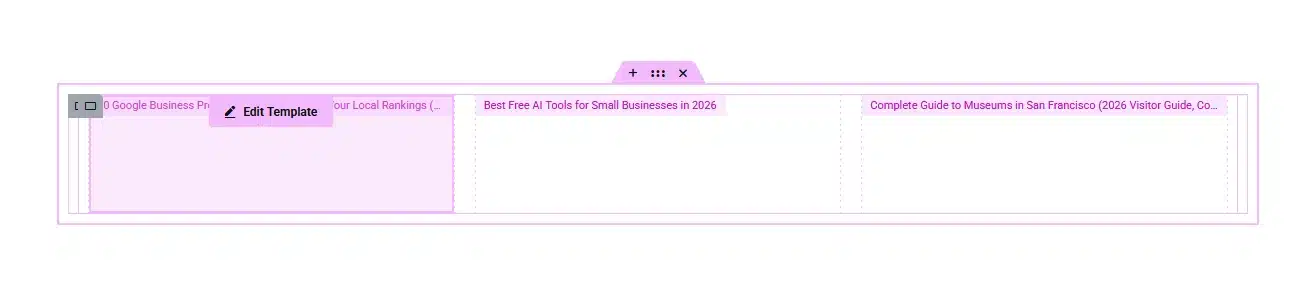
After adding it, Elementor will create a loop layout with multiple columns.
The loop will use the same design for each content item.
Customize the Loop Template
Once the Loop element is added, you will see an Edit Template option.
Click Edit Template to customize the design of each individual loop item.
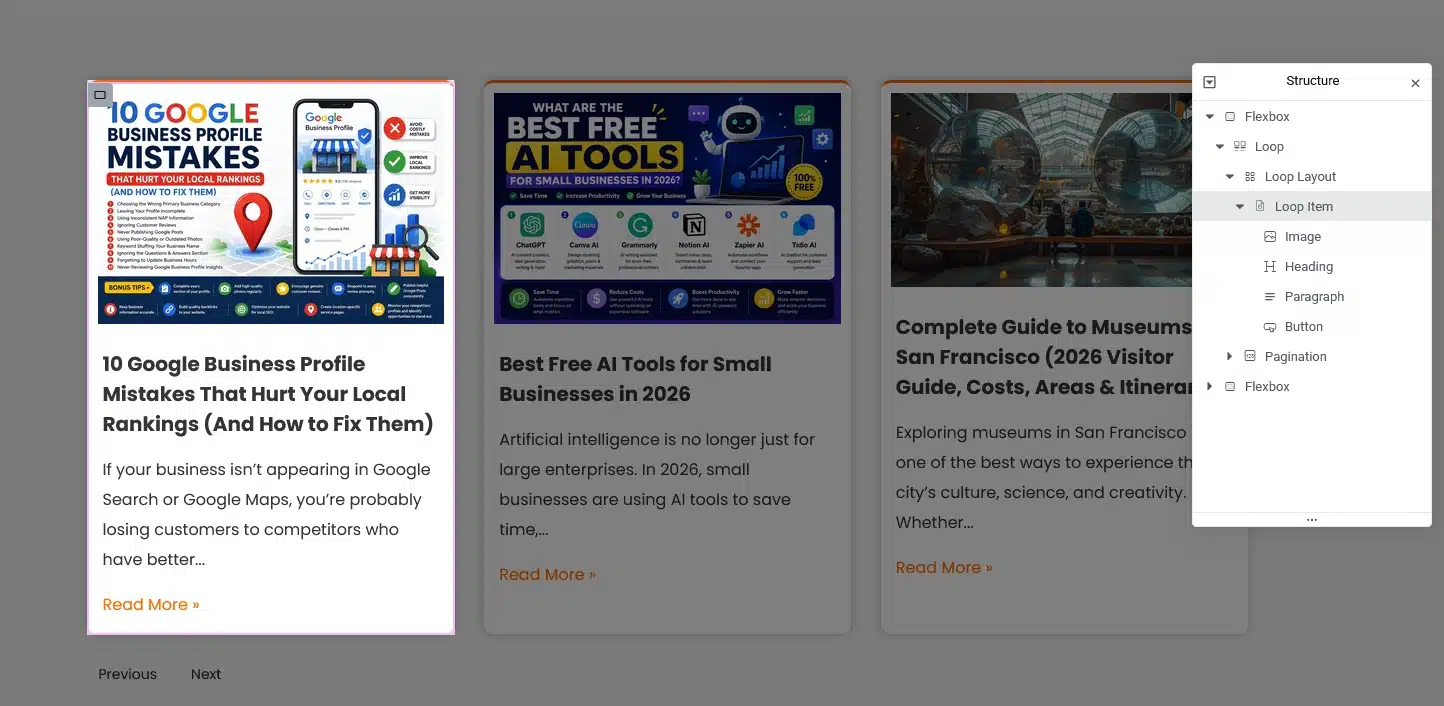
Inside the template, you can add elements such as:
- Image
- Heading
- Text
- Post Excerpt
- Button
- Other Elementor elements
You can design the loop item just like you would design any other Elementor section.
Add Dynamic Content to Your Loop
The main advantage of the Atomic Loop is that you can connect your elements to dynamic content.
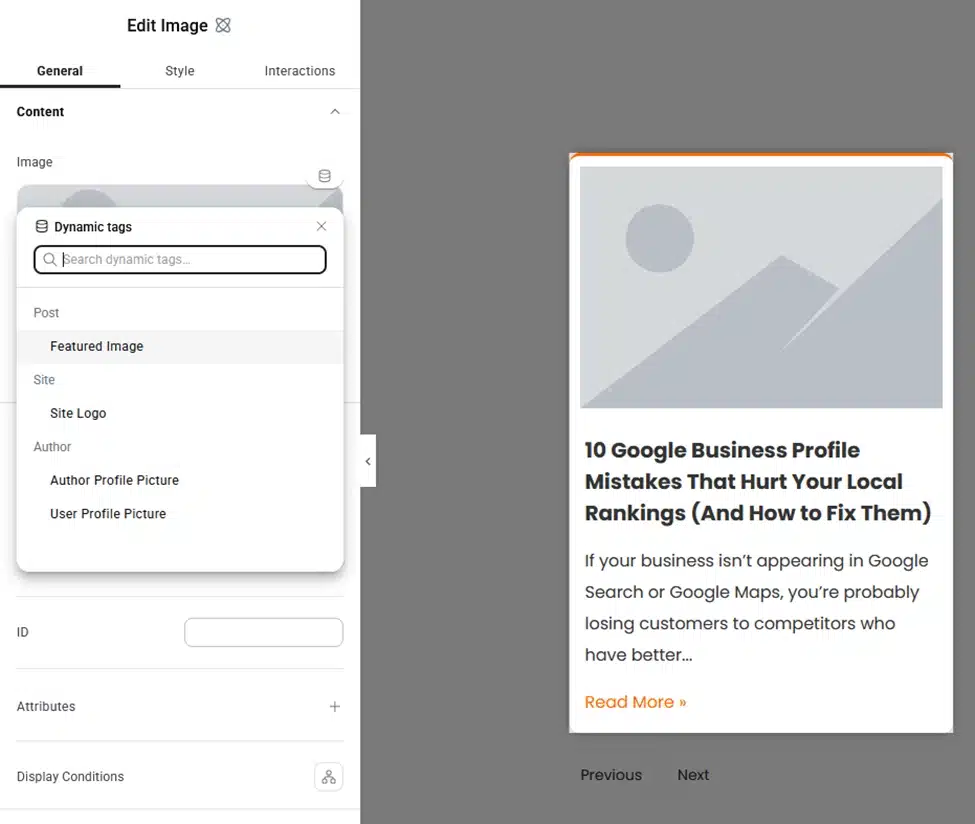
For example, you can add an Image element and use the Dynamic Tags option to display the featured image of each post.
Similarly, you can use dynamic tags for:
- Featured Image
- Post Title
- Post Excerpt
- Post Link
Example
For the image:
Image → Dynamic Tags → Featured Image
For the heading:
Heading → Dynamic Tags → Post Title
For the text:
Text → Dynamic Tags → Post Excerpt
For a button:
Button Link → Dynamic Tags → Post URL
This means you only need to create the layout once. Elementor automatically replaces the dynamic content for each post.
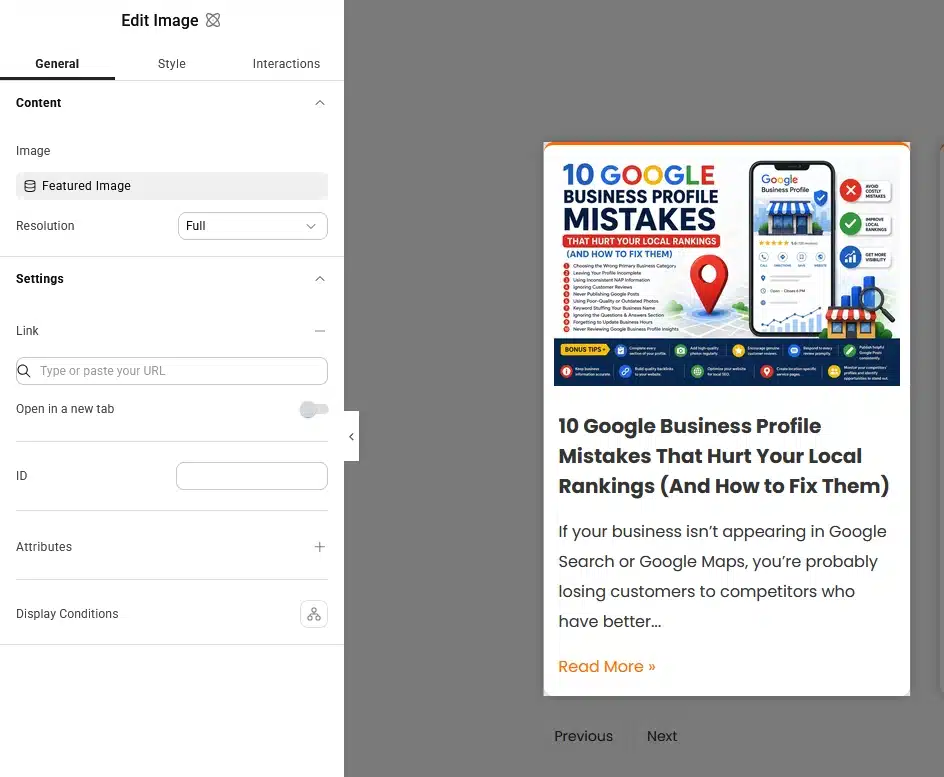
Set the Loop Content Type
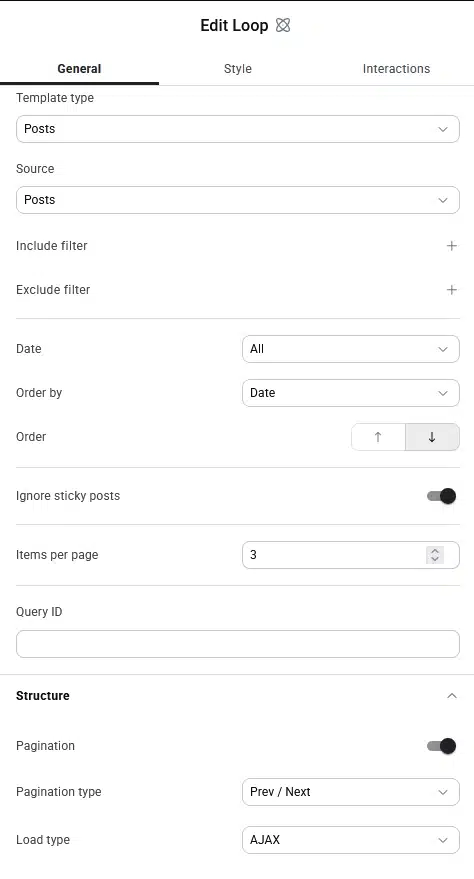
After creating your loop design, select the main Loop element to configure the content.
Under the Loop settings, you can choose the type of content you want to display.
For example:
Template Type: Posts
Source: Posts
You can also use the Loop for other content types or custom post types, depending on what you want to display.
Configure Your Loop Settings
The Loop element provides several options to control which content appears in the listing.
You can configure options such as:
- Include Filter
- Exclude Filter
- Date
- Order By
- Order
- Items Per Page
- Ignore Sticky Posts
- Query ID
For example, you can choose how many posts should appear on each page and control the order in which they are displayed.
You can also use filters to control which posts are included or excluded from the loop.
Enable Pagination
If your website has many posts, you can enable Pagination so visitors can browse through multiple pages of content.
Under the Loop settings, enable the Pagination option.
You can then select the pagination type, such as:
- Previous / Next
- Other available pagination options
Example: Create a Blog Post Loop
Let’s create a simple blog post layout.
Inside the Loop Template, add:
- Image – Display the Featured Image.
- Heading – Display the Post Title.
- Text – Display the Post Excerpt.
- Button – Link to the full post.
Then connect each element to its corresponding dynamic tag.
Your final loop can look like:
Featured Image → Post Title → Post Excerpt → Read More
Once the template is ready, Elementor automatically repeats the design for every post.
Save Your Loop Layout
After customizing the template and configuring your Loop settings, save your changes.
Your Atomic Loop is now ready.
When you add or update posts, the loop automatically uses the same design to display the content.
Why Use Elementor Atomic Loop?
The Atomic Loop makes it easier to create dynamic listings without designing every item individually.
You can:
- Create one reusable layout
- Display dynamic post content
- Use Featured Image, Post Title, and Post Excerpt dynamically
- Display custom post types
- Control the number of items per page
- Add pagination
- Filter and order your content
This makes the Atomic Loop useful for blog grids, product listings, portfolio layouts, custom post type archives, and other dynamic content sections.
Final Thoughts
Elementor’s Atomic Loop provides a simple way to create dynamic content layouts.
The basic process is:
Add Atomic Loop → Edit Template → Design Your Loop → Add Dynamic Content → Choose Content Source → Configure Settings → Publish
Once your loop template is created, Elementor automatically applies the design to each item in your selected content source.
Whether you’re displaying blog posts or a custom post type, the Atomic Loop can help you create a consistent and dynamic listing without manually designing every item.