Table of Contents
- Why Image Optimization Matters for Website Performance
- 1. Use the Right Image Dimensions
- 2. Keep Images Under 300 KB
- 3. Use Modern Image Formats
- 4. Use SVG for Logos and Icons
- Do You Really Need an Image Optimization Plugin?
- A Simple Image Optimization Workflow
- Quick Image Optimization Reference
- Build Image Optimization Into Your Website From Day One
- Final Thoughts
Images are an important part of every modern website, but using large or incorrectly formatted images can slow down your website and affect overall performance.
The best way to avoid unnecessary image-related performance issues is to optimize images before uploading them to your website.
Whether you are a designer, developer, or website owner, following a few simple image optimization guidelines can help you build a faster and more lightweight website from the start.
Why Image Optimization Matters for Website Performance
Images can contain significantly more data than HTML, CSS, or other smaller website resources. A single high-resolution photograph from a camera or stock image website can easily be several megabytes.
Uploading these original files directly to a website can result in:
- Slower page loading
- Larger page sizes
- Increased bandwidth usage
- Poorer mobile performance
- Longer image download times
- Image-related opportunities in PageSpeed Insights
- Potential impact on Core Web Vitals
This is why image optimization should ideally begin before an image is uploaded to your website.
Instead of uploading a 4–8 MB original image and relying entirely on an optimization plugin to process it later, prepare an appropriately sized and compressed image first.
This creates a cleaner and more efficient website from the beginning.
1. Use the Right Image Dimensions
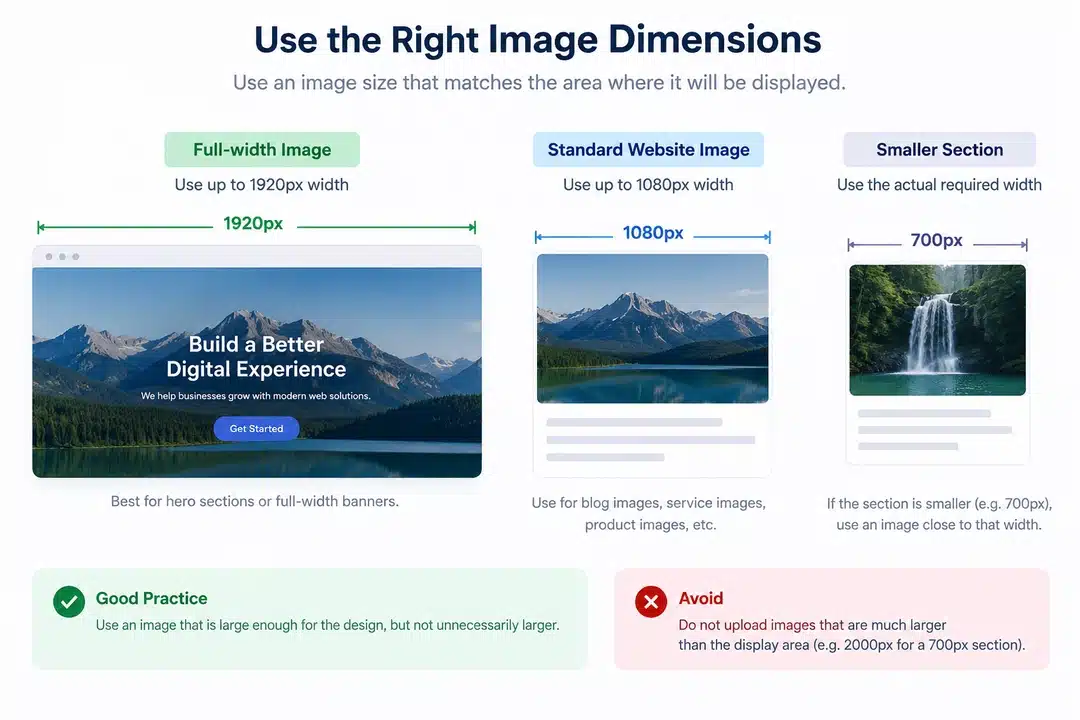
One of the most common image optimization mistakes is uploading an image that is much larger than the area where it will actually be displayed.
As a general guideline:
- Full-width images: Use up to 1920px width
- Standard website images: Use up to 1080px width
- Smaller sections: If the section is less than 1080px wide, use an image closer to the actual required width.
For example, if an image will be displayed inside a section that is only 700px wide, there is usually no need to upload a 2000px-wide image.
The goal is simple: use an image that is large enough for the design, but not unnecessarily larger.
2. Keep Images Under 300 KB
Image dimensions and image file size are two different things.
Even if an image has the correct dimensions, it can still be unnecessarily large if it has not been compressed.
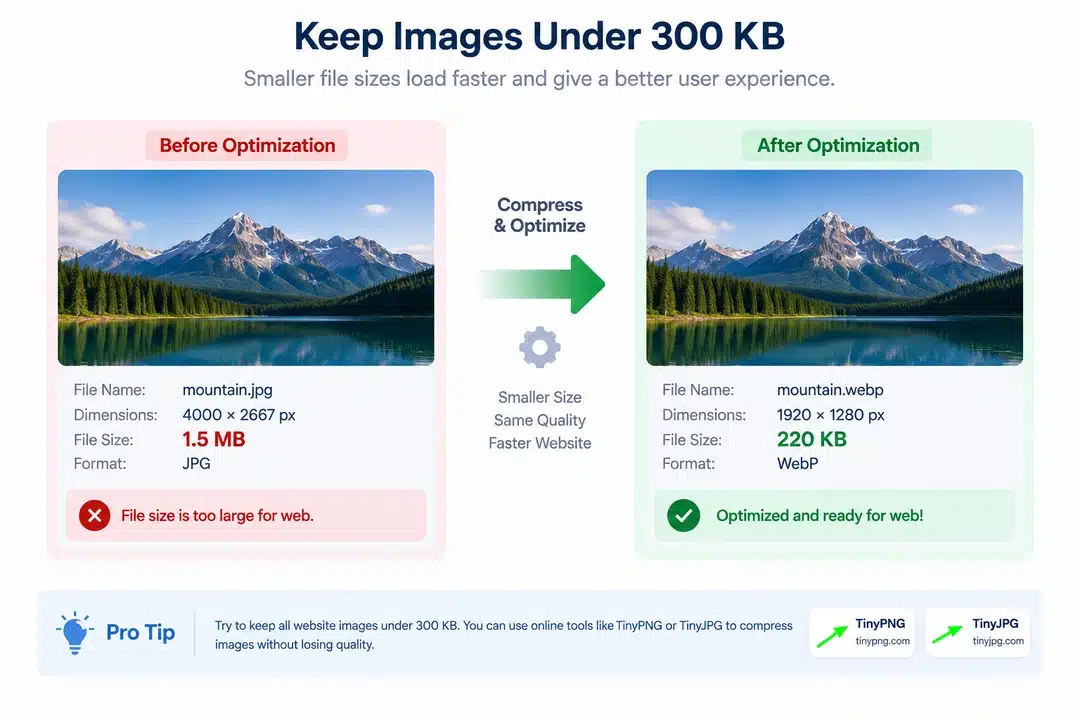
As a practical guideline, try to keep website images under 300 KB whenever possible.
For example:
Before: 1.5 MB image
After: 200 KB optimized image
Reducing the file size means less data needs to be downloaded by the visitor, which can help pages load faster.
You can use online image compression tools such as:
- TinyPNG Url: https://tinypng.com/
- TinyJPG Url: https://tinyjpg.com/
If an image is larger than 300 KB, try compressing it before uploading it to your website.
Tip: 300 KB is a practical target, not a strict limit. Some large or visually complex images may require more, but always try to keep the file as small as possible while maintaining good visual quality.
3. Use Modern Image Formats
Choosing the right image format can also help reduce file size.
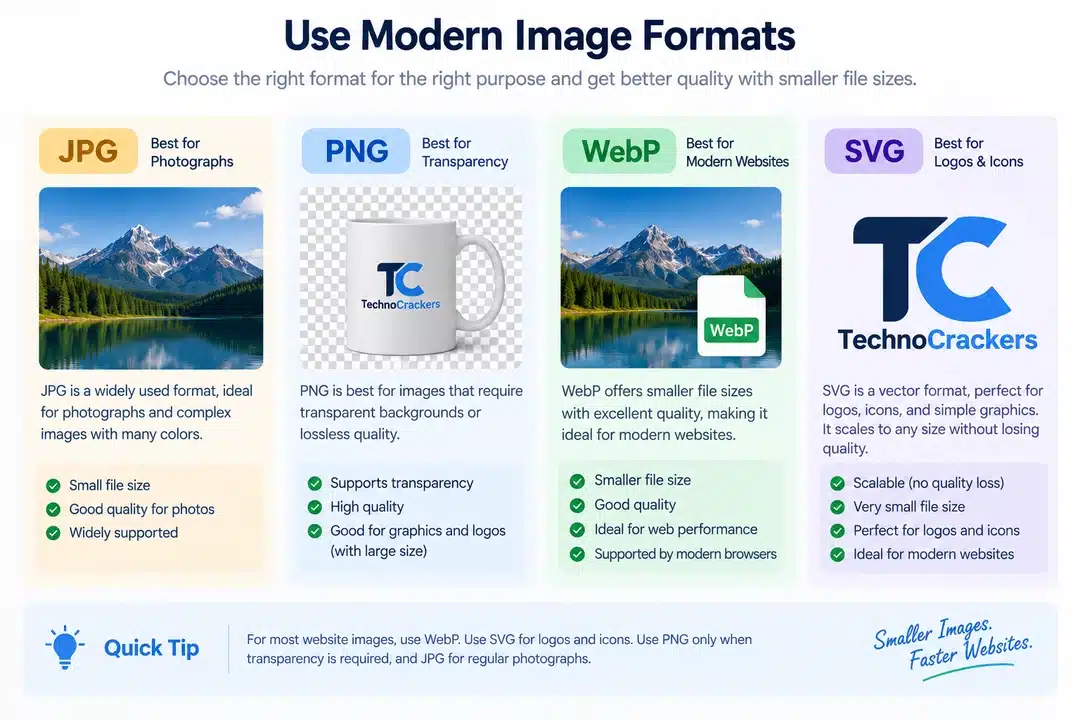
For modern websites, WebP and SVG are useful formats for many common image requirements.
WebP for Photos and Regular Images
WebP is a modern image format that can provide smaller file sizes while maintaining good image quality.
Use WebP for:
- Website photos
- Blog images
- Hero images
- Product images
- Service images
- Other raster graphics
If you already have JPG or PNG images, you can convert them to WebP before uploading them.
For example:
JPG to WebP Converter: https://pixelied.com/convert/jpg-converter/jpg-to-webp
PNG to WebP Converter: https://pixelied.com/convert/png-converter/png-to-webp
The important thing is to resize and compress the image before converting it. Simply converting a very large image to WebP does not automatically make it an appropriately optimized website image.
4. Use SVG for Logos and Icons
SVG is a vector image format and is particularly useful for graphics that need to remain sharp at different sizes.
Use SVG whenever appropriate for:
- Website logos
- Icons
- Simple vector graphics
- Line-based illustrations
For example, instead of using a large PNG file for a website logo, you can use an SVG version.
SVG graphics can scale to different sizes without becoming pixelated, making them particularly useful for logos and icons across desktop and mobile layouts.
Do You Really Need an Image Optimization Plugin?
Not necessarily.
Image optimization plugins can be helpful, especially for existing websites with large media libraries or websites where users regularly upload unoptimized images. However, they should not be a replacement for properly preparing images before uploading them.
If designers and developers consistently use:
- Correctly sized images
- Compressed images
- Modern image formats
- Appropriately sized thumbnails
- SVG logos and icons where appropriate
there may be less need to rely heavily on image optimization plugins.
This approach can also help keep a WordPress website simpler and reduce unnecessary image-processing tasks.
Good image optimization starts before the image reaches your website.
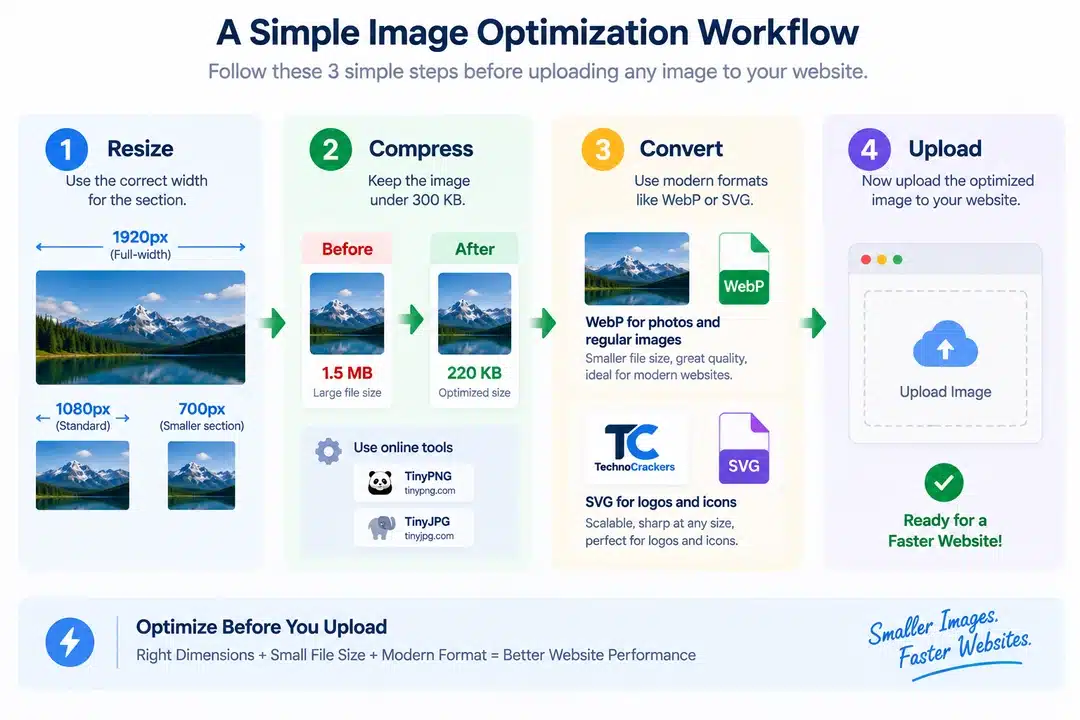
A Simple Image Optimization Workflow
Before uploading any image to your website, follow these three simple steps:
1. Resize
Use the correct image width for the section where the image will appear.
2. Compress
Try to keep the image under 300 KB while maintaining good visual quality.
3. Convert
Use WebP for most photos and raster images, and SVG for logos, icons, and suitable vector graphics.
Resize → Compress → Convert → Upload
This simple workflow can help you avoid uploading unnecessarily large image files.
Quick Image Optimization Reference
| Image Requirement | Recommended |
|---|---|
| Full-width image | Up to 1920px wide |
| Standard website image | Up to 1080px wide |
| Smaller section | Use the actual required width |
| Image file size | Aim for under 300 KB |
| Photos / raster images | WebP |
| Logos / icons | SVG |
Build Image Optimization Into Your Website From Day One
Image optimization should not be something you think about only after a website becomes slow.
If you are building a website from scratch, prepare your images correctly before uploading them.
Instead of uploading large JPG or PNG files and depending entirely on an optimization plugin to process them later, start with images that are:
- Correctly sized
- Compressed
- Properly formatted
- Appropriate for their intended use
This can help keep your website faster, lighter, and easier to maintain.
Following these guidelines can also reduce the amount of unnecessary image optimization work required later.
Final Thoughts
Image optimization does not have to be complicated.
When designers and developers choose the right dimensions, keep file sizes under control, use WebP for appropriate raster images, and use SVG for logos and icons, they can prevent many unnecessary image-related performance issues from the beginning.
The key is to optimize images before uploading them to the website rather than trying to fix oversized images later.
Our Simple Rule
Right Dimensions + Small File Size + Modern Format = Better Website Performance