Table of Contents
- Why Use One Filter for Multiple Listings?
- Benefits of Shared Filters
- Required Plugins
- Step 1: Create Multiple Listing Grids
- Step 2: Assign Query IDs
- Step 3: Create the Filter
- Step 4: Add Filter to the Page
- Step 5: Enable AJAX Filtering
- Step 6: Test the Filter
- Best Practices for Multi-Listing Filters
- Advanced Use Cases
- Common Issues and Fixes
- Final Thoughts
Creating advanced filtering systems is one of the most powerful features of Crocoblock. In many dynamic websites, you may want a single filter to control multiple listing grids at the same time. This helps create a cleaner user experience and keeps your website more interactive and organized.
Using JetSmartFilters with JetEngine, you can easily connect one filter to multiple listing grids without custom coding.
In this tutorial, you’ll learn how to use one filter for multiple listing grids in Crocoblock step by step.
Why Use One Filter for Multiple Listings?
Using a shared filter across multiple listing grids can improve both functionality and user experience.
Common Use Cases
- Event websites with multiple event sections
- Real estate websites with featured and latest properties
- Product catalogs with different product layouts
- Business directories with multiple listing styles
- News websites with categorized content sections
Instead of adding separate filters for each listing, one filter can dynamically update multiple grids simultaneously.
Benefits of Shared Filters
Better User Experience
Visitors only need to use one filter instead of multiple filtering systems.
Cleaner Website Layout
Reduces unnecessary duplicate filters.
Faster Navigation
Content updates dynamically using AJAX.
Easier Website Management
Manage filtering logic from a single source.
Required Plugins
Before starting, install and activate:
- JetEngine
- JetSmartFilters
- Divi or Elementor
These plugins work together to create dynamic listing and filtering systems.
Step 1: Create Multiple Listing Grids
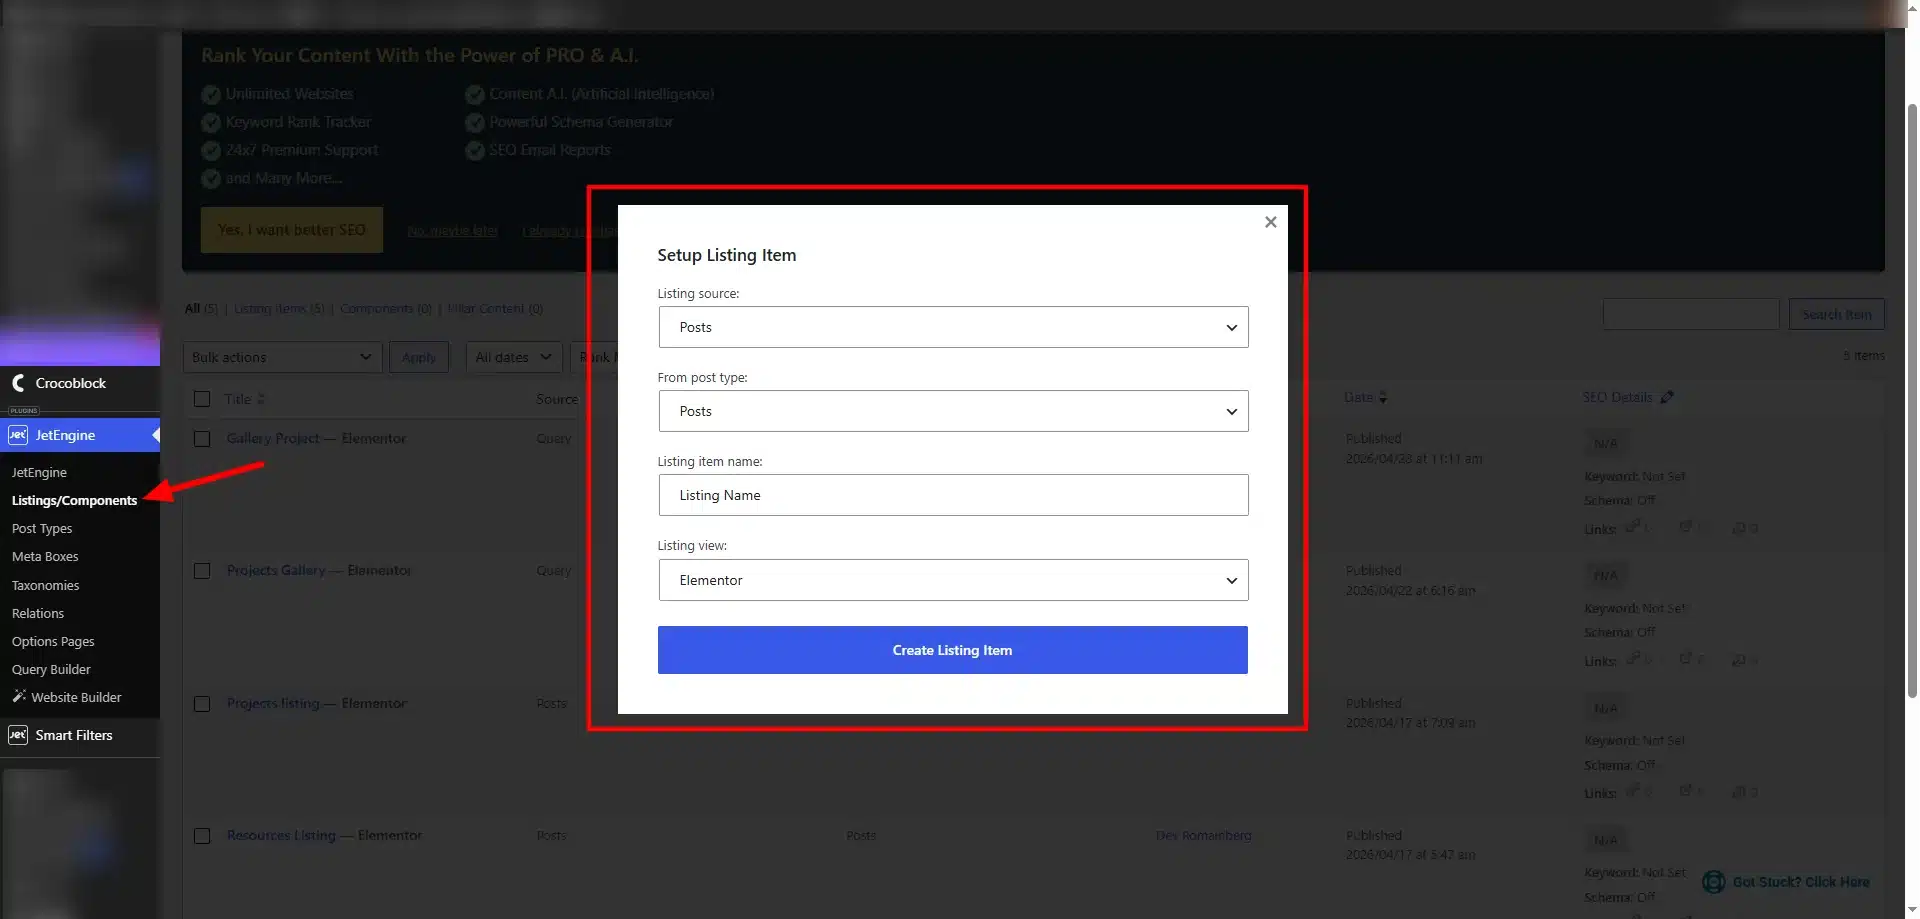
First, create your listing grids using JetEngine.
Go to:
JetEngine → Listings
Create multiple listing templates.
Example:
- Featured Projects
- Latest Projects
Or:
- Upcoming Events
- Popular Events
Then place both listing grids on the same page using Divi Builder or Elementor.
Step 2: Assign Query IDs
This is the most important step.
Each listing grid must have a Query ID.
Example:
First Listing Grid
project-list
Second Listing Grid
project-slider
Both grids must use the SAME Query ID if you want one filter to control both listings.
You can set this inside the Listing Grid widget settings.
Step 3: Create the Filter
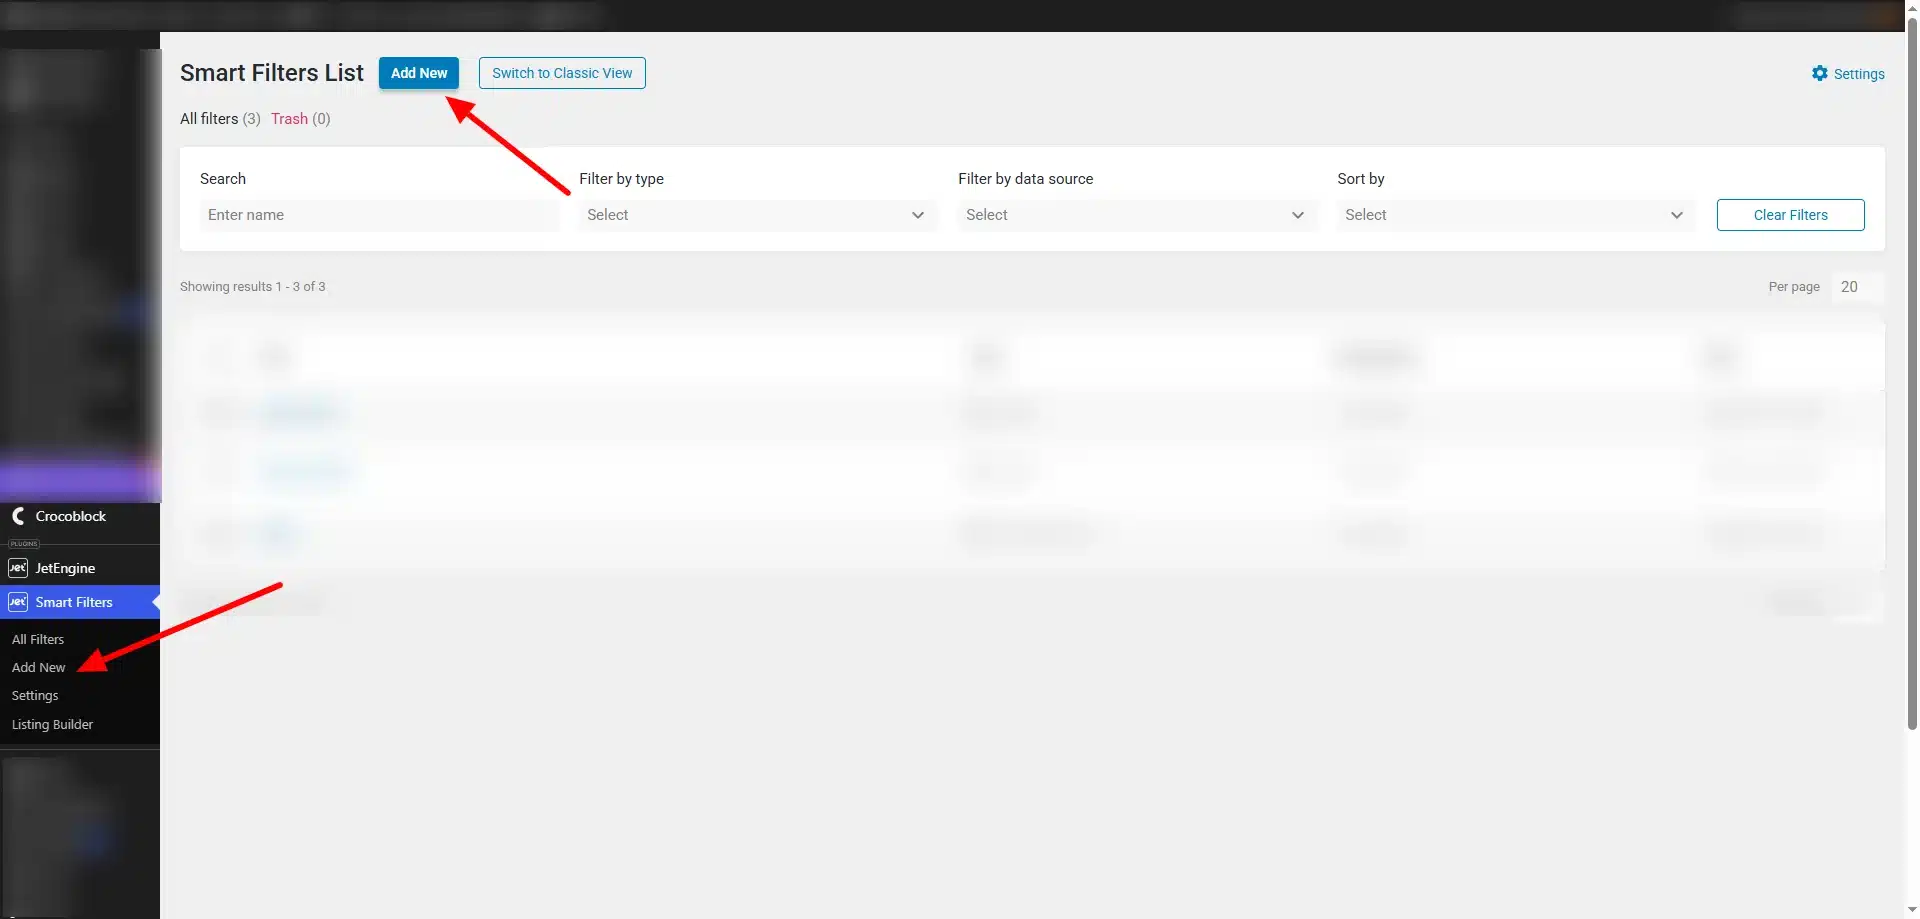
Now create your filter.
Go to:
JetSmartFilters → Add New
Choose your filter type:
- Select Filter
- Checkbox Filter
- Radio Filter
- Search Filter
- Date Filter
Configure:
- Data Source
- Filter Labels
- Query Variable
Save the filter after setup.
Step 4: Add Filter to the Page
Open your page in Divi Builder or Elementor.
Add the JetSmartFilters widget above your listing grids.
Now configure:
Provider
Select:
JetEngine
Query ID
Use the SAME Query ID used in both listing grids.
Example:
property_filter
This connects the filter to both listing grids simultaneously.
Step 5: Enable AJAX Filtering
Inside filter settings, enable:
AJAX Filtering
This allows listings to update instantly without page reloads.
Then, use the “Additional Providers List” option and add the second ID there.

AJAX filtering improves:
- Website speed
- User experience
- Interactive behavior
Step 6: Test the Filter
Now test your filter on the frontend.
When users select a filter option:
- First listing grid updates
- Second listing grid updates
- Both grids stay synchronized
This creates a unified filtering system.
Best Practices for Multi-Listing Filters
Use Consistent Query IDs
Always use identical Query IDs for connected listings.
Optimize AJAX Requests
Too many listing grids may affect performance, so optimize queries carefully.
Keep Filters Simple
Avoid overwhelming users with too many filter options.
Use Responsive Layouts
Ensure filters and listing grids work properly on mobile devices.
Advanced Use Cases
Shared filters work perfectly for:
Real Estate Websites
Filter featured and recent properties together.
Event Platforms
Update multiple event sections using one filter.
WooCommerce Stores
Control multiple product layouts simultaneously.
Directory Websites
Filter businesses displayed in different layouts.
Blog Archives
Sync multiple content sections with one category filter.
Common Issues and Fixes
Filter Not Updating Both Grids
Check if:
- Both listing grids use the same Query ID
- Filter Query ID matches listing grids
- AJAX is enabled
Filters Not Working
Verify:
- Provider settings
- Query variables
- Dynamic query setup
Slow Performance
Reduce:
- Number of posts
- Complex queries
- Heavy AJAX requests
Final Thoughts
Using one filter for multiple listing grids in Crocoblock is an excellent way to create advanced and user-friendly dynamic websites.
With JetSmartFilters and JetEngine, you can build synchronized filtering systems that improve navigation, simplify layouts, and create a more professional frontend experience without custom coding.
Whether you’re building a directory website, event platform, WooCommerce store, or real estate portal, shared filtering can make your dynamic website much more powerful and easier to use.
Looking to scale your eCommerce business? Partner with experienced teams like Technocrackers for tailored WooCommerce development services and get a free quote to explore the right solution for your business.