Learn how to create dynamic Loop Grid and Loop List layouts for your Custom Post Types using the Divi Machine plugin. This guide walks you through building custom archive templates, styling your loops, and enabling powerful features like pagination, “Load More,” or infinite scroll. Perfect for Divi users who want to display CPT content in a modern, flexible, and fully dynamic way—without writing custom code.
This guide walks you through a clean, step-by-step process to fetch and display CPT content in Loop Grid or Loop List Using Divi Machine with Pagination or Load More.
What You Need
Before getting started, make sure you have:
– Divi Theme
– Divi Machine plugin
– A Custom Post Type (CPT)
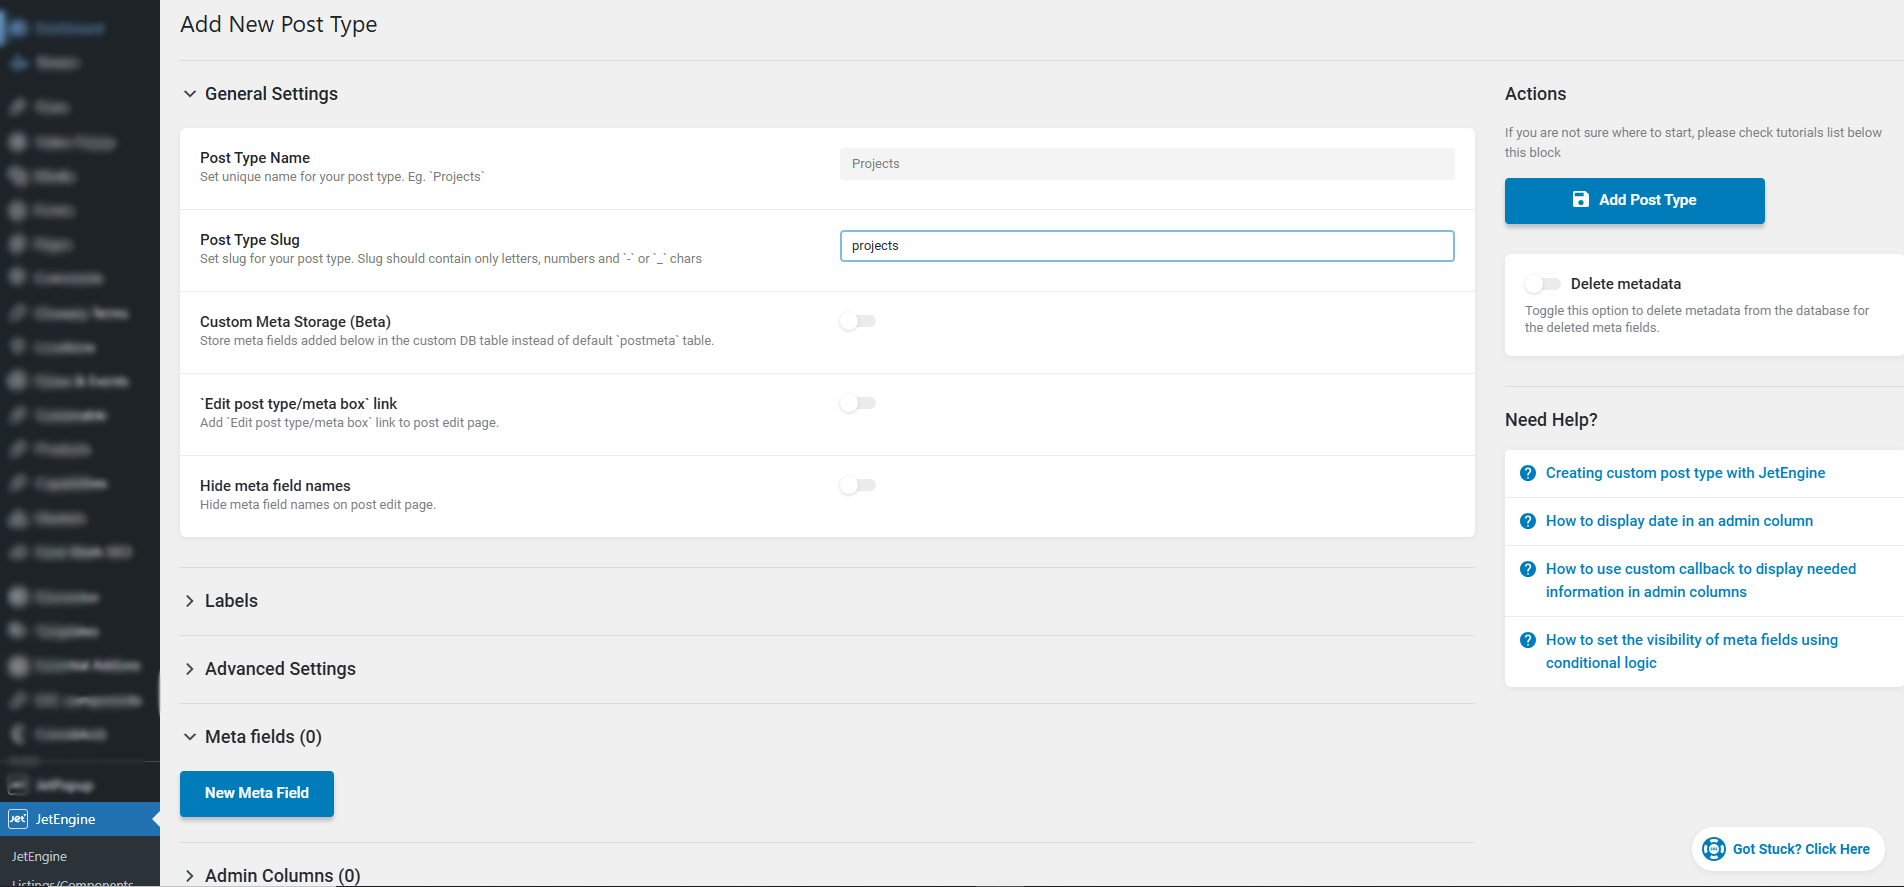
Step 1: Create Your Custom Post Type (CPT)
You can create a CPT with CPT UI plugin or by using custom code.
Example: Projects

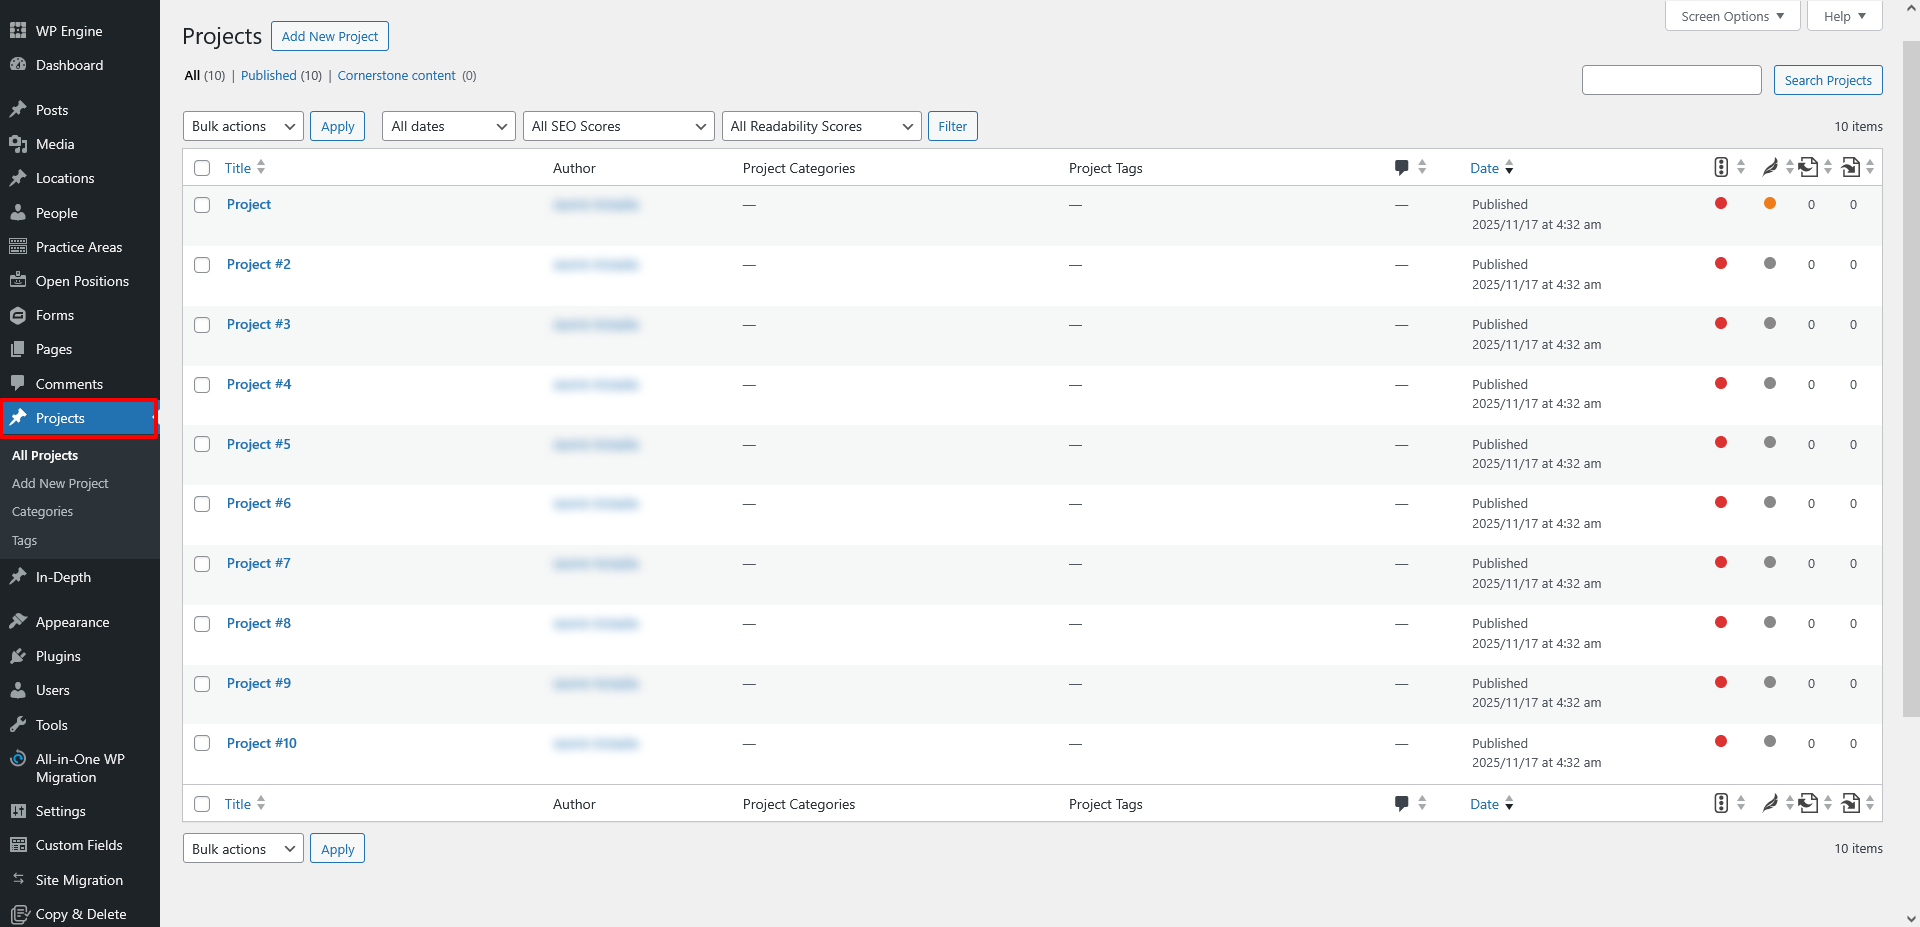
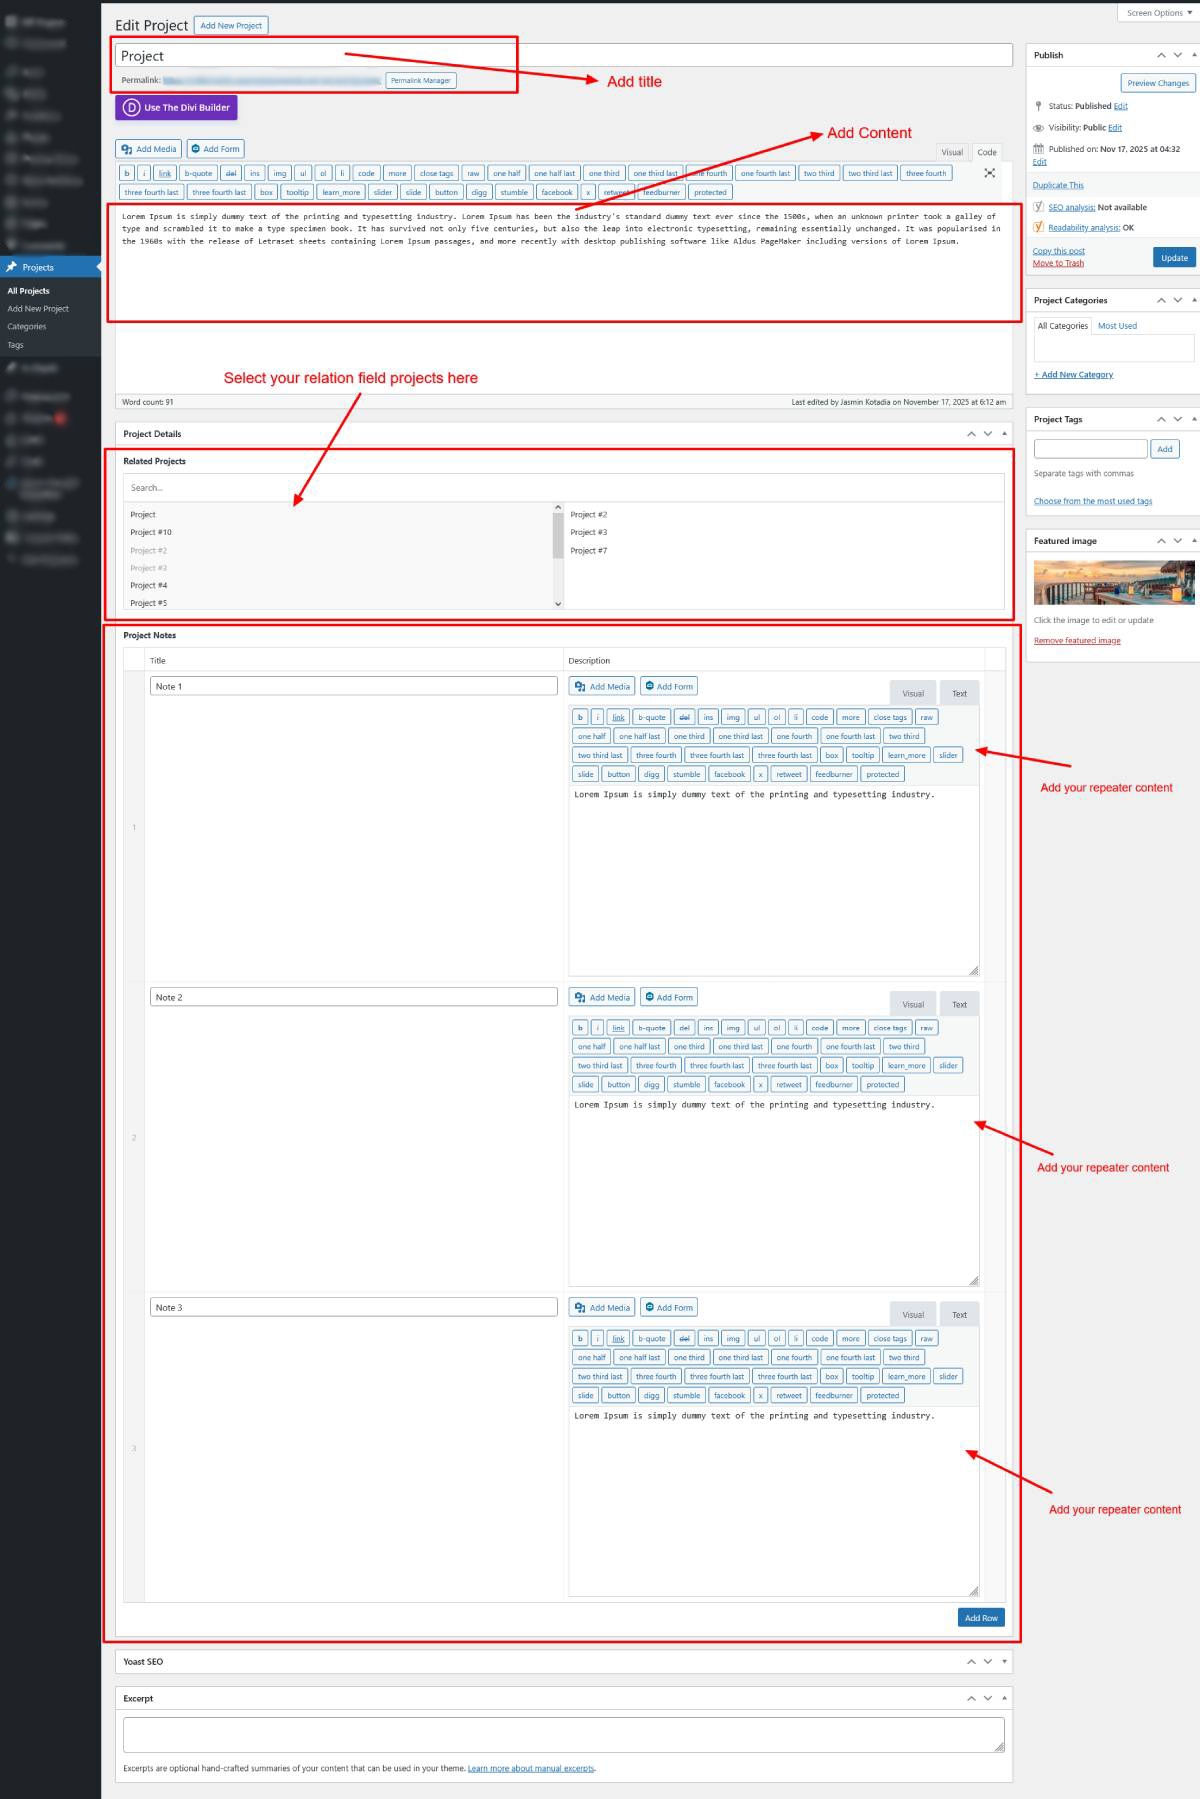
Step 2: Add Projects
Go to: Projects → Add New
Add title, description, featured image then publish post.

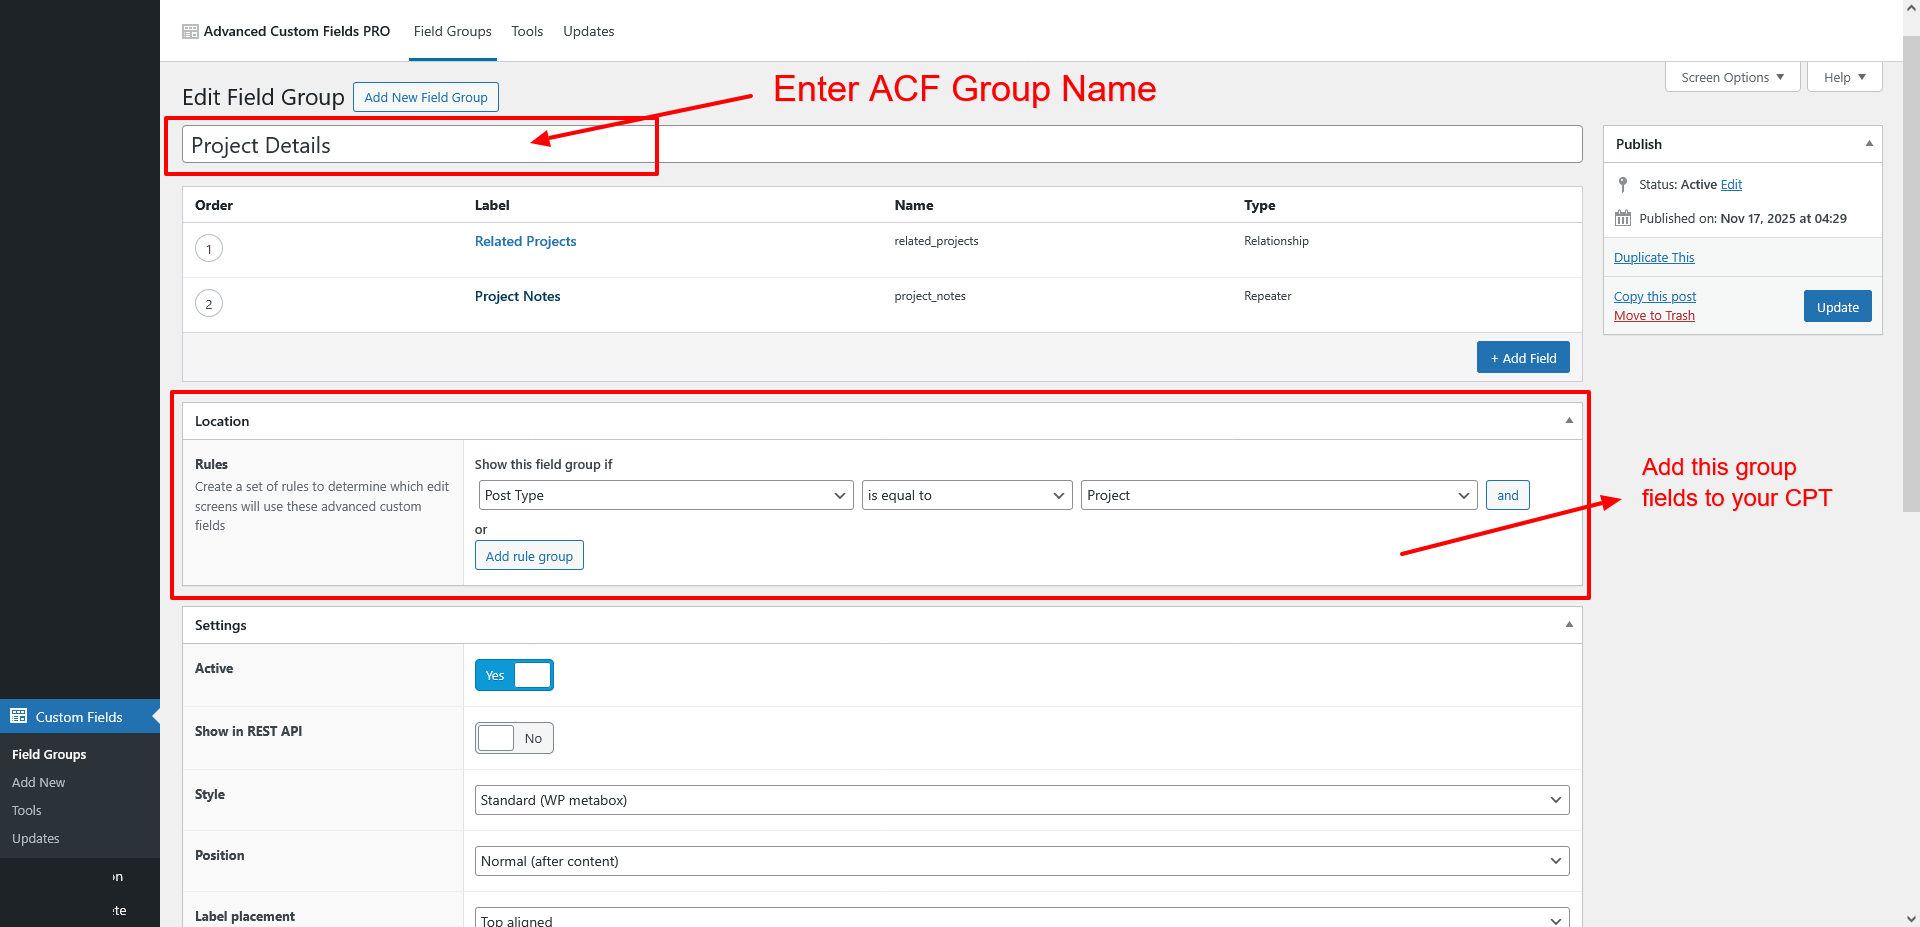
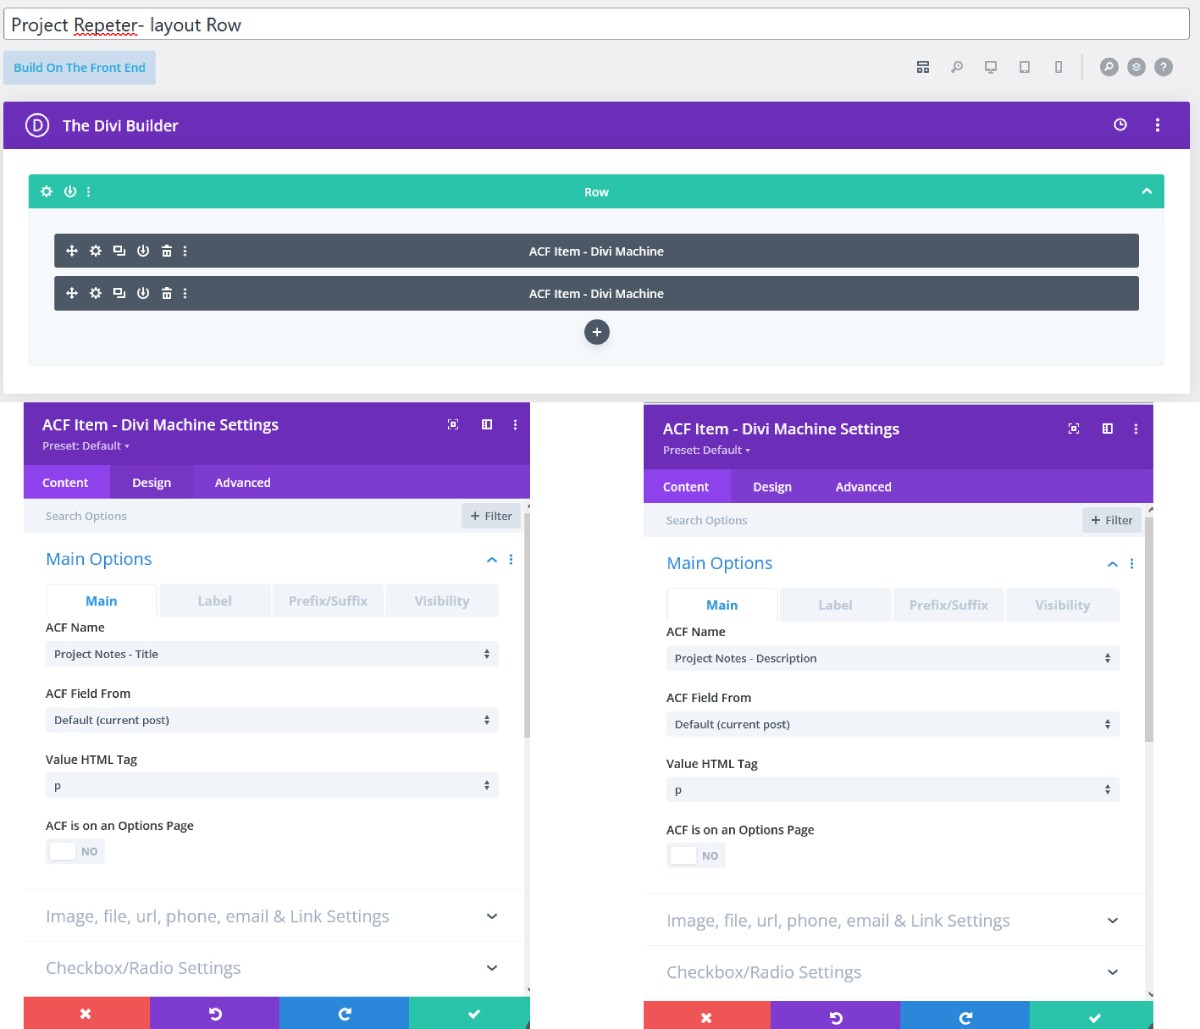
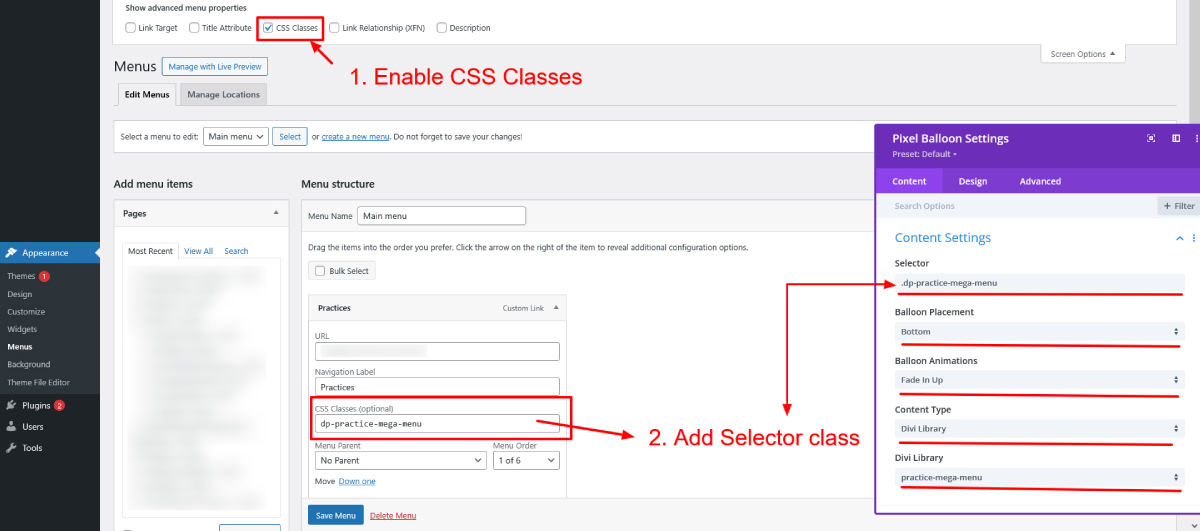
Step 3: Create one Projects listing in Divi Library
Go to: Divi → Divi Library → Add New Layout
=> Add Layout name
=> Select Layout type

=> Then edit that layout in divi library.
=> Please include the Post Title module, Image module, and Post Content module in the listing layout, and specify which modules need to be added in the listing.

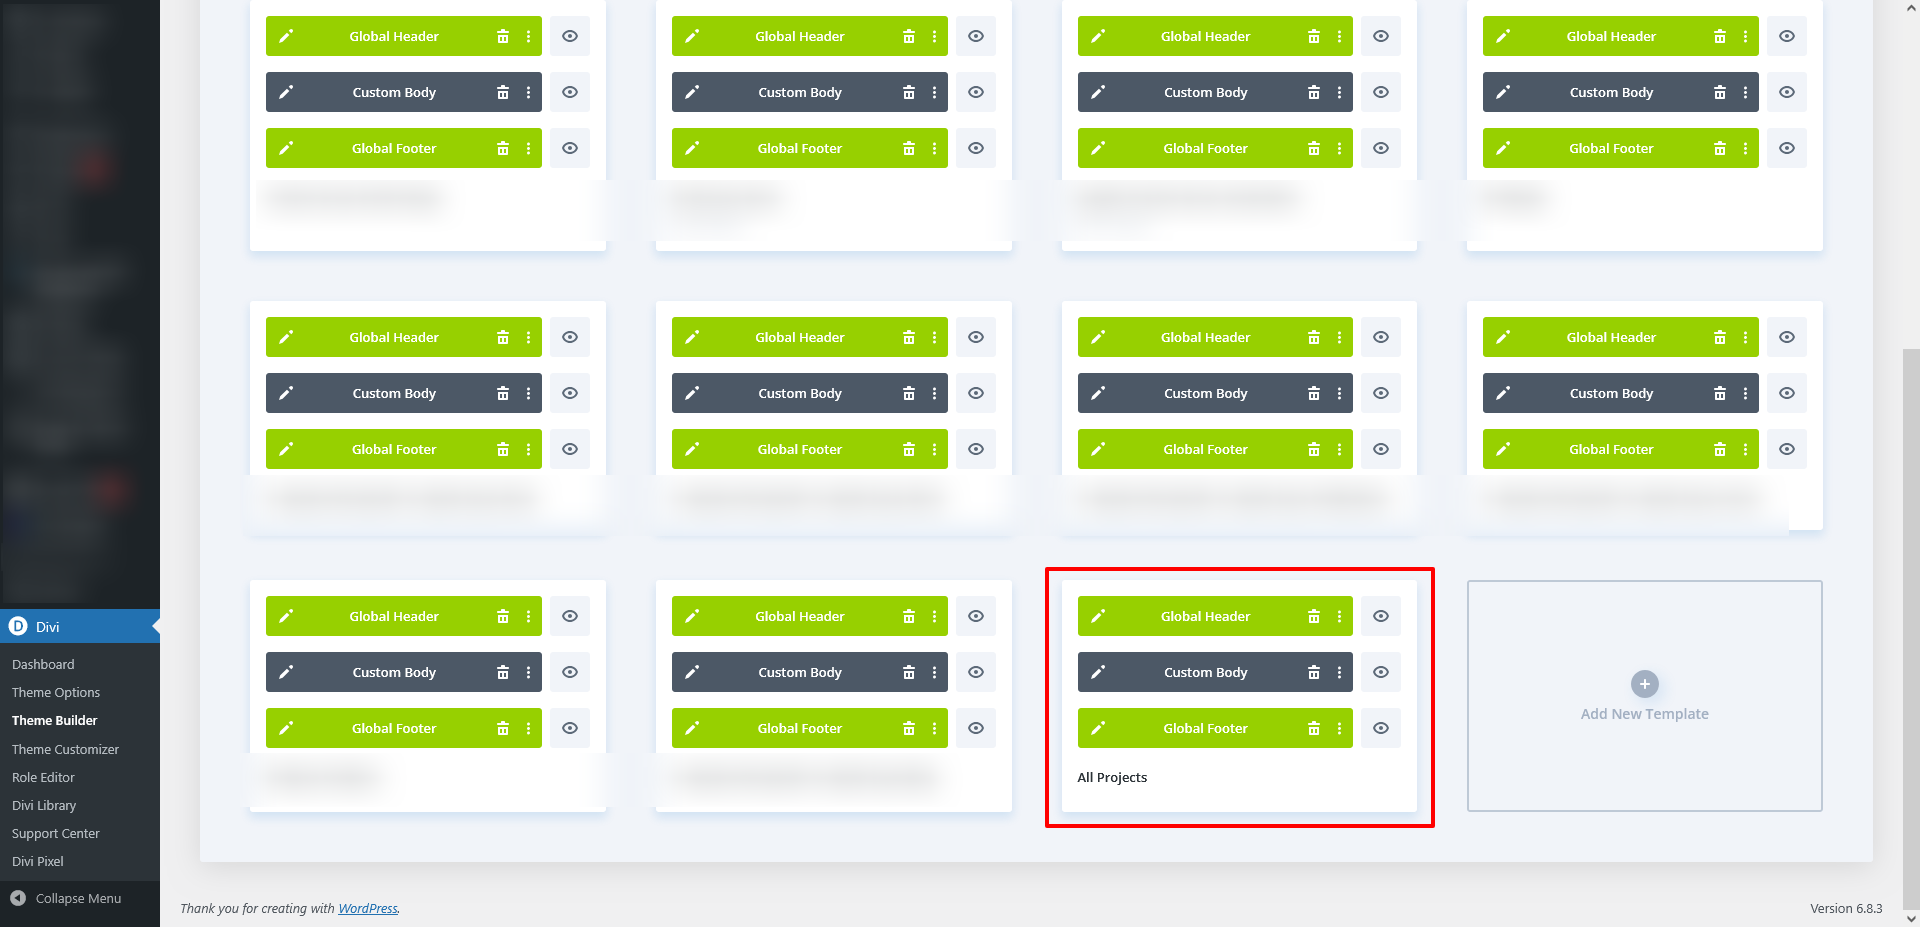
Step 4: Build Archive CPT Template in Divi
Go to: Divi → Theme Builder → Add Template → Assign to Projects.
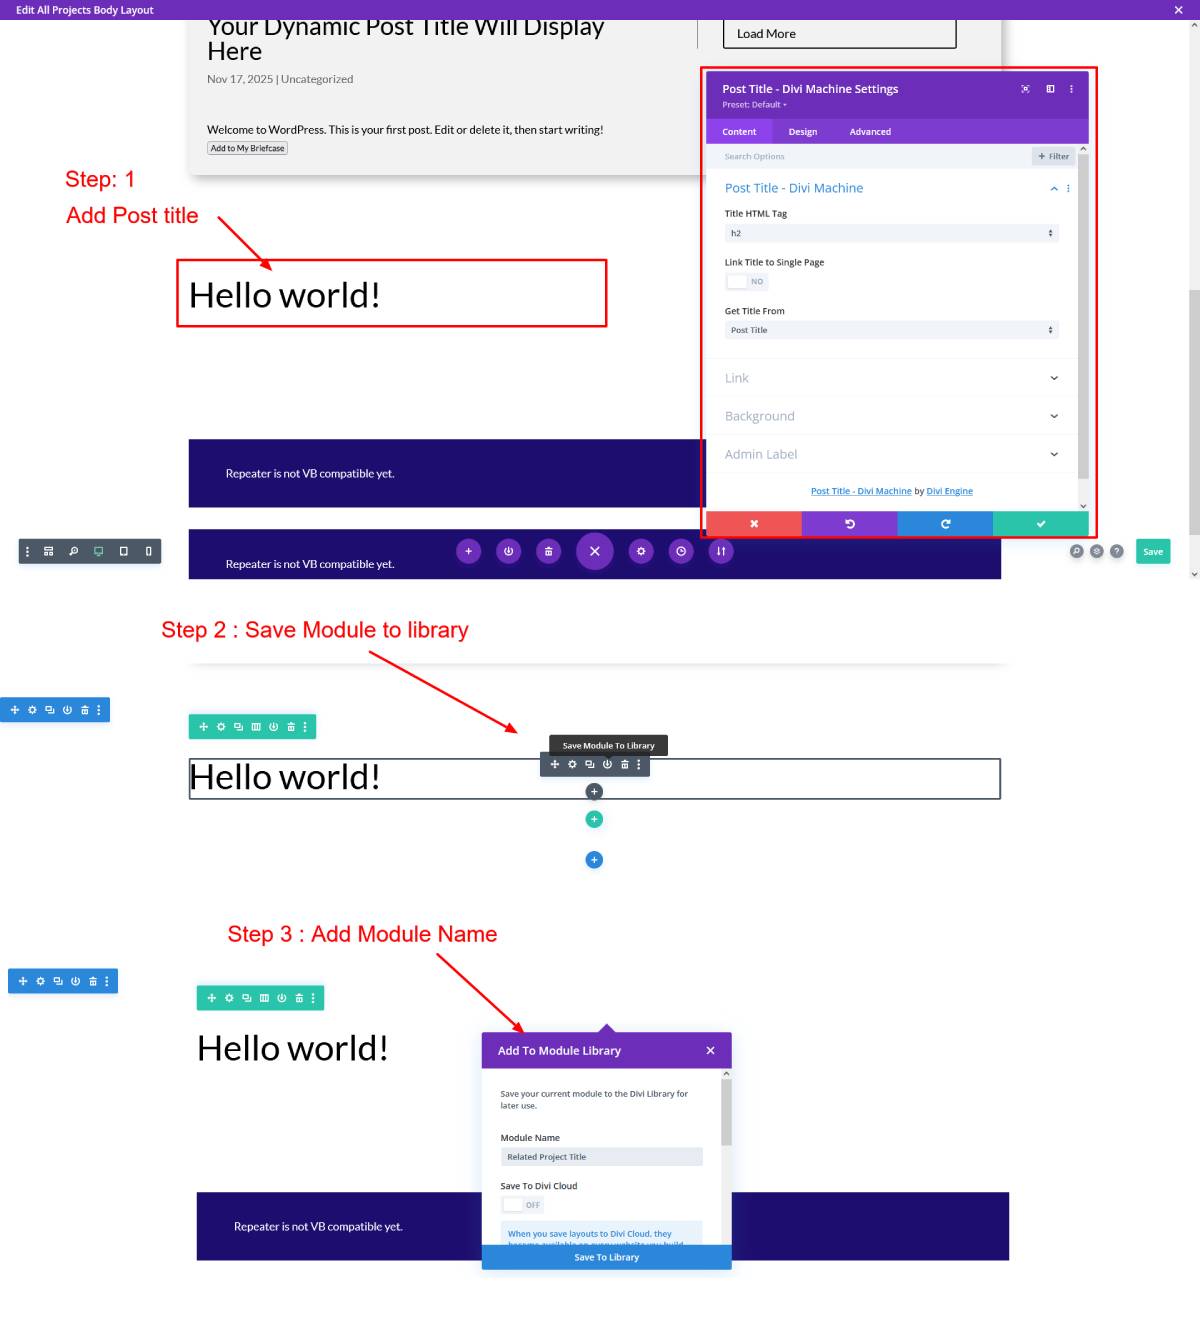
Click Edit with Divi.
Add Post Title and Post Content using Divi Machine modules.
Design your layout as needed.

Step 5: Then Archive CPT Template
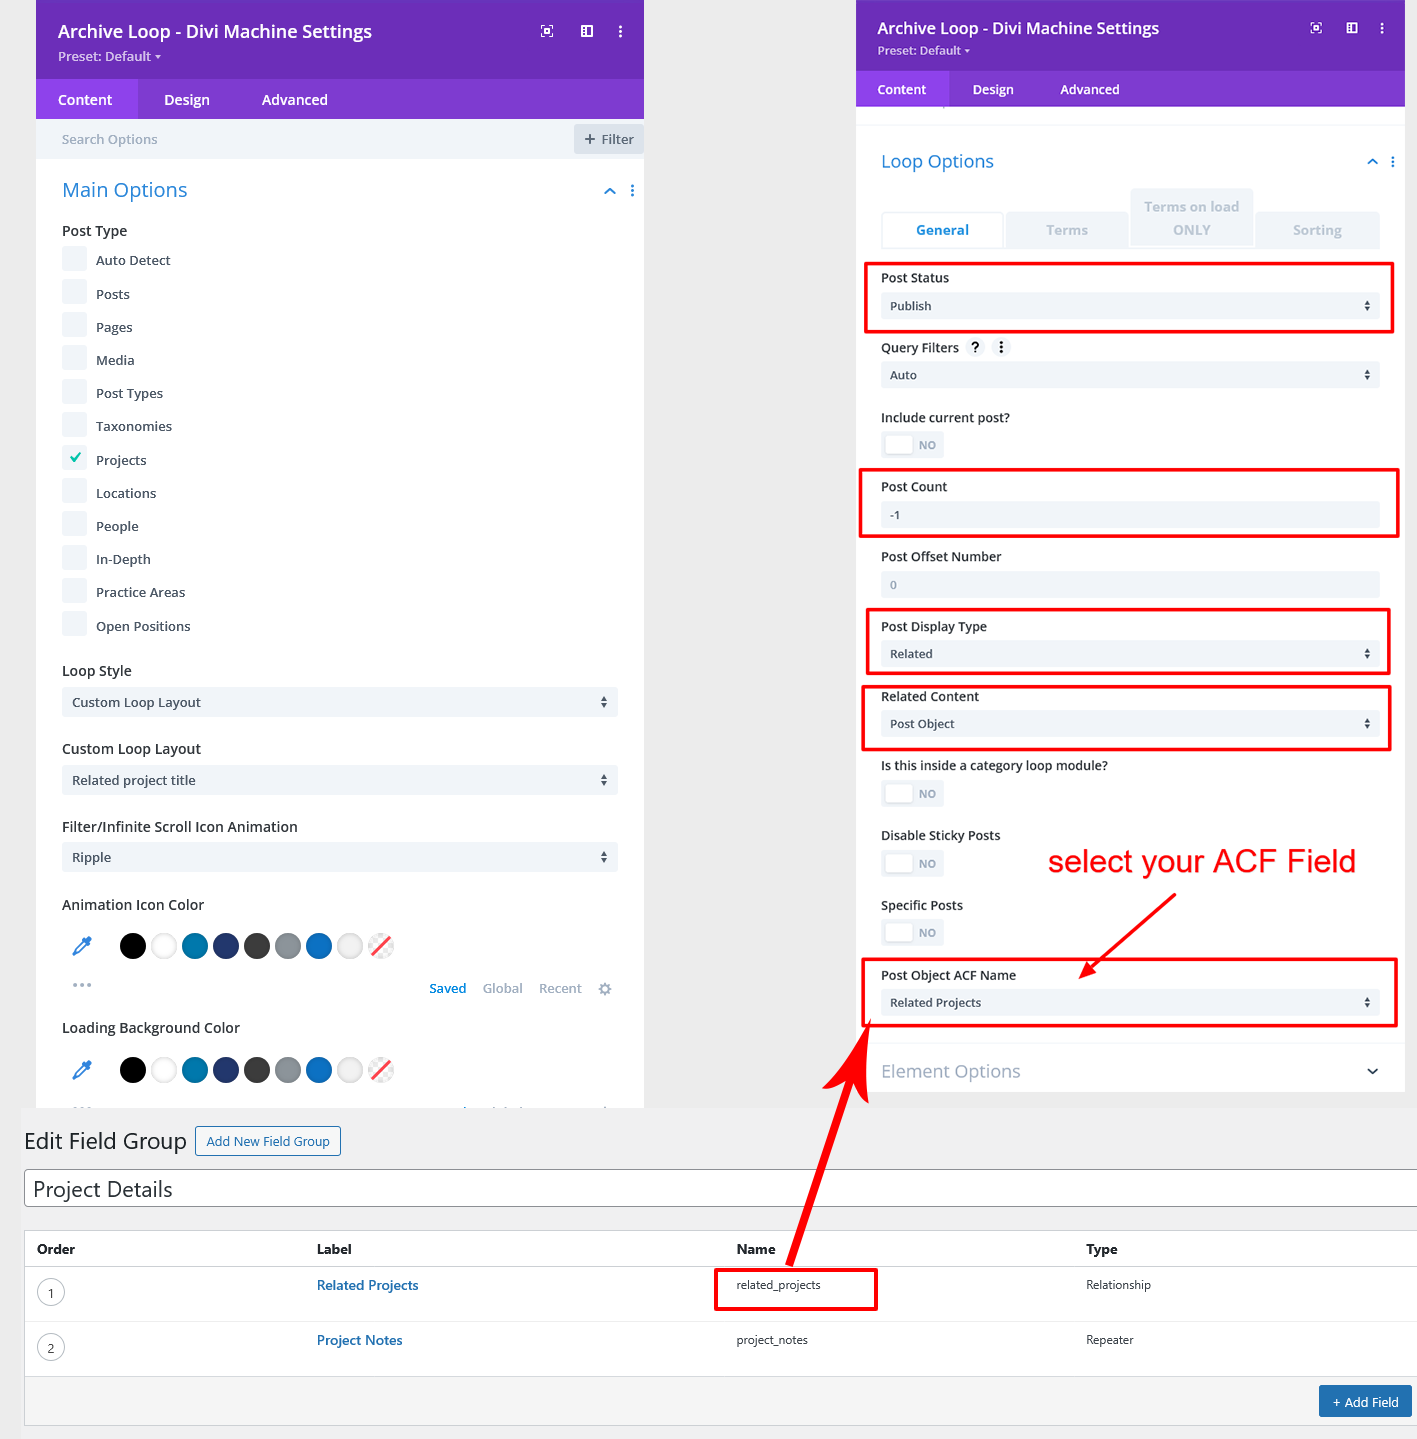
=> Add divi machine archive loop module

Then, in the Divi Archive Loop, select your post type (e.g., Projects) and choose the template you previously created in the Divi Library (e.g., Project List).

Next, go to the Archive Loop Module → Loop Options → Terms tab.
In this section, select the Taxonomy you created for your post type.
After selecting the taxonomy, enter your category (term) name in the Include Custom Taxonomy Values field. You can simply copy and paste the term name exactly as it appears in your taxonomy.

Then go to archive module Grid option and select grid option and select grid column.

If you select more than one in grid column it show grid view and select one it show list view.
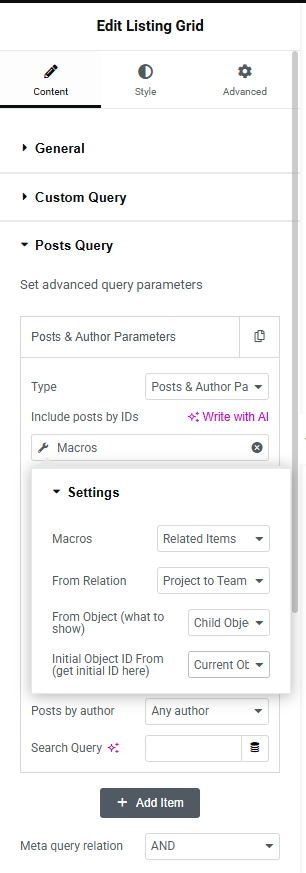
Then, go to the Element Options in the Archive Loop module to enable Load More or Pagination.

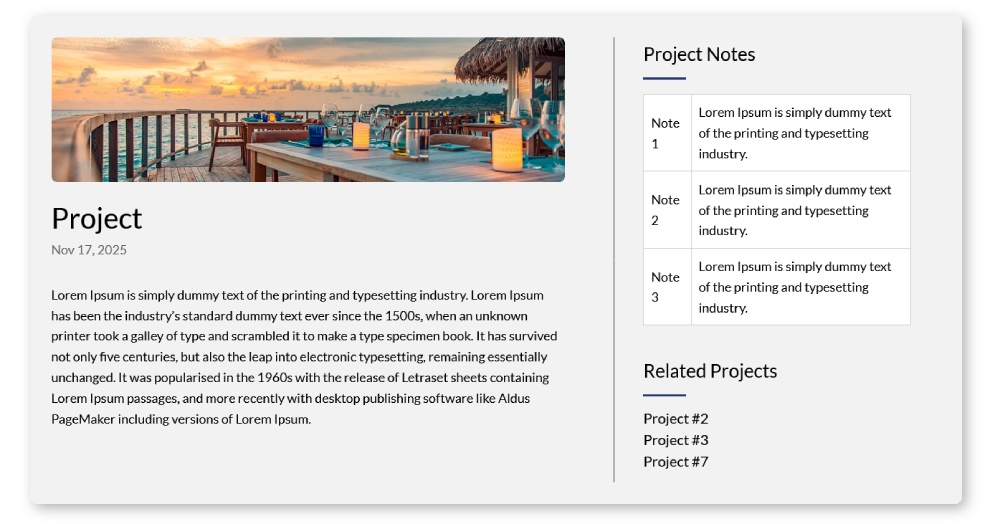
Step 6: Save and Test
Open your Archive page to preview the results.
All posts displayed using the layout you configured, with Pagination or the Load More button working as expected.
Conclusion
Displaying category-wise post listings using the Divi Machine Archive Loop is one of the most effective ways to organize content and improve user experience on your WordPress website. With the right setup, you can build dynamic layouts that load smoothly, boost engagement, and keep your pages easy to manage—even as your content grows.
If you need help implementing this on your site or want a more advanced, fully customized WordPress solution, our team at TechnoCrackers is here to assist.
Ready to optimize your website’s functionality?
Book a Free Consultation and let our experts help you build a faster, smarter, and more scalable WordPress experience.