Displaying events in a clean “Upcoming” and “Past” format is one of the most requested features on WordPress event websites. Whether you’re managing workshops, webinars, conferences, or local meetups—showing events in the right chronological order boosts user engagement and improves navigation.
With JetEngine’s Query Builder, you can easily create two dynamic listings:
Upcoming Events – sorted by closest future date
Past Events – sorted by most recent past date
In this guide, you’ll learn how to build both listings from scratch using JetEngine, Elementor, and your custom event date fields.
Why Use JetEngine Query Builder for Event Filters?
JetEngine gives you powerful control over custom post types, meta fields, and dynamic content. With the Query Builder, you can:
– Filter events by date automatically
– Sort events by ascending/descending order
– Display upcoming & past events on any page
– Reuse the queries across multiple listings
– Avoid writing custom PHP code
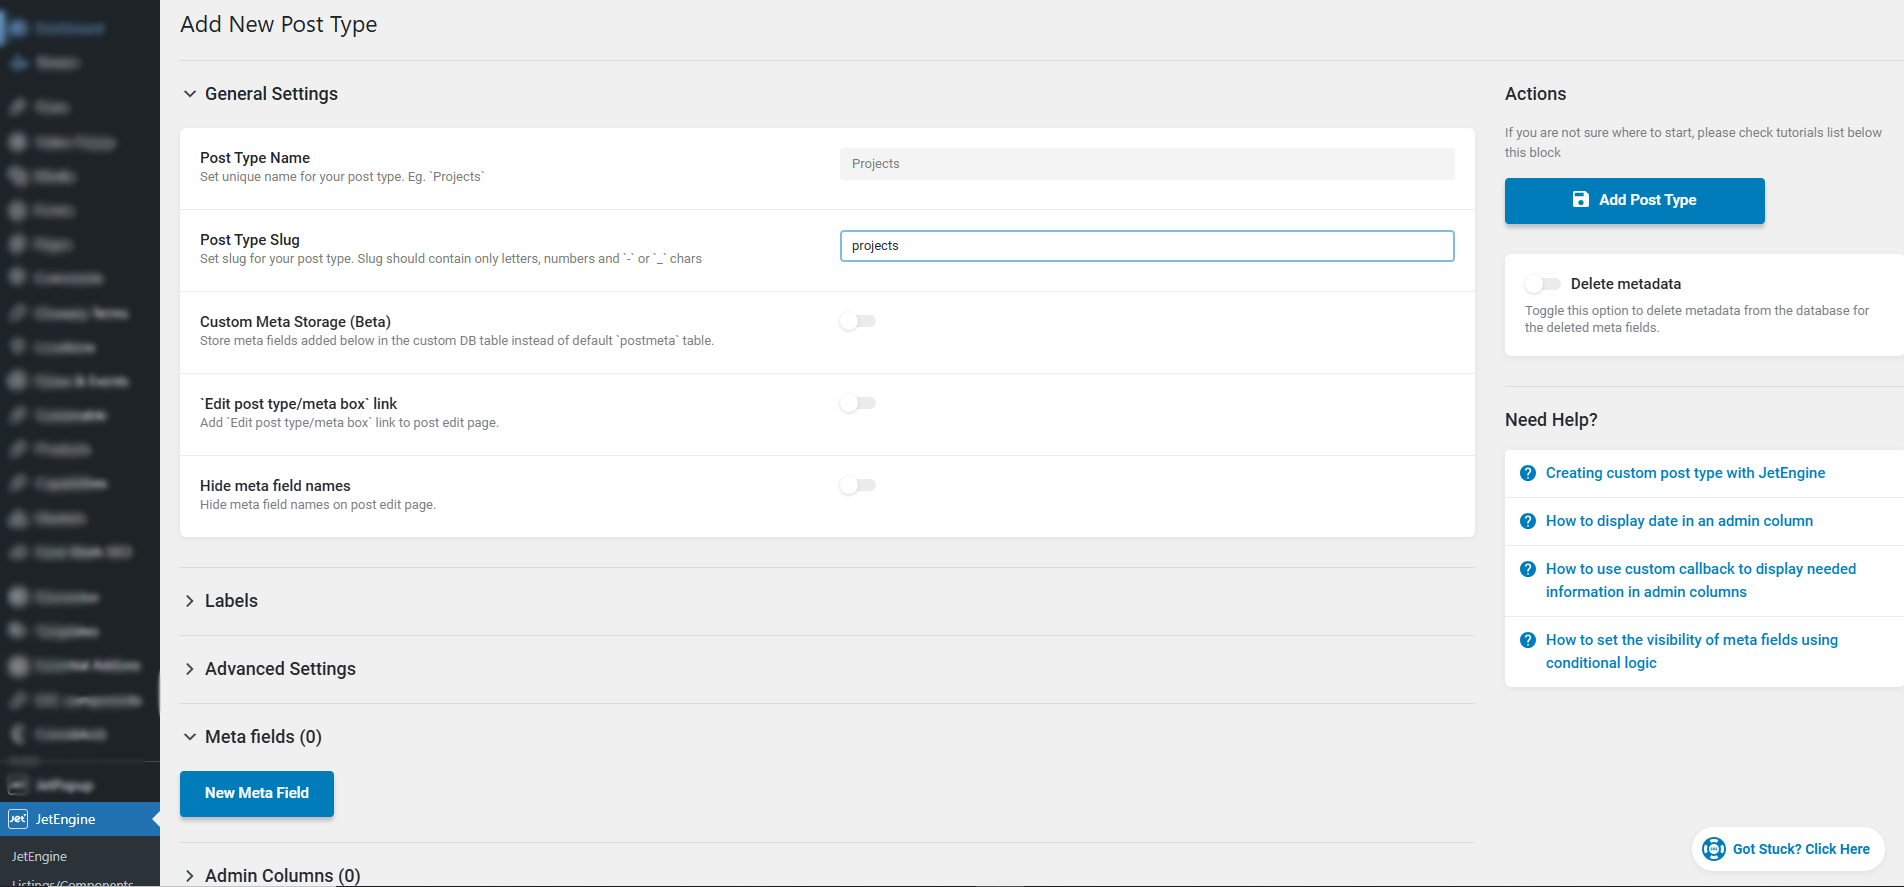
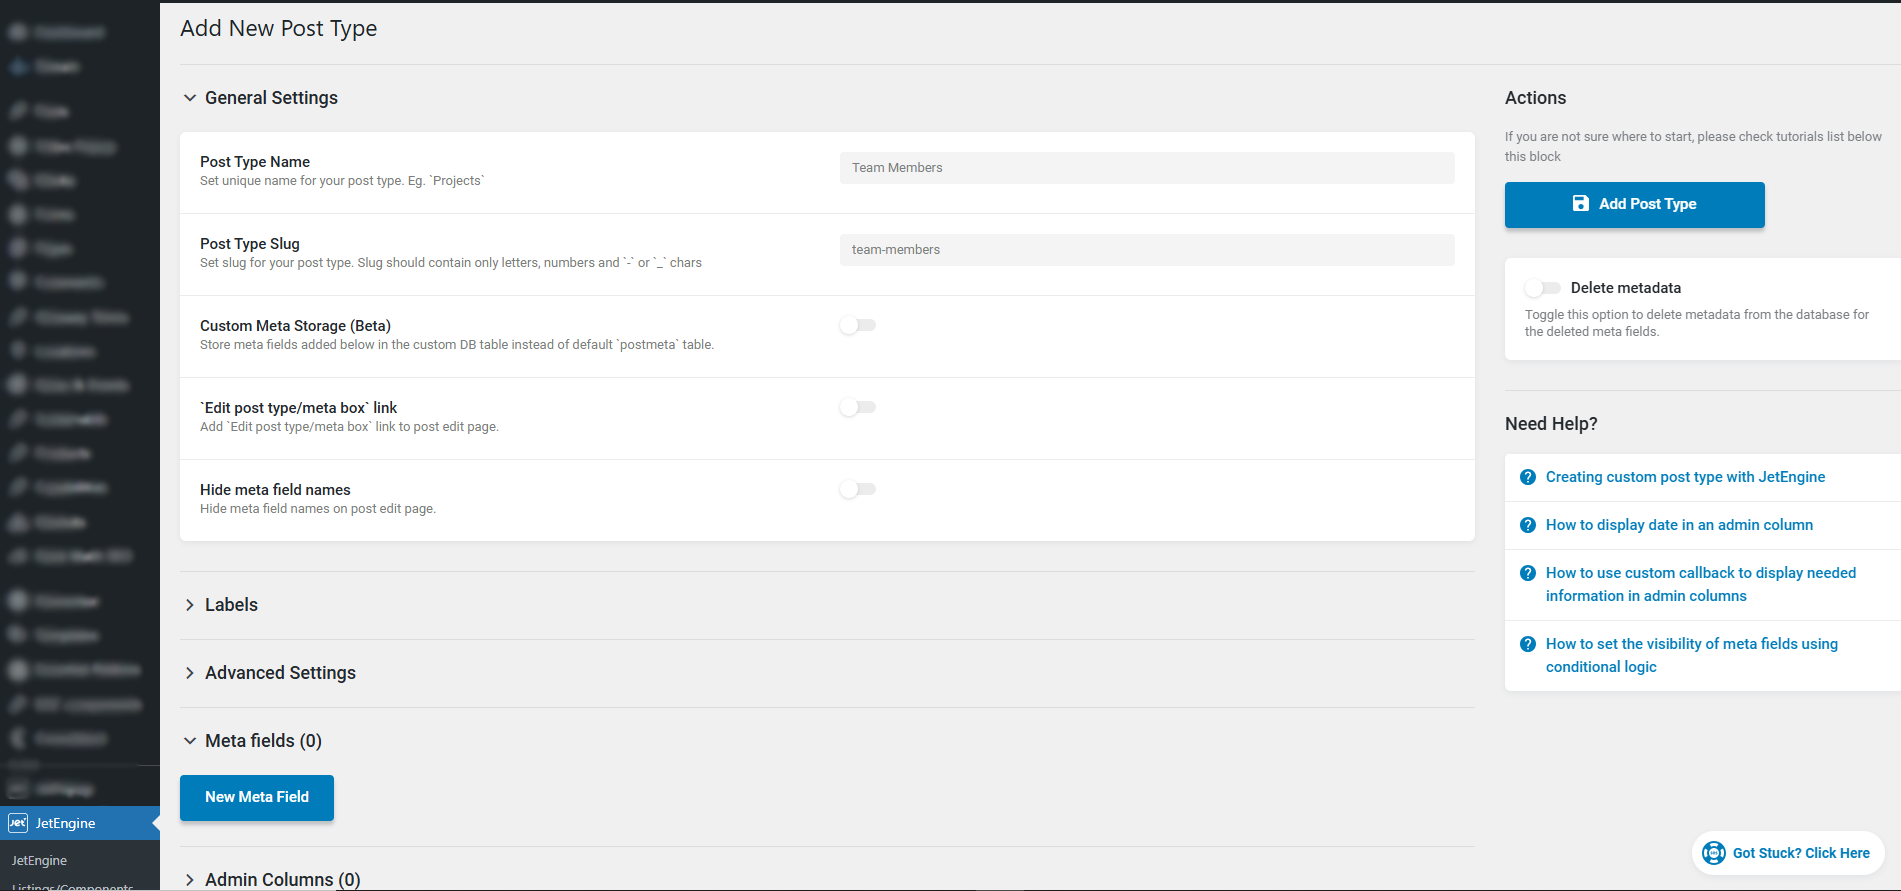
Step 1: Prepare Your Event Structure
- Create a Custom Post Type
– JetEngine → Post Types → Add “Events” - Add an Event Date Meta Field
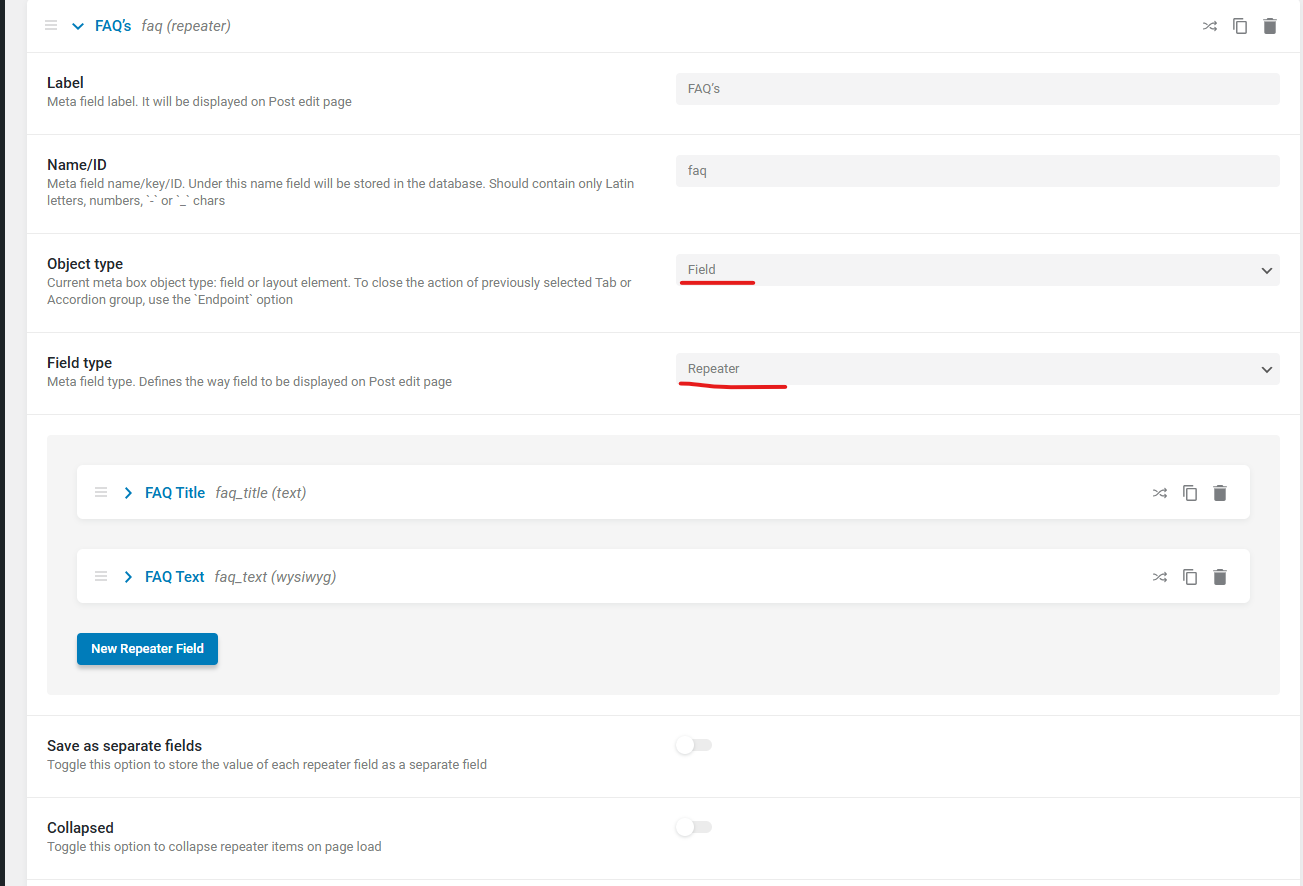
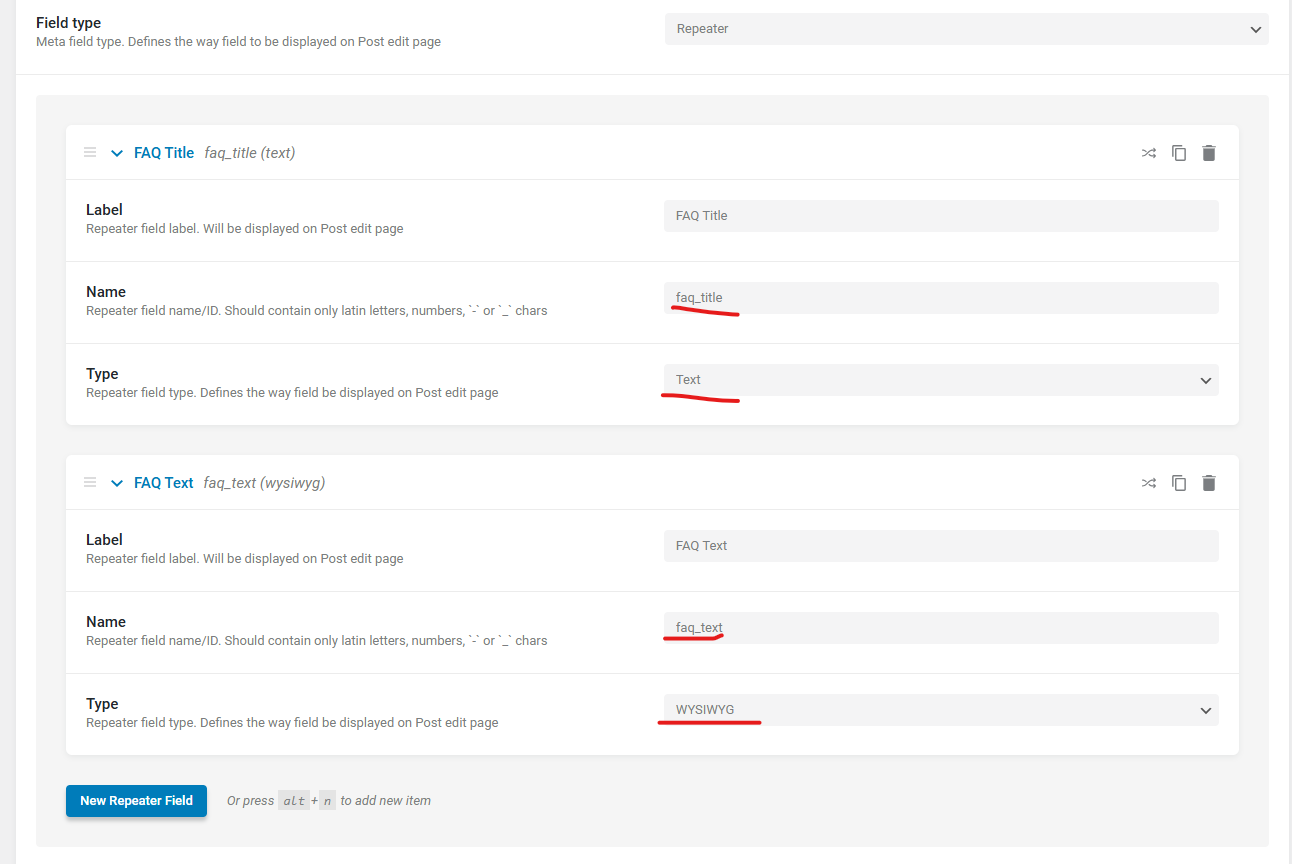
– JetEngine → Meta Fields
– Field Name: event_start_date
– Field Name: event_end_date
– Field Type: Date (or DateTime)
– Save Format: Y-m-d
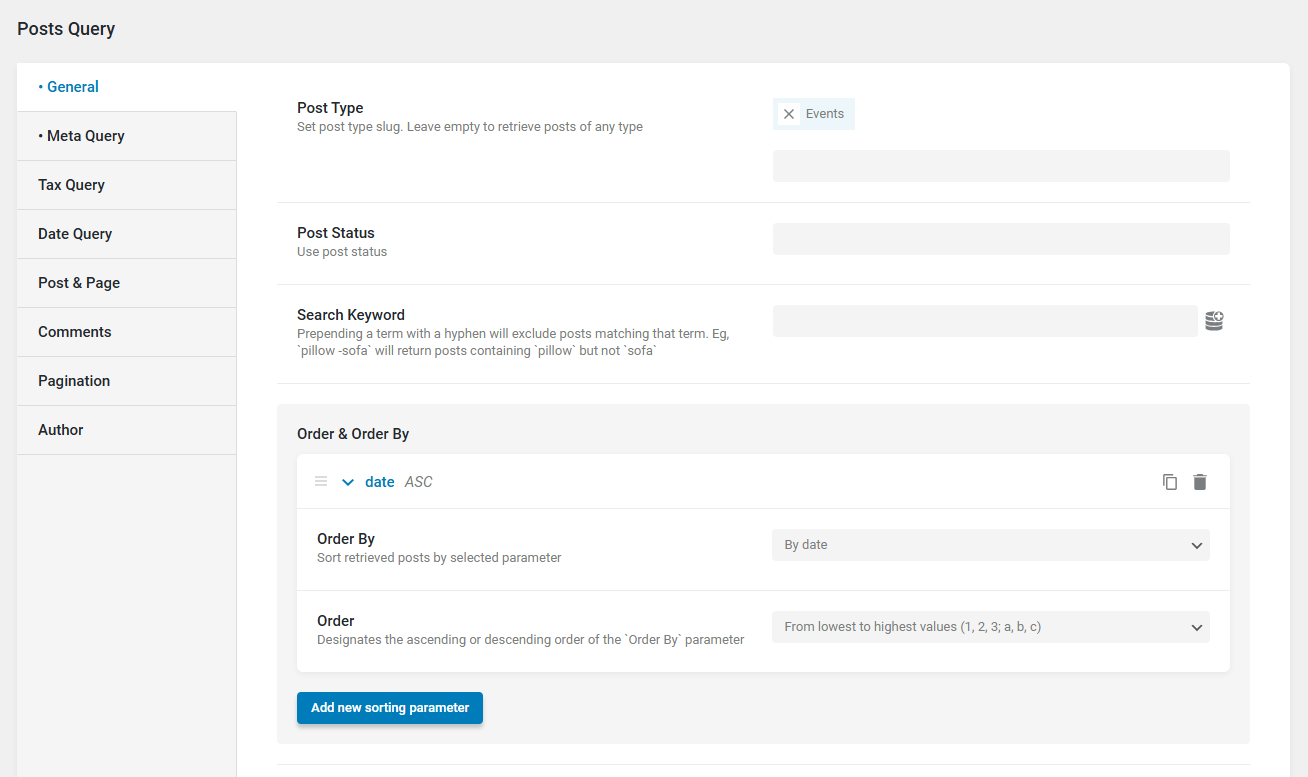
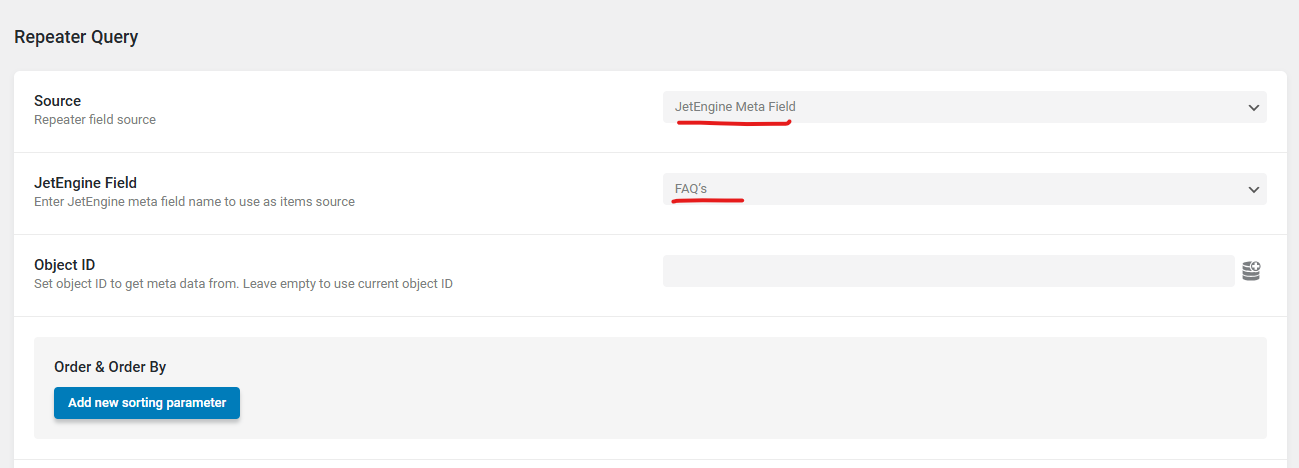
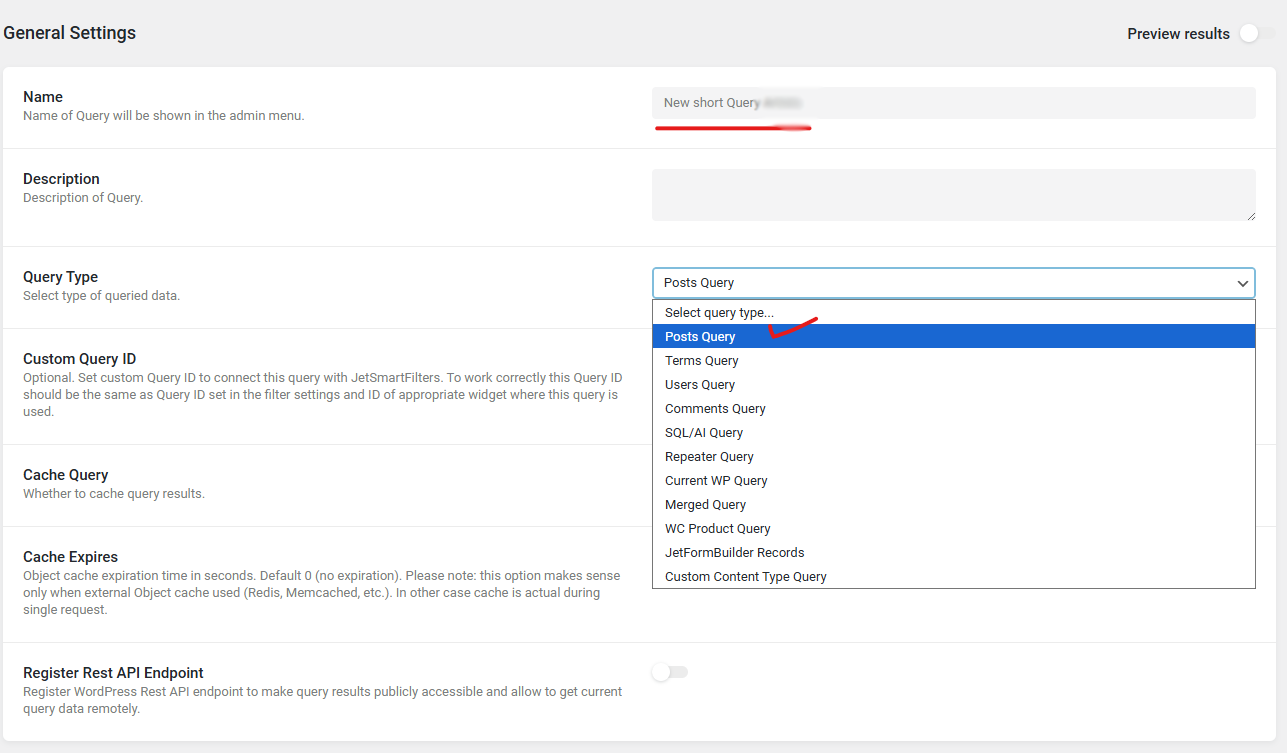
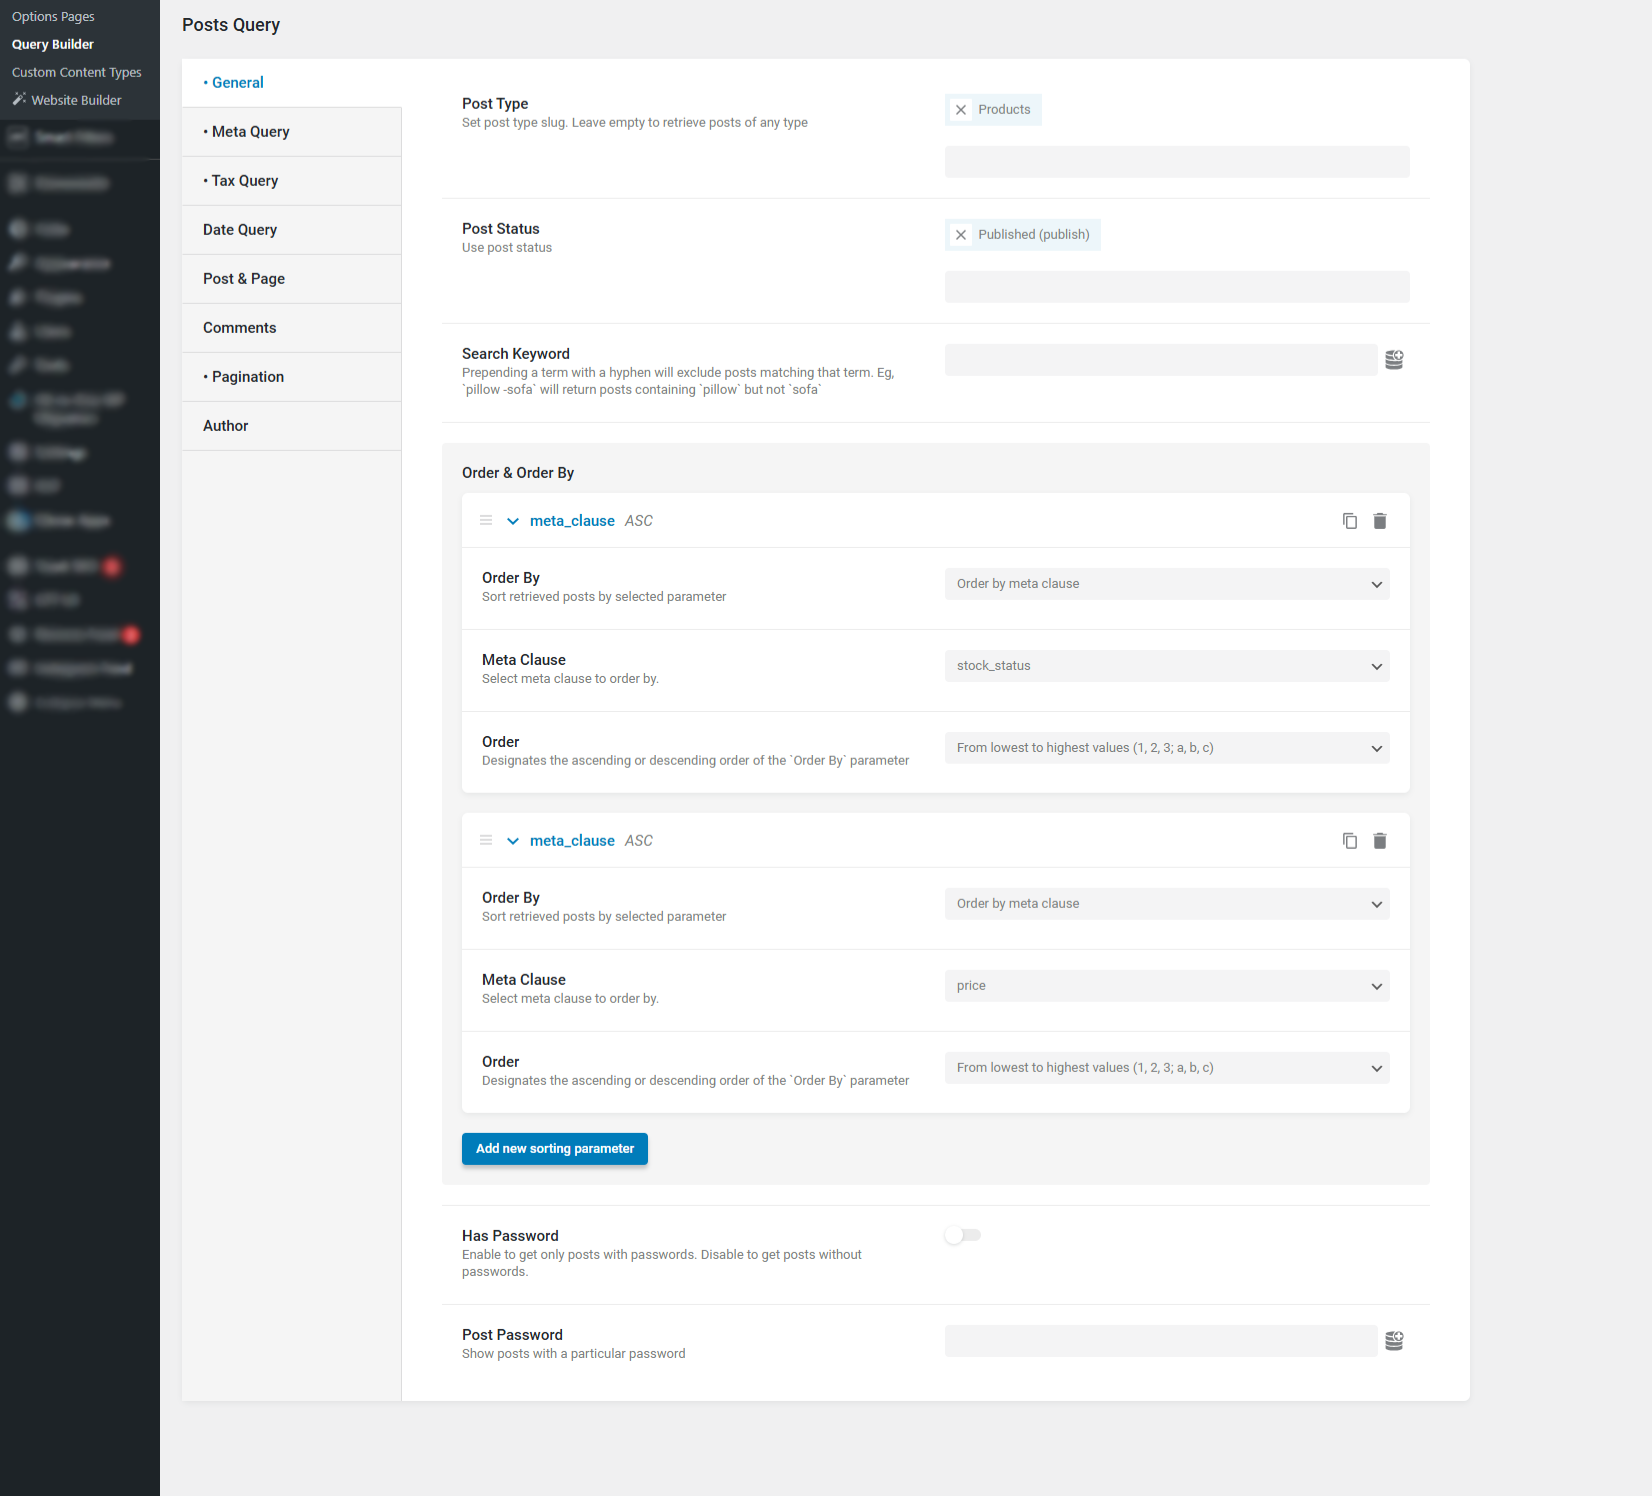
Step 2: Build the Query for Upcoming Events
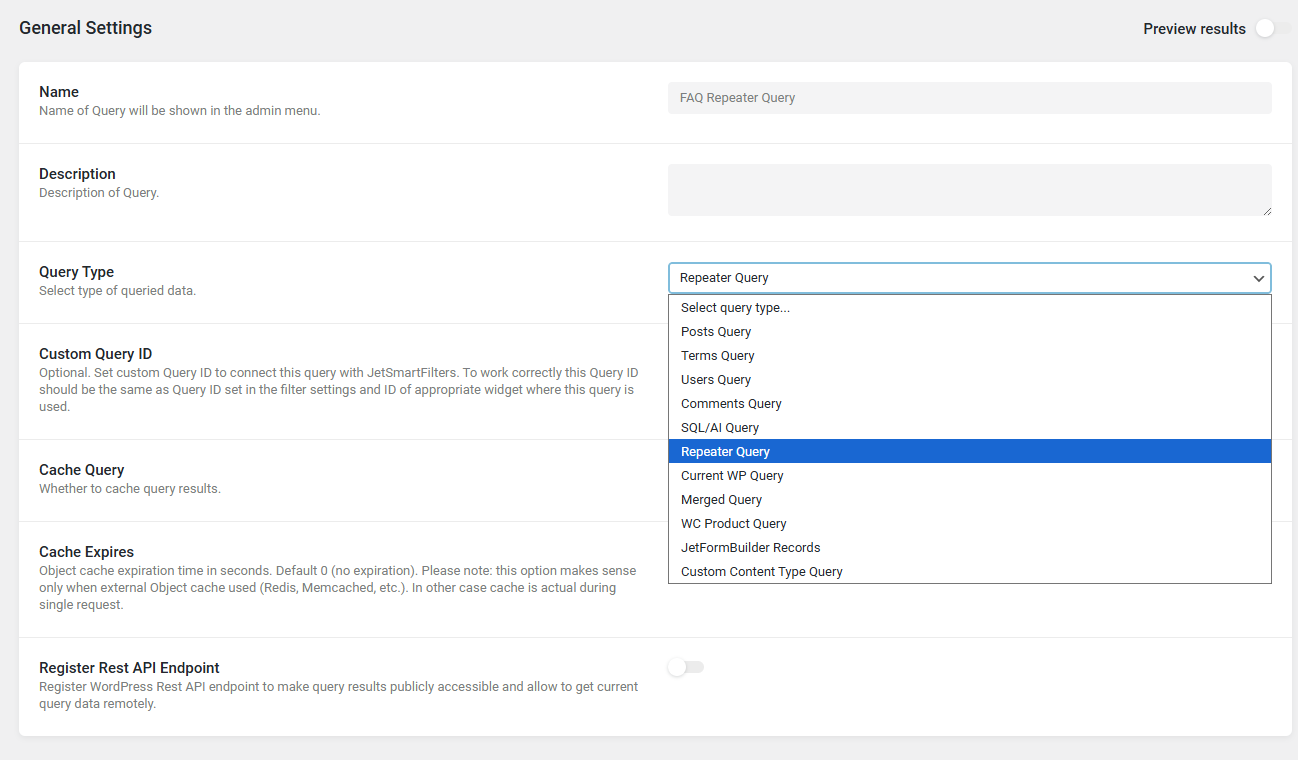
- JetEngine → Query Builder → Add New
- Query Type: Posts Query
- Post Type: Events
- Sorting:
– Order By: By date
– Order: ASC ( From lowest to highest values (1, 2, 3; a, b, c) )

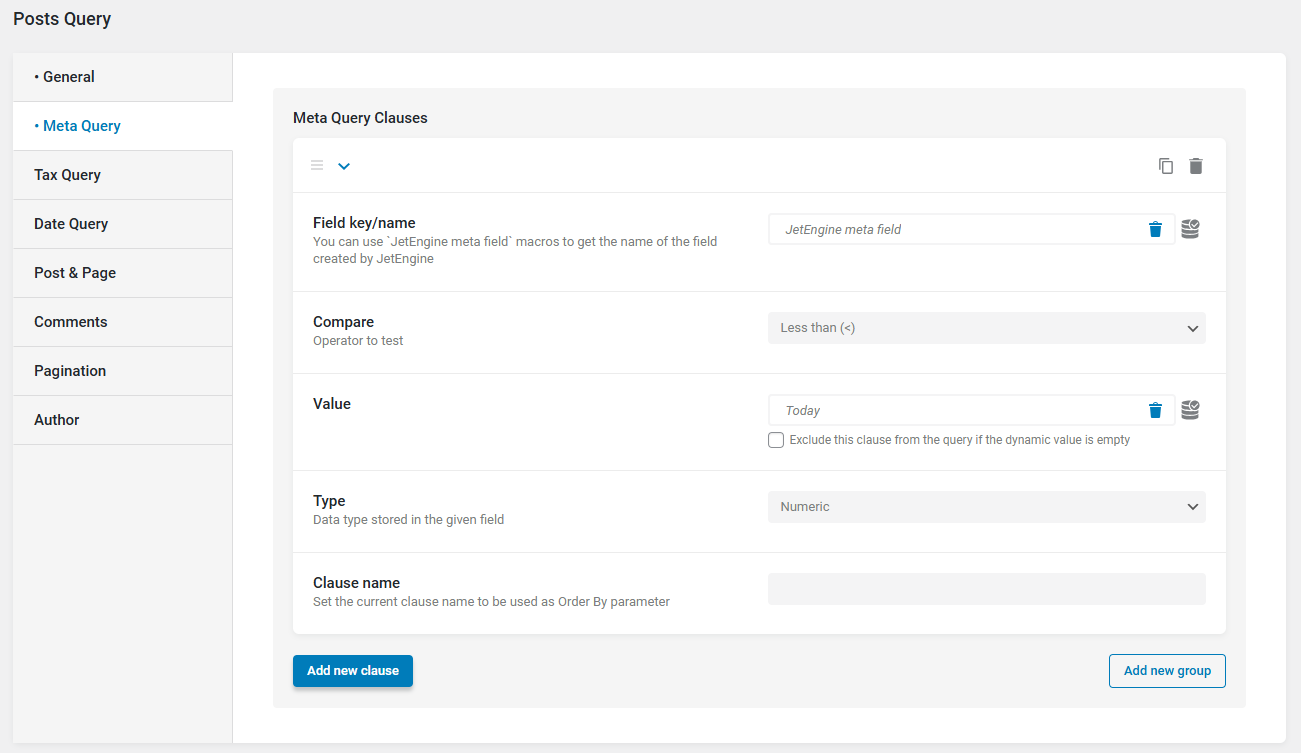
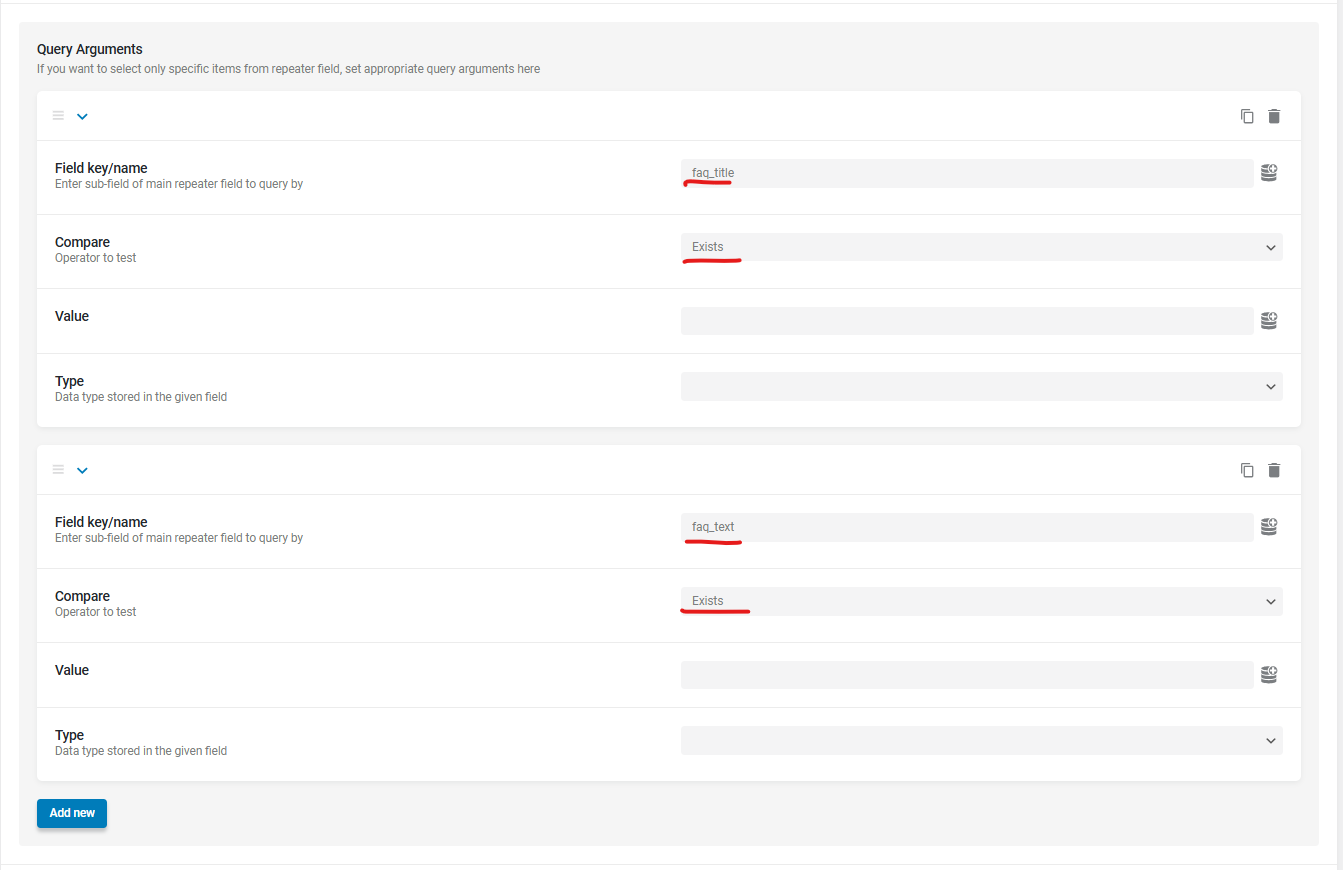
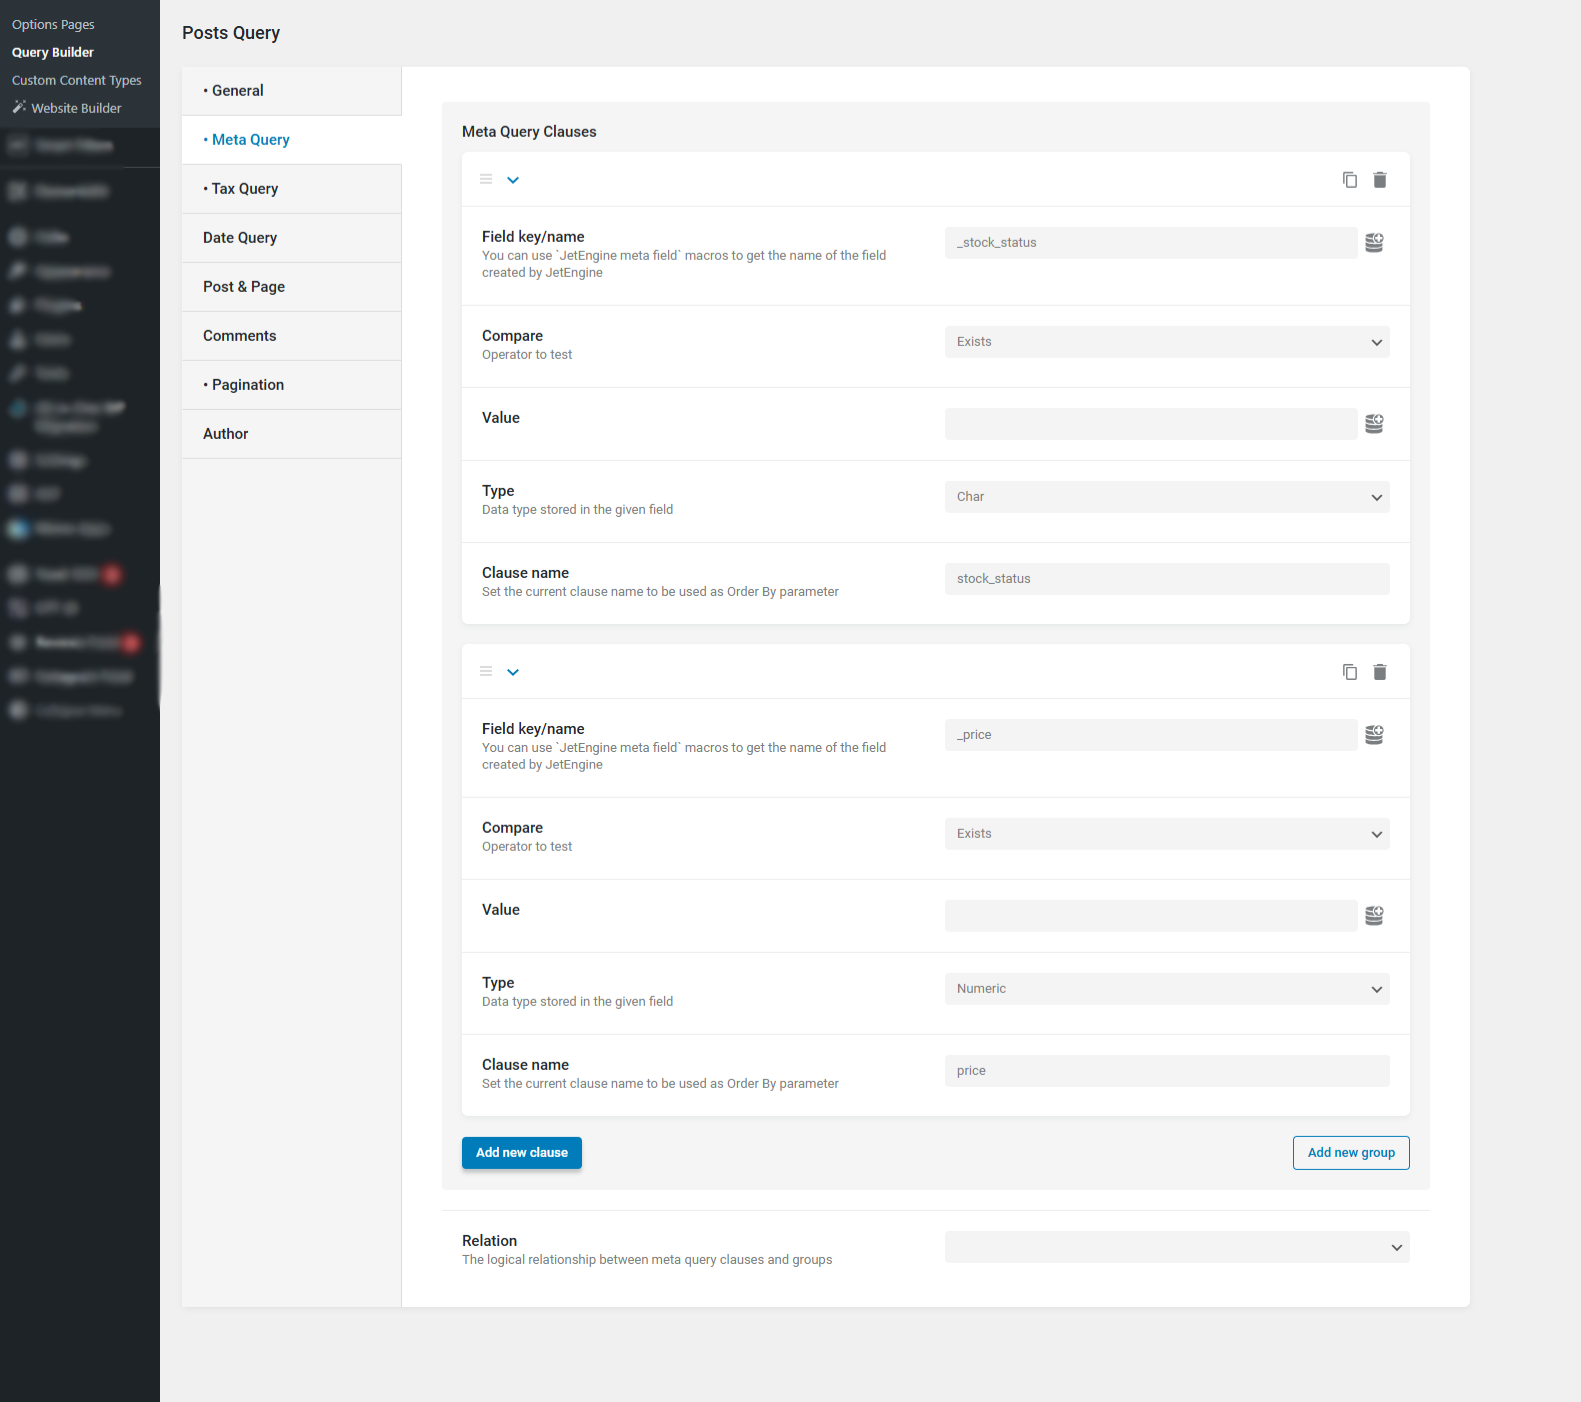
- Meta Query:
– Key: event_end_date
– Operator: Greater than ( > )
– Value: Today
– Type: Numeric - Name it: Upcoming Events Query


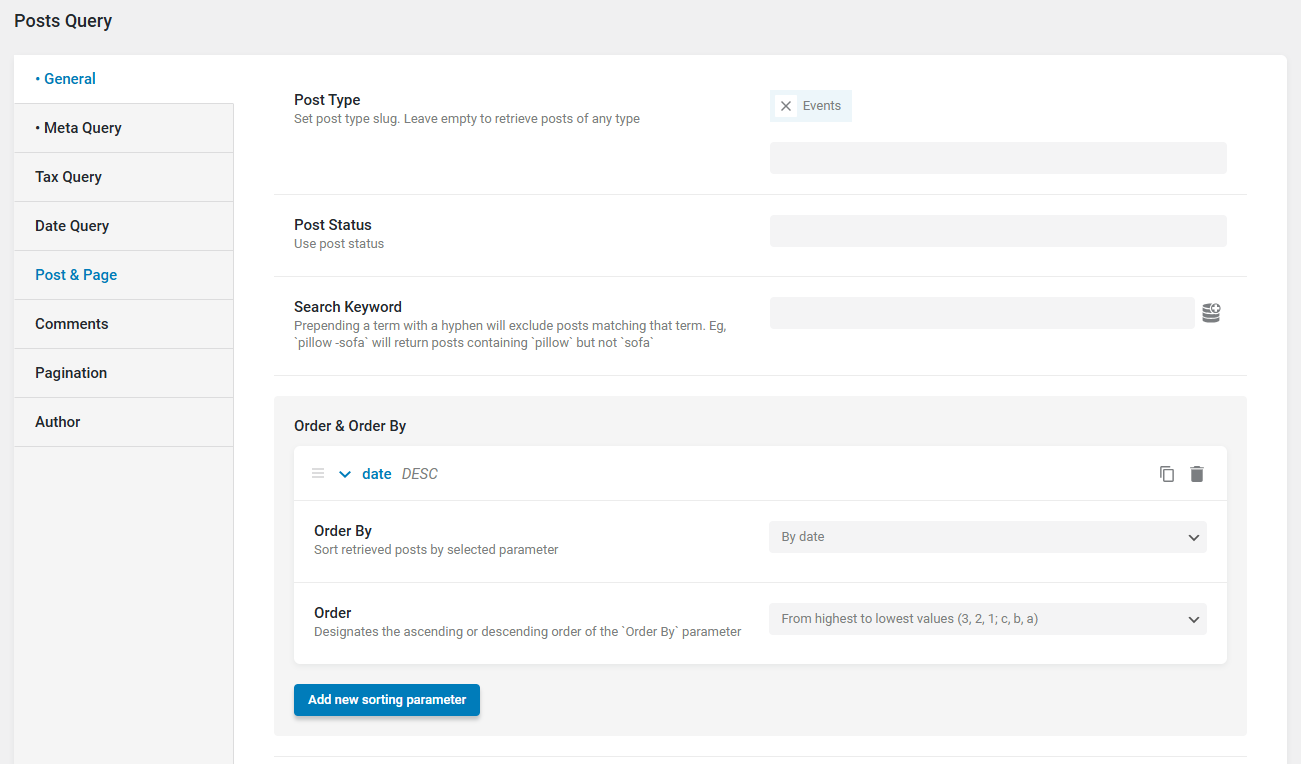
Step 3: Build the Query for Past Events
- JetEngine → Query Builder → Add New
- Query Type: Posts Query
- Post Type: Events
- Sorting:
– Order By: By date
– Order: ASC ( From highest to lowest values (3, 2, 1; c, b, a) )

- Meta Query:
– Key: event_end_date
– Operator: Less than ( < )
– Value: Today
– Type: Numeric - Name it: Past Events Query

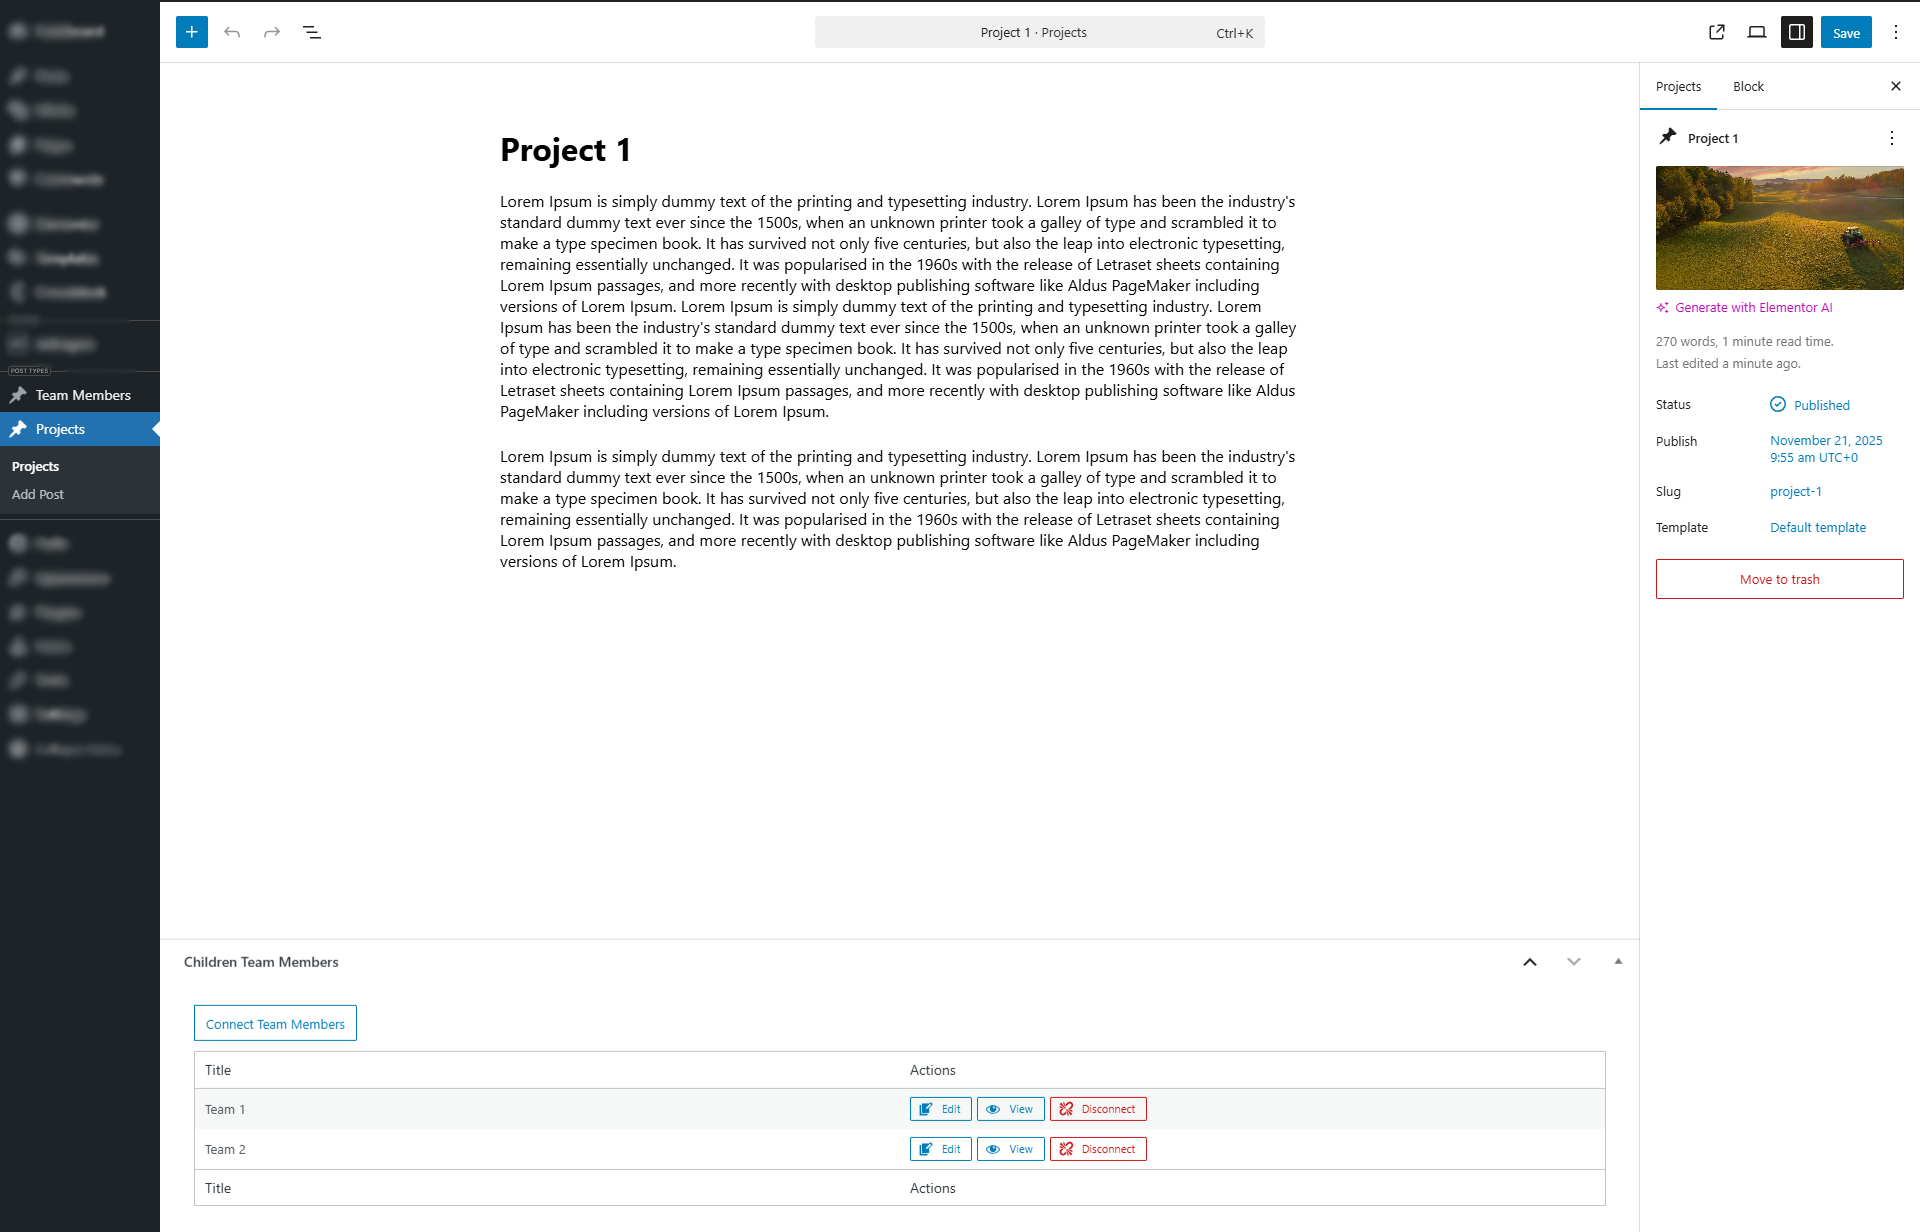
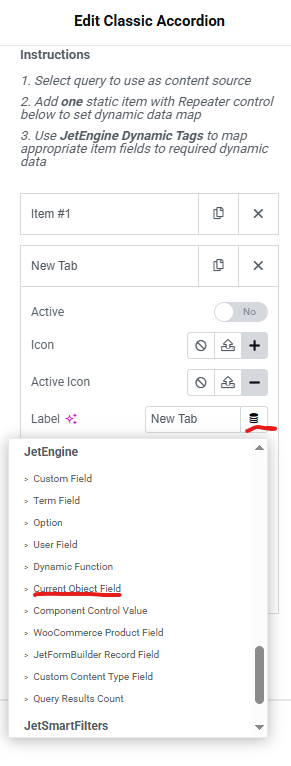
Step 4: Create the Event Listing Template
- JetEngine → Listings → Add New
- Select CPT: Events
- Add:
– Dynamic Title
– Event Start Date
– Event End Date
– Featured Image
– Location
– View Details Button
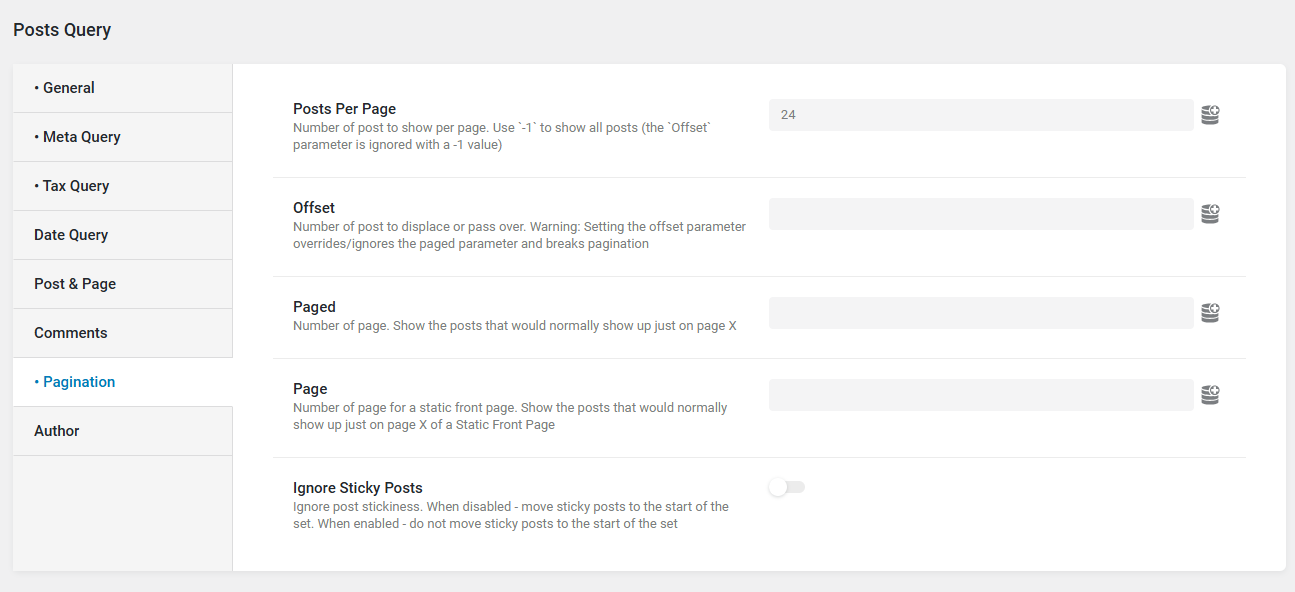
Step 5: Add Upcoming & Past Listings on a Page
- For Upcoming Events:
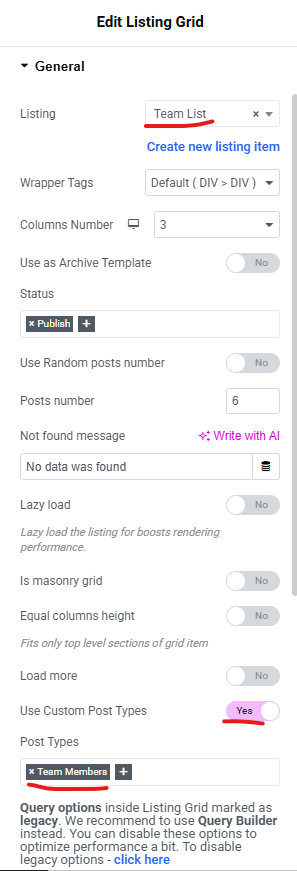
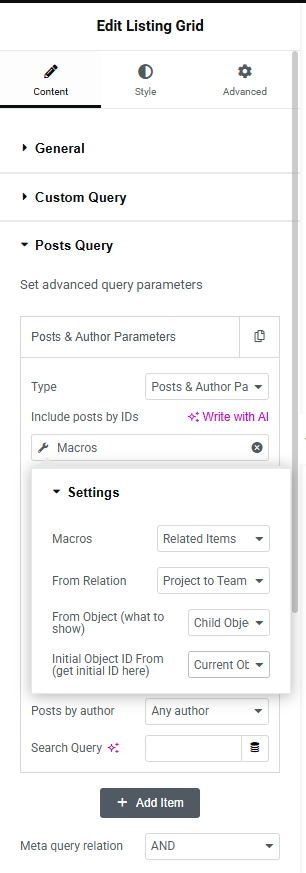
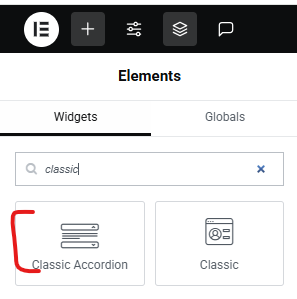
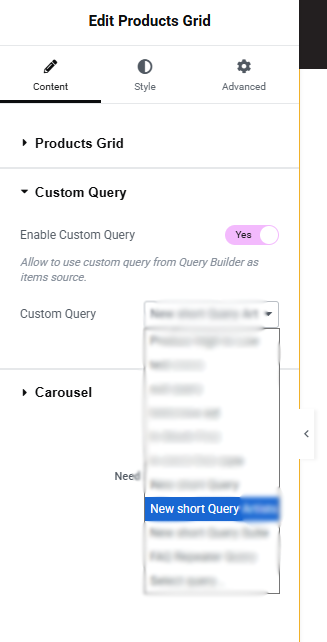
– Add Listing Grid in Elementor
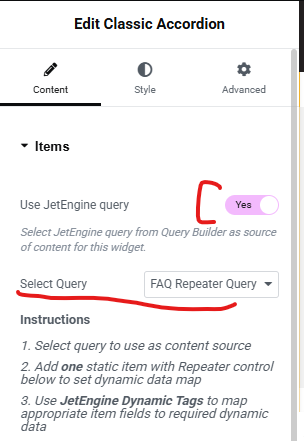
– Enable Custom Query
– Select: Upcoming Events Query - For Past Events:
– Repeat with: Past Events Query
Final Thoughts
Using JetEngine’s Query Builder makes event management fast, scalable, and automatic. Your listings update dynamically without manual work, making your website more professional and user-friendly.
If you’re building a WordPress site with dynamic event listings, date-based queries, or complex JetEngine logic, our team can take full ownership of the project—from data structure and query setup to frontend integration and performance optimization.
You can Book a Free Project Consultation to discuss your goals, timelines, and how we can deliver a reliable, scalable solution tailored to your website.


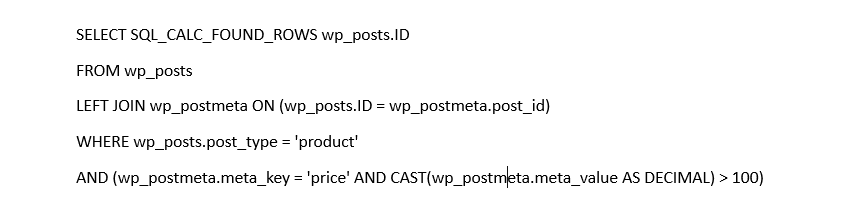
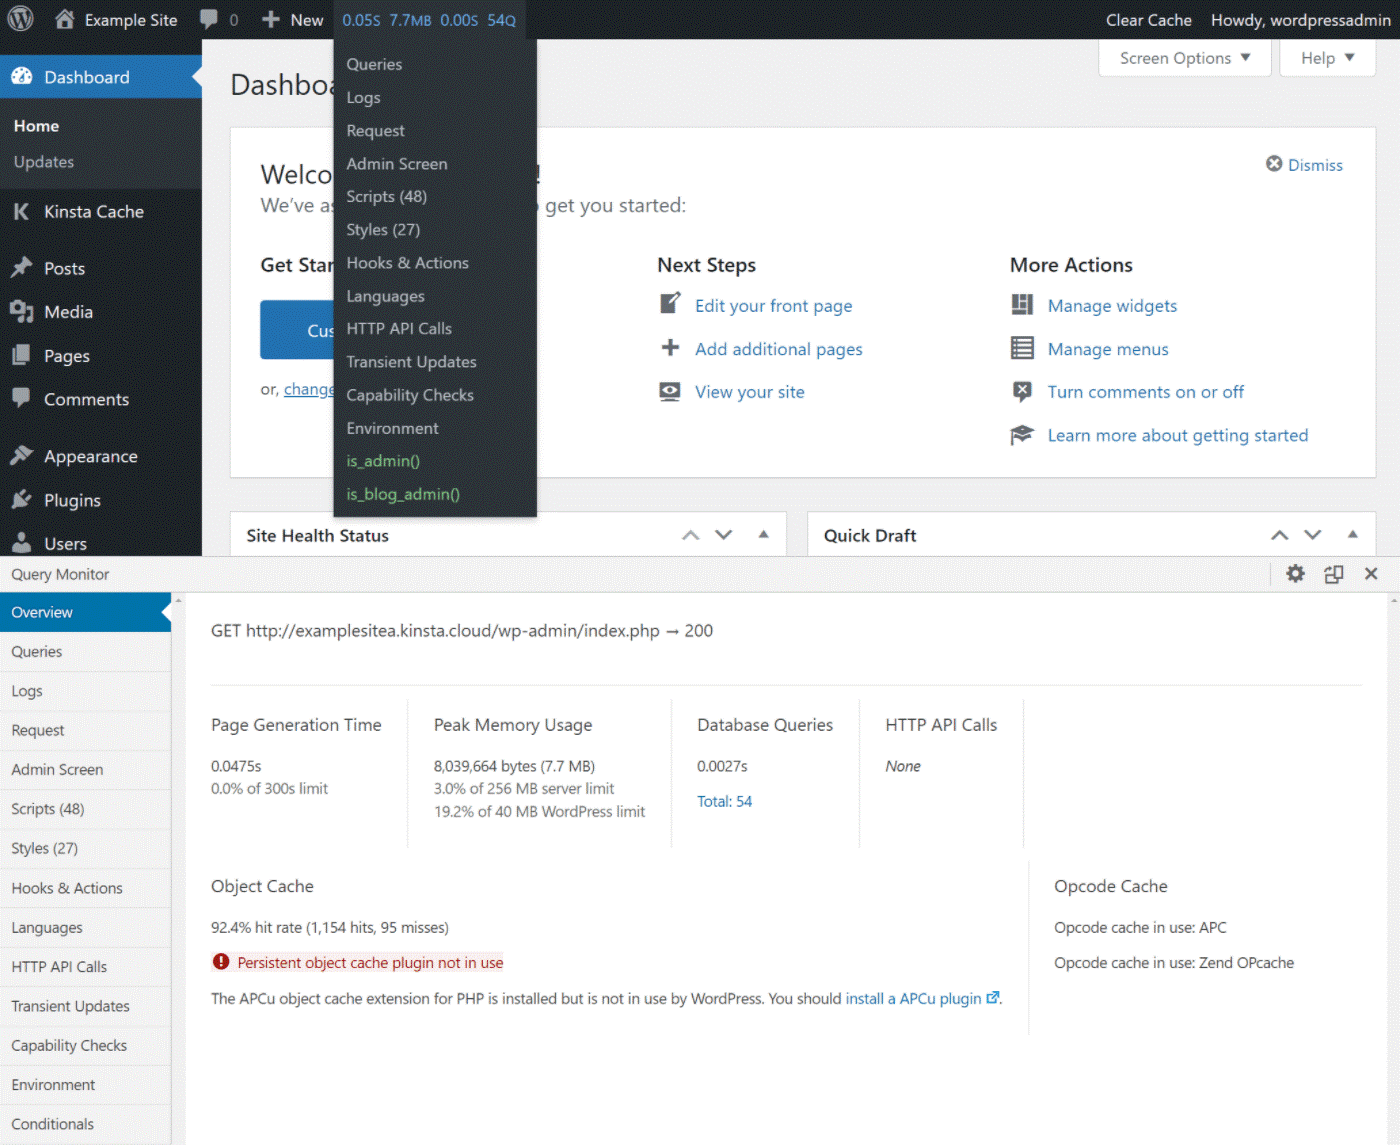
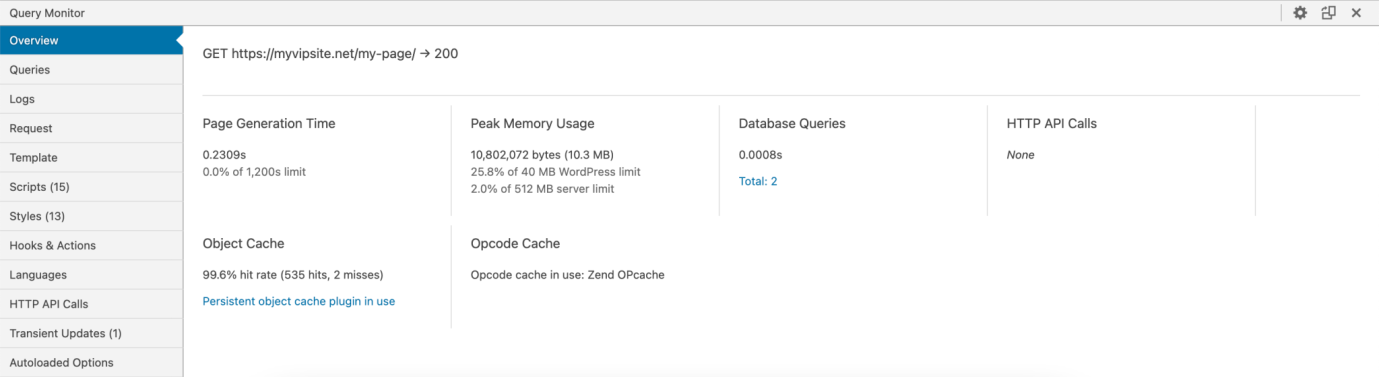 Identify the Slow Query